The liquid crystal exchange and decomposition method of IIYAMA W550SU is explained in an easy-to-understand manner with an image.
Lcd split on the screen of IIYAMA W550SU, if there is a display failure in the liquid crystal, liquid crystal panel replacement (liquid crystal replacement) is required!
[IIYAMA W550SU LCD repair and disassembly method STEP 1]
IIYAMA's laptops are models that can be purchased at some PC workshops and Yamada Electric.Since there are many general-purpose parts than special ones are used for LIQUID panels, you may be able to deal with cheap products if you disassemble and repair them yourself.
Since it is basically the same decomposition method as other manufacturers, please check below.
[IIYAMA W550SU LCD repair and disassembly method STEP 2]
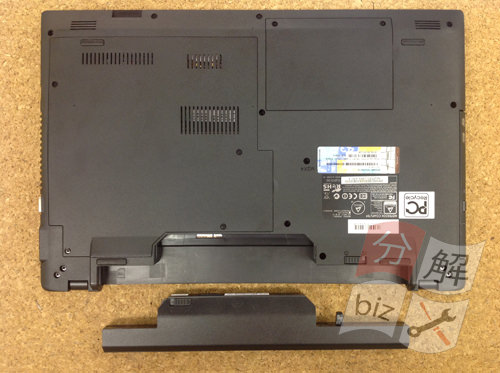
First of all, the battery is removed from the personal computer itself by turning over the laptop body.
The battery has a knob nearby to slide, so you can easily remove it by sliding it and pulling it out.
[IIYAMA W550SU LCD repair and disassembly method STEP 3]
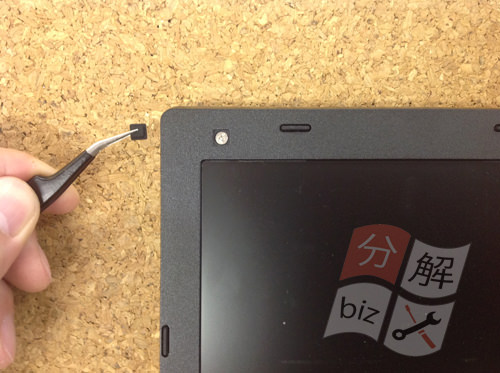
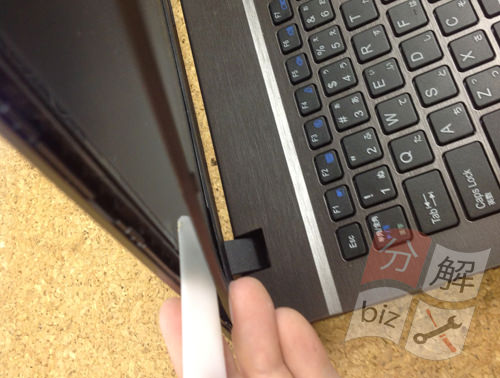
From here, we will start to disassemble the liquid crystal, but it is necessary to remove the liquid crystal frame first.
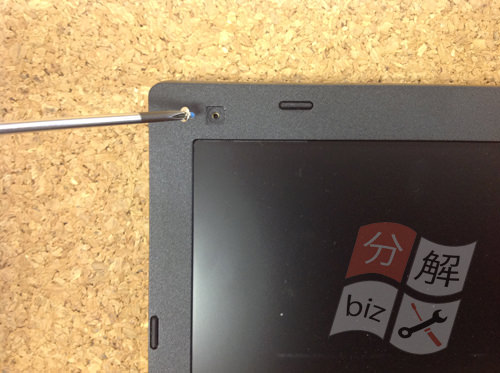
The LCD frame is secured with several screws, so remove the screws.
Because there is a screw hidden as in the image part, let's peel off using tweezers and the like!
[IIYAMA W550SU LCD repair and disassembly method STEP 5]
If the screw can be removed, the liquid crystal frame will be able to be disassembled.It is recommended to improve work efficiency by disassembling using a spatula (tool) such as an image.
[IIYAMA W550SU LCD repair and disassembly method STEP 6]
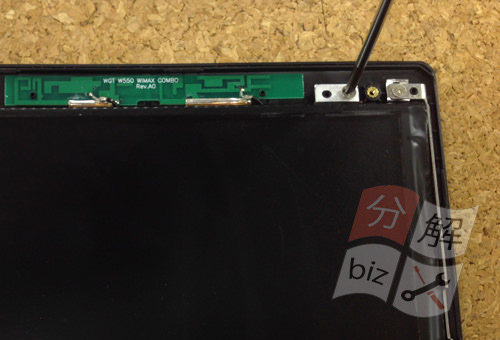
Once the LCD frame is removed, remove the LCD panel.
Since the liquid crystal panel is also secured with screws like a liquid crystal frame, remove all screws that secure the liquid crystal panel.
If you can remove the screw, you will be able to knock the LCD panel down to the keyboard side, so be careful about the LCD cable on the back and knock it down!
[IIYAMA W550SU LCD repair and disassembly method STEP 7]
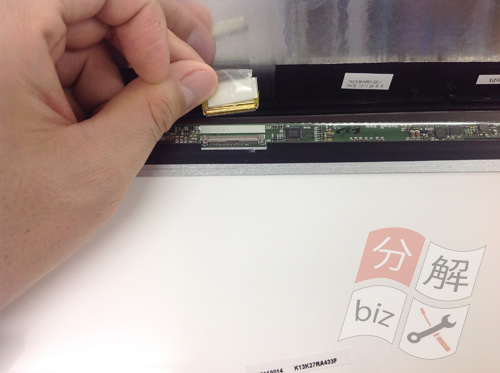
The LCD cable is removed from the LCD panel, but it can be easily removed by sliding it in parallel with the LCD panel.
I think that only the liquid crystal panel could have been removed if the decomposition up to this point had been done accurately.
After that, if you replace the new LCD panel, liquid crystal repair will be completed.
[IIYAMA W550SU LCD repair and disassembly method STEP 8]
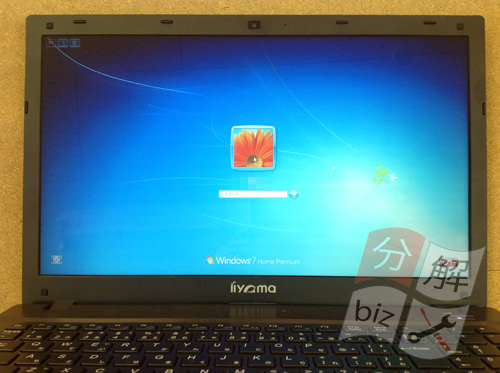
There was a display failure before the LCD panel replacement, but it now displays normally by replacing the LCD panel.
Because the data remains as it is, it was able to repair without changing the environment.

 Lcd split on the screen of IIYAMA W550SU, if there is a display failure in the liquid crystal, liquid crystal panel replacement (liquid crystal replacement) is required!
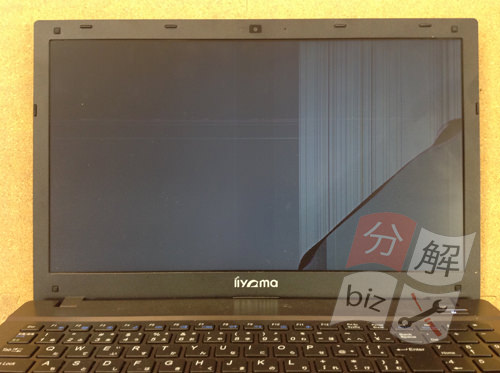


コメントを残す