HP ProBook 4340s LCD Crackscreen Replacement Repair Method, Decomposition Procedure
If the HP ProBook 4340s LCD screen is cracked and the LCD display is defective, a liquid crystal panel replacement (LCD replacement) is required!
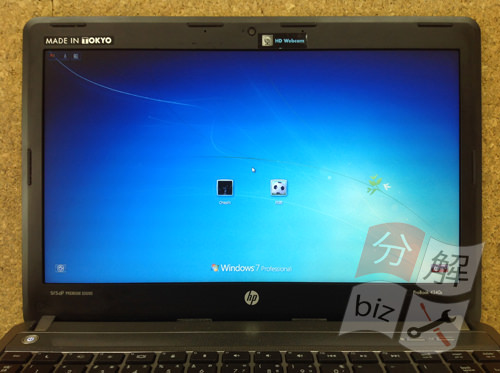
[HP ProBook 4340s Decomposition STEP 1]
You can see that there is a crack in the LCD panel on the lower left.
It is displayed normally in other parts, and since windows is running, there seems to be no worry about the data.
In the case of such a failure, we can repair it only by replacing the liquid crystal panel, so We would like to replace the LCD panel immediately.
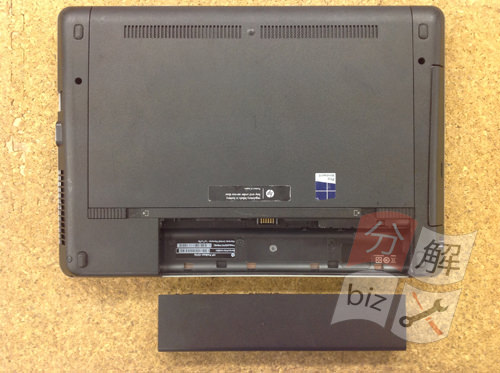
[HP ProBook 4340s Decomposition STEP 2]
First of all, remove the battery when disassembling the laptop.
Please note that there is a possibility that it will short if you do not remove the battery and disassemble it as it is.
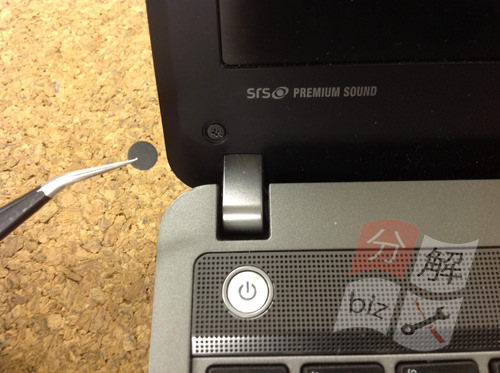
[HP ProBook 4340s Decomposition STEP 3]
In order to remove the LCD panel from the laptop, it is necessary to remove the LCD frame.
First of all, the liquid crystal frame is fixed with a screw, so the first step is to remove the screw.
The screwists are hidden by a seal called screw concealation, as shown in the image, and tweezers are removed.
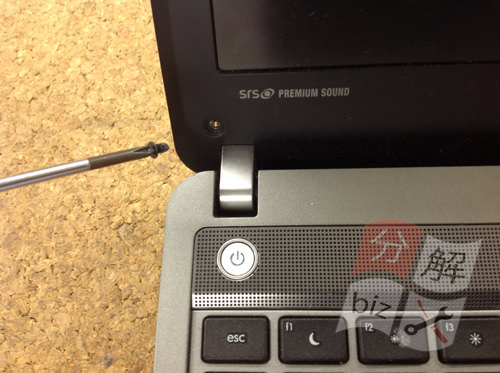
[HP ProBook 4340s Decomposition STEP 4]
Remove all the screws attached to the LCD frame!
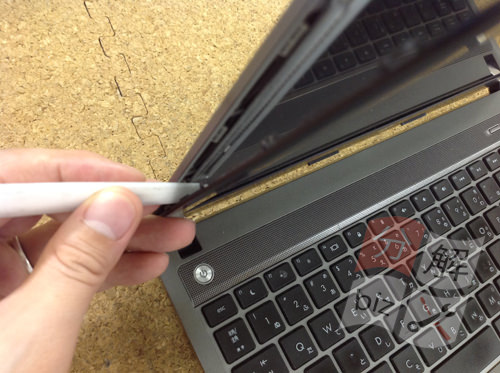
[HP ProBook 4340s Decomposition STEP 5]
After removing the screw, the liquid crystal frame will be disassembled with a spatula, but let's remove it carefully so as not to fold it because there is a place that is fixed with a plastic claw!
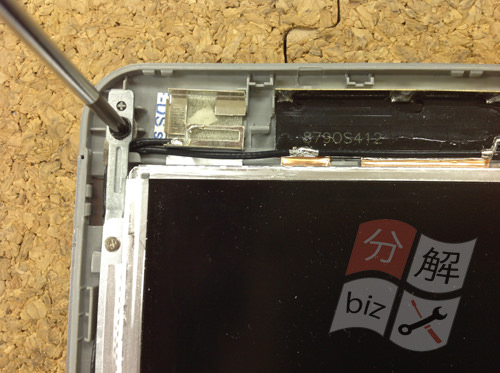
[HP ProBook 4340s Decomposition STEP 6]
There is a screw in the part where the screwdriver is hitting, so remove it.
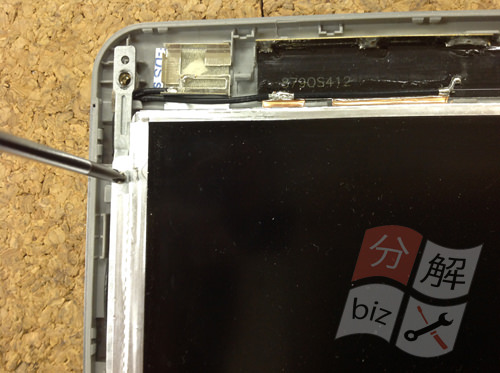
[HP ProBook 4340s Decomposition STEP 7]
The screw was the hinge side, but this is the liquid crystal panel side.
Since there are screws in the same place on both the left and right, remove all.
If you can remove all the screws, you will be able to knock down the LCD panel to the keyboard side, so it will slowly knock it down.
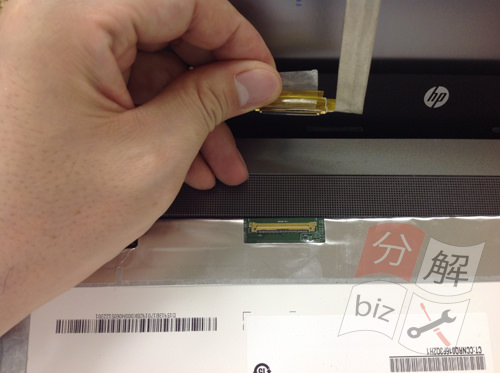
[HP ProBook 4340s Decomposition STEP 8]
The LCD cable is connected to the back of the LCD panel.
You can easily remove the LCD cable by sliding it.
I think that the liquid crystal panel was able to be removed from the personal computer if the decomposition work up to this point can be done accurately, but after that, it will be replaced with a newly prepared liquid crystal panel and it will be completed.
[HP ProBook 4340s Decomposition STEP 9]
There is no problem of the display, and it is now displayed normally.

 If the HP ProBook 4340s LCD screen is cracked and the LCD display is defective, a liquid crystal panel replacement (LCD replacement) is required!
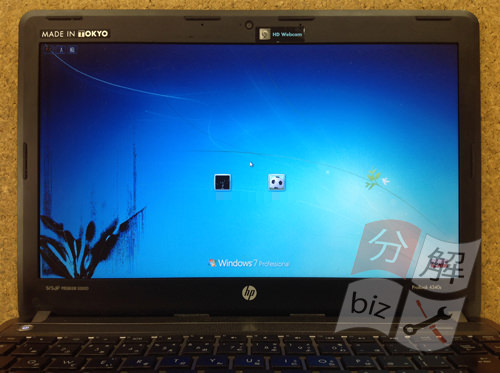


コメントを残す