SONY PCG-71611N LCD Cracking Screen Replacement Repair Method, Decomposition Procedure

 SONY SVE15123CJW LCD screen cracking, LCD panel replacement (LCD replacement) is required if there is a display failure in the liquid crystal!
- [SONY VAIO PCG-71611N LIQUID Crystal Repair and Decomposition Method STEP 1]
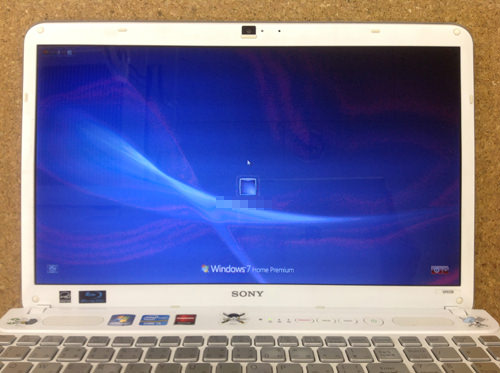
 There is no crack in the screen itself, but if you look closely, you can see that it is red and it has been closed.
In this case, there may be deterioration of the liquid crystal itself or motherboard failure.
When I used an external monitor to display it, I was able to confirm that it was displayed normally on the external monitor side, so if it does not improve even if the liquid crystal panel is replaced, it will be another failure.
I would like to exchange liquid crystal immediately.
- [SONY VAIO PCG-71611N LIQUID Crystal Repair and Decomposition Method STEP 2]
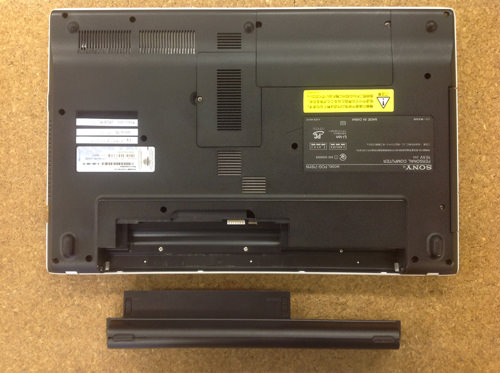 If you turn the laptop inside out, there is a battery, so you can remove it by sliding the knob.
- [SONY VAIO PCG-71611N LIQUID CRYSTAL Repair and Decomposition Method STEP 3]
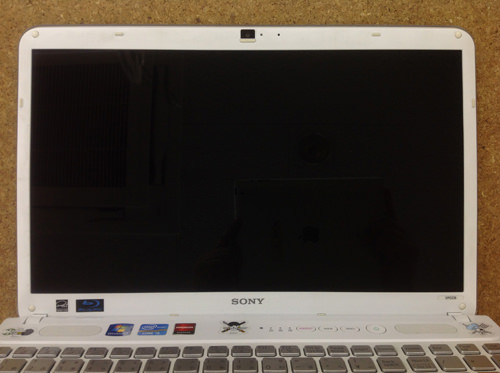
 From here on, we will break down the liquid crystal, but we will remove the LCD frame first.
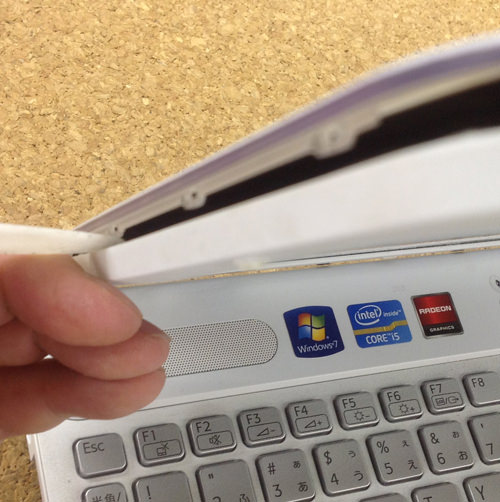
Because there is a screw hidden (white rubber) in the fourth corner of the liquid crystal frame, let's remove the sharp tool of the tip such as tweezers!
- [SONY VAIO PCG-71611N LIQUID Crystal Repair and Decomposition Method STEP 4]
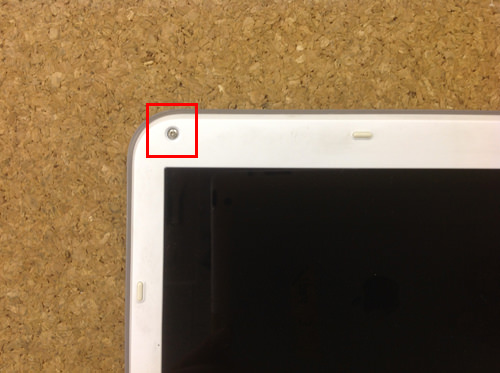 It becomes the upper left part, but I think that it is possible to confirm that there is a screw when it is possible to remove the screw concealation, so I try to remove all screws.
- [SONY VAIO PCG-71611N LIQUID Crystal Repair and Decomposition Method STEP 5]
 If you can remove all the screws you just had, you will be able to disassemble the frame side.
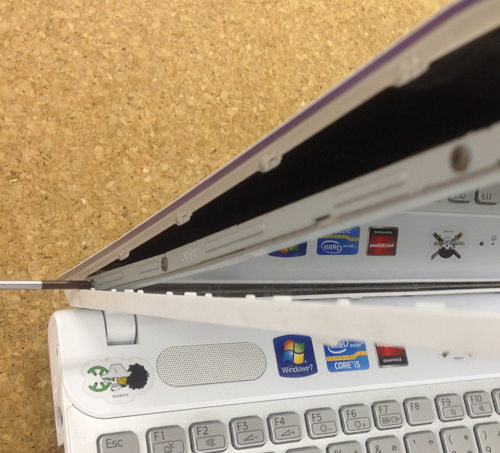
The liquid crystal frame comes off if the tool such as the spatula is put in the gap between the rear panel and the frame and it is made to break lightly.
- [SONY VAIO PCG-71611N LIQUID CRYSTAL Repair and Decomposition Method STEP 6]
 I think that the hinge (iron frame) can be seen when the frame is removed, but since it is fixed with a screw to the panel from the side, remove all screws.
This is the hinge on the left side, but there are also screws on the right hinge, so please remove them.
- [SONY VAIO PCG-71611N LIQUID CRYSTAL Repair and Decomposition Method STEP 7]
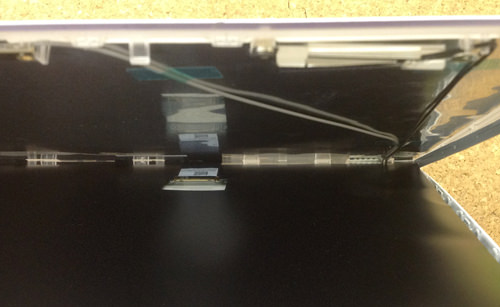
 Tilt the panel itself forward to see that the LCD cable is connected to the back side.
Since the liquid crystal cable becomes a precision part, let's pull it out from the panel so as not to break it!
I think that I was able to remove the panel itself from the laptop body if I could remove the cable.
If you replace the newly prepared parts, the liquid crystal replacement will be completed!
- [SONY VAIO PCG-71611N LIQUID CRYSTAL Repair and Decomposition Method STEP 8]
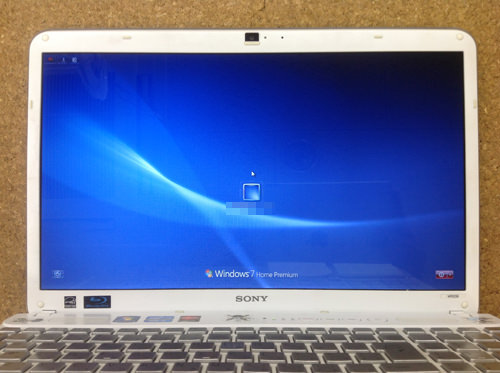 Now that it is displayed correctly, you can see that the motherboard is safe.
- [SONY VAIO PCG-71611N HDD replacement and disassembly method STEP 9]
 The liquid crystal replacement itself has been completed in the previous process, but WE will introduce the HDD replacement by the way!
Remove the two screws on the red frame.
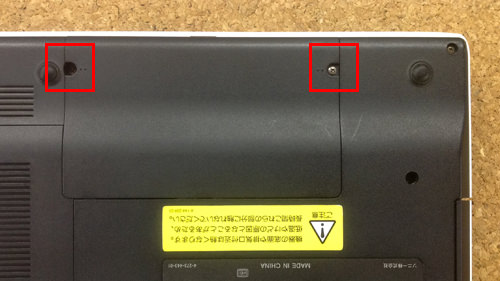
- [SONY VAIO PCG-71611N HDD replacement and disassembly method STEP 10]
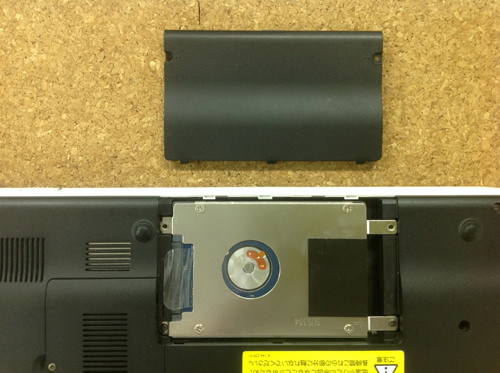 I think that it is possible to remove the lid easily when the screw can be removed.
- [SONY VAIO PCG-71611N HDD replacement and disassembly method STEP 11]
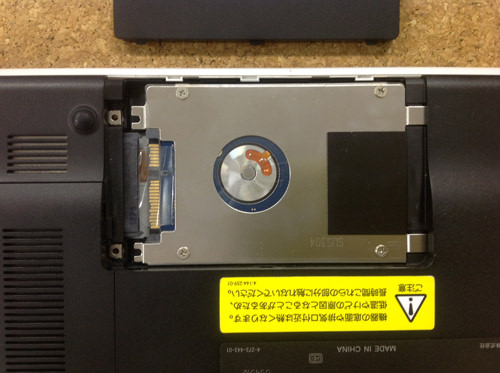 Because it is possible to pull out from the PERSONAL computer just by sliding it sideways, it is complete if you replace it with a new hard disk.


コメントを残す