If the LENOVO G580 screen has a crackin LCD and there is a bad display on the LCD, a liquid crystal panel replacement (LCD replacement) is required!
[LENOVO G580 LIQUID Crystal Repair and Decomposition Method STEP 1]
The LCD screen has broken and there is a bad display.
When this symptom is repaired by the manufacturer, it becomes a high repair for the replacement of all the liquid crystal upper body, but if only the liquid crystal panel is replaced, the repair price can be saved greatly, so please refer to it.
[LENOVO G580 LIQUID Crystal Repair and Decomposition Method STEP 2]
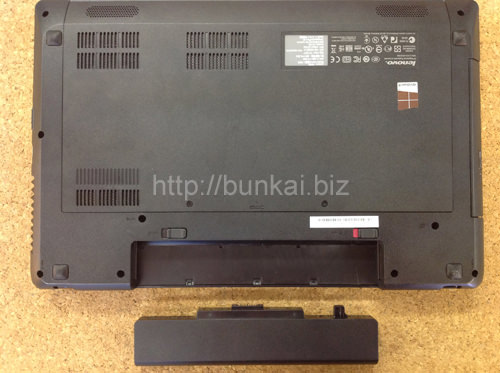
First, remove the battery from the laptop itself.
The battery can be easily removed by sliding it.
[LENOVO G580 LIQUID Crystal Repair and Decomposition Method STEP 3]
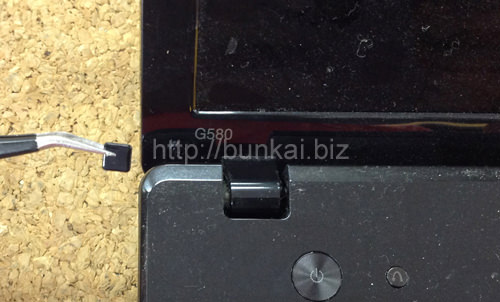
In order to remove the LCD panel, it is necessary to remove the LCD frame.
The lcd frame is secured with screws, and a seal called screw concealation is attached to the screw.
Use tweezers and peel off them.
[LENOVO G580 LCD repair and disassembly method STEP 4]
Let's remove all screws because the screw comes into view inside the screw hidden inside.
[LENOVO G580 LCD repair and disassembly method]
After removing the screw, it enters the decomposition, but since it is fixed with a plastic claw, it will be disassembled using a tool such as a spatula such as an image.
The position where the spatula is inserted is between the LCD back cover and the LCD frame, and the liquid crystal frame can be removed by removing one lap around the liquid crystal.
[LENOVO G580 LCD repair method STEP 6]
When the liquid crystal frame can be removed, the liquid crystal panel becomes exposed, but the liquid crystal panel itself is also secured with screws, so the screws are removed.
First, remove the position of the image (upper left), and then remove the upper right right.
[LENOVO G580 LIQUID Crystal Repair and Decomposition Method STEP 7]
If you can remove the previous two, remove the screws on both sides next.
Because it is easier to remove the screws when the liquid crystal floats a little, it is better to loosen the screws in the lower left and lower right hinges slightly.
After removing all the screws on both sides, turn the LCD panel down to the keyboard side.
The LCD cable is connected to the back of the LCD panel, so be careful and slowly knock it down.
[LENOVO G580 LIQUID Crystal Repair and Decomposition Method STEP 8]
The LCD cable on the back of the LCD panel is disconnected.
You can remove it by sliding it.
[LENOVO G580 LCD repair and disassembly method STEP 9]
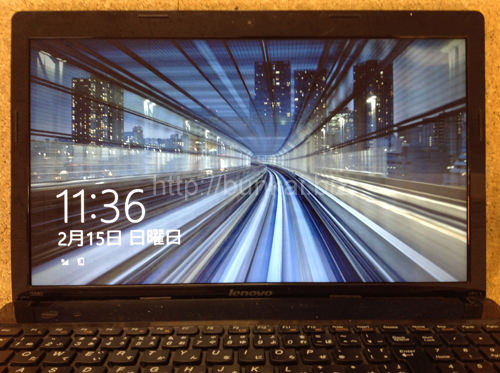
Since it was confirmed that it is displayed normally, the liquid crystal repair is completed.

 If the LENOVO G580 screen has a crackin LCD and there is a bad display on the LCD, a liquid crystal panel replacement (LCD replacement) is required!
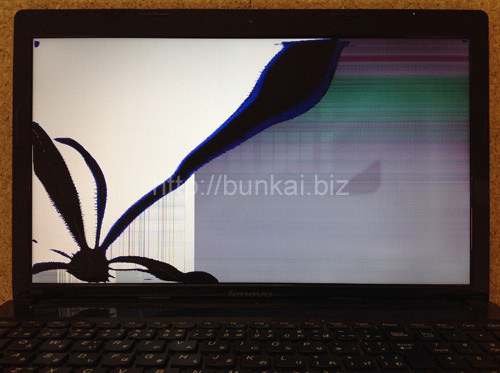

 In order to remove the LCD panel, it is necessary to remove the LCD frame.
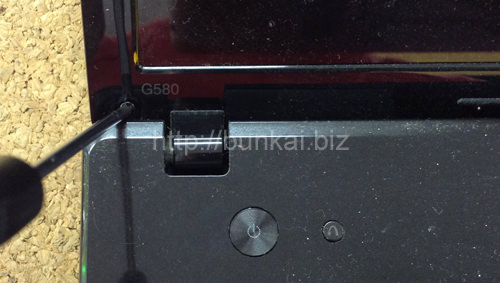
 Let's remove all screws because the screw comes into view inside the screw hidden inside.
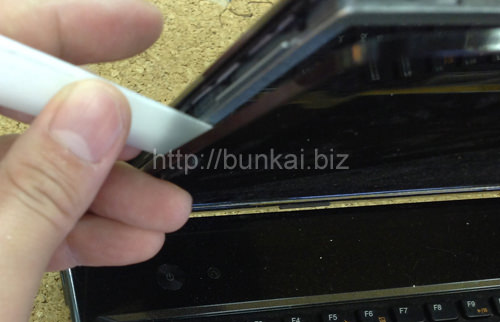
 After removing the screw, it enters the decomposition, but since it is fixed with a plastic claw, it will be disassembled using a tool such as a spatula such as an image.
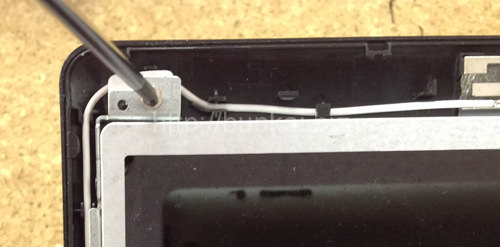
 When the liquid crystal frame can be removed, the liquid crystal panel becomes exposed, but the liquid crystal panel itself is also secured with screws, so the screws are removed.
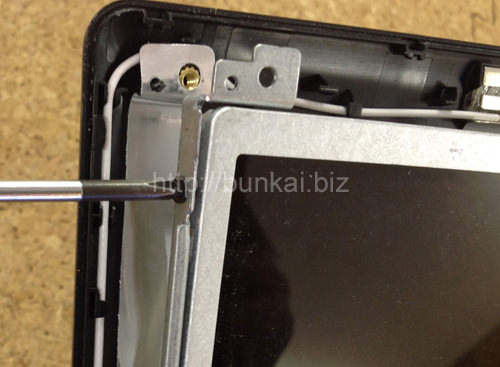
 If you can remove the previous two, remove the screws on both sides next.
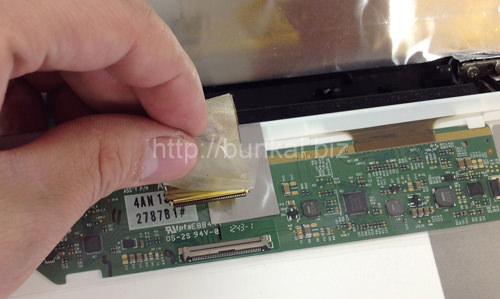


コメントを残す