Screen replacement of LCD cracking of ACER V5-131-N14D Repair method, disassembly procedure
ACER V5-131-N14D LCD screen cracking, LCD panel replacement (LCD replacement) is required if there is a display failure in the liquid crystal!
[ACER V5-131-N14D LCD repair and disassembly method STEP 1]
It is in a state where the inside is not visible at all by the screen cracking.
These symptoms are one of the computer problems that occur when you drop or hit your laptop.
You will be worried about whether there is any data left, but if you have an external monitor, you can check the presence or absence of the data by copying it.
In this case, I think that it is possible to repair it only by the liquid crystal panel change because it is confirmed that it is displayed normally on an external monitor.
I would like to do liquid crystal repair immediately.
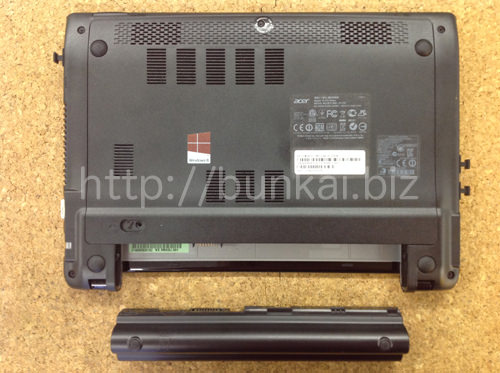
[ACER V5-131-N14D LCD repair and disassembly method STEP 2]
First, remove the battery from the laptop, but insert the tip of the driver into the hole in the upper left corner of the battery and slide it.
You will then be able to remove the battery.
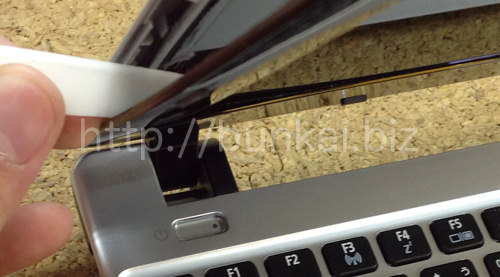
[ACER V5-131-N14D LCD repair and disassembly method STEP 3]
After removing the battery, it enters the decomposition of the liquid crystal, but first remove the liquid crystal frame.
The liquid crystal frame is recommended because it is possible to decompose the liquid crystal efficiently by using a spatula such as an image.
This operation can be removed by one lap of the liquid crystal.
[ACER V5-131-N14D LCD repair and disassembly method STEP 4]
After removing the LCD frame, remove the LCD panel.
Since the LCD panel is secured with screws, remove all screws that secure the LCD panel.
If all screws can be removed, the LCD panel will move, so slowly turn it down to the keyboard side.
The LCD cable is connected to the back of the LCD panel, so be careful not to break or damage it.
[ACER V5-131-N14D LCD repair and disassembly method STEP 5]
The LCD cable is removed from the LCD panel.
Because the seal is attached to the connection part, peel off the seal and slide the cable.
I think that the LIQUID panel was able to be removed from the laptop body if it was possible to disassemble up to this point.
After that, if you incorporate it according to the original process, liquid crystal repair will be completed.
[ACER V5-131-N14D LCD repair and disassembly method STEP 6]
Since the LCD panel was replaced, the liquid crystal which was not visible at all is now displayed.
The screen of windows8 is visible!

 ACER V5-131-N14D LCD screen cracking, LCD panel replacement (LCD replacement) is required if there is a display failure in the liquid crystal!
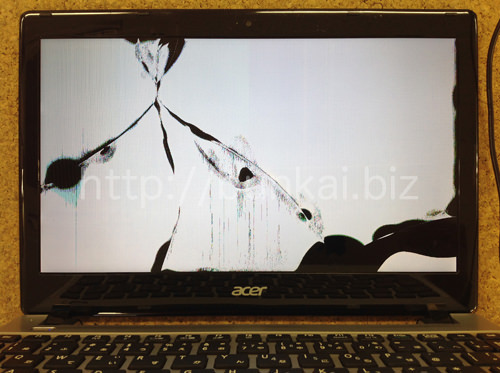

 After removing the battery, it enters the decomposition of the liquid crystal, but first remove the liquid crystal frame.
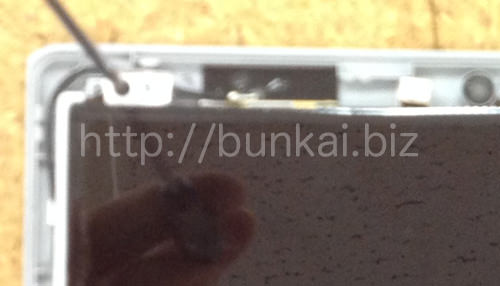
 After removing the LCD frame, remove the LCD panel.
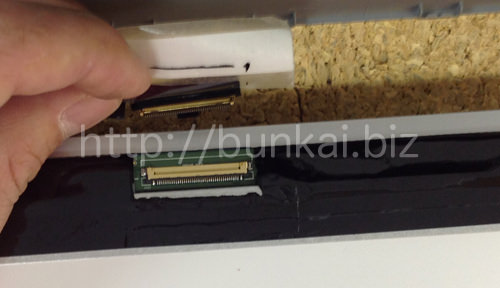
 The LCD cable is removed from the LCD panel.
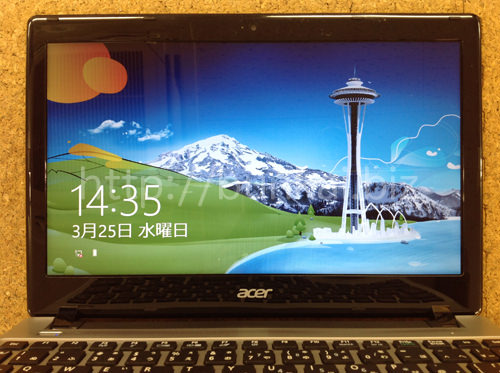


コメントを残す