Toshiba T554/76LR LCD screen cracking, IF THERE is a display failure in the liquid crystal, liquid crystal panel replacement (LIQUID crystal replacement) is required!
[Toshiba T554/76LR LCD repair and disassembly method STEP 1]
The LCD screen is completely white and is not displayed properly.
If you look closely, you can see that the liquid crystal has broken down due to this place because there is a liquid crystal crack in the lower right corner of the liquid crystal panel.
I would like to replace the LCD panel immediately.
When changing the LCD panel, please prepare a Phillips screwdriver and spatula (tool).
[Toshiba T554/76LR LCD repair and disassembly method STEP 2]
First, remove the battery from the laptop itself.
The t554/76LR battery is built-in and cannot be easily removed.
Because it is troublesome, there is a possibility that the PC will fail if it is disassembled as it is, so be sure to remove the battery.
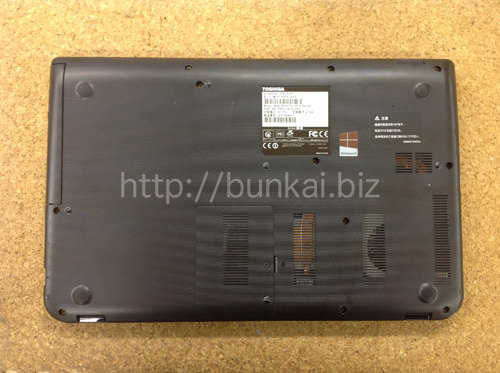
We start with removing all the screws on the back of the main body (bottom case).There is a place where the drive is stopped in the screw on the back of the main body, but remember to do it because the drive can be pulled out by removing the screw.
Also, remove the drive because there is only one slightly larger screw when it can be removed.
[Toshiba T554/76LR LCD repair and disassembly method STEP 3]
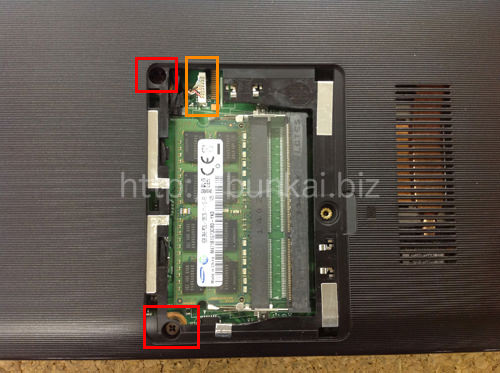
After removing all the screws on the back side of the main unit, open the lid of the memory part.
Then, because there is a screw in the place where there is a memory, the screw of the red frame part two places is removed.
The orange connector must also be removed, but can be removed by lifting it upward.
Now that you can remove the bottom case, please remove it slowly.
There is no image, but if you can remove the bottom case, there is a battery connector around the middle, so slide it off from the motherboard.
Once the battery connection is cut off, it is easier to disassemble it after this by returning the bottom case once.
[Toshiba T554/76LR LCD repair and disassembly method STEP 4]
From here is the decomposition of the liquid crystal.
The liquid crystal frame is fixed with screws and plastic claws.
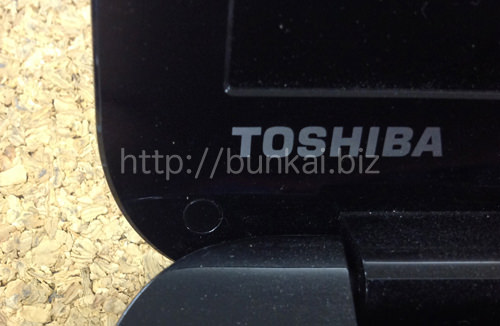
First of all, the screw is removed, but the screw is not visible because there is a seal of the screw hidden and it is hidden.
It can be easily peeled off with a pointed tip such as tweezers.
If you can peel off the screw hidden screw, you will see the screws, so remove all the screws on the LCD frame.
[Toshiba T554/76LR LCD repair and disassembly method STEP 5]
Once all screws can be removed, the LCD frame can be disassembled.
Because it is fixed with plastic claws, it is possible to easily disassemble the liquid crystal by using a spatula such as an image.
If you can disassemble everything around the liquid crystal, you can remove the liquid crystal frame.
[Toshiba T554/76LR LCD repair and disassembly method STEP 6]
When the liquid crystal frame can be removed, the liquid crystal panel is removed, but the LCD panel is fixed to the hinge part.
Because the screw can be removed by using the Phillips screwdriver, all the screws on the left and right are removed.
[Toshiba T554/76LR LCD repair and disassembly method STEP 7]
The upper side is also fixed with screws, but please do not forget to remove the screw of the red frame part.
There is a screw on the left side of the red frame, but it is okay as it is because it is unnecessary in this decomposition.
If you can remove all screws that secure the LCD panel, you can knock the LCD panel forward, so slowly knock down the LCD panel.
[Toshiba T554/76LR LCD repair and disassembly method STEP 8]
You can see that the LCD cable is connected to the back of the LCD panel, but you can remove it by sliding it.
If the liquid crystal cable is disconnected, the line may enter the liquid crystal or cause a malfunction, so please remove it carefully so as not to break down.
I think that the liquid crystal was removed from the laptop body if the decomposition up to this point was done correctly.
If you replace the newly prepared liquid crystal panel, the liquid crystal repair will be completed.
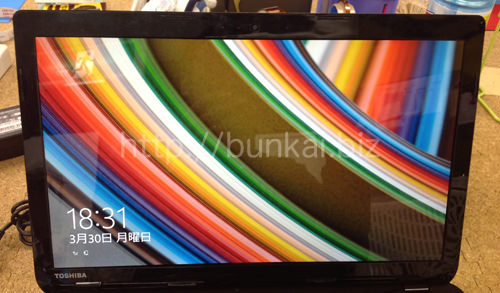
[Toshiba T554/76LR LCD repair and disassembly method STEP 9]
Because the screen of windows8 is visible, the liquid crystal exchange was able to be done without a problem!

 Toshiba T554/76LR LCD screen cracking, IF THERE is a display failure in the liquid crystal, liquid crystal panel replacement (LIQUID crystal replacement) is required!
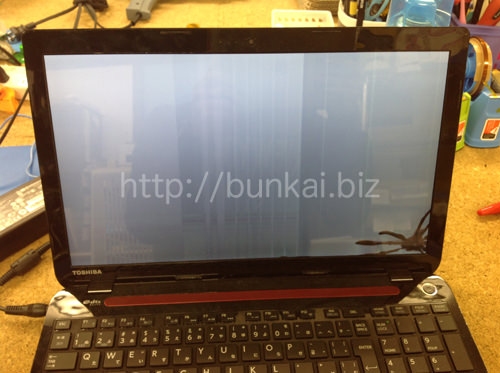

 From here is the decomposition of the liquid crystal.
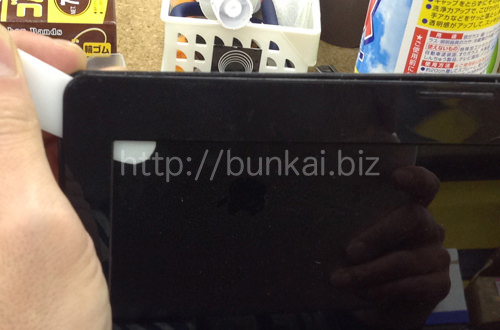
 Once all screws can be removed, the LCD frame can be disassembled.
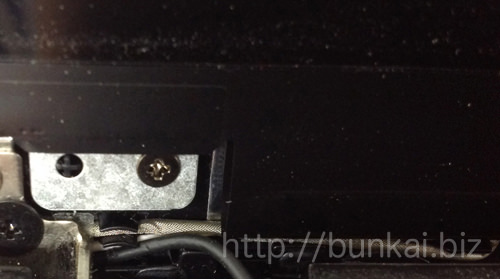
 When the liquid crystal frame can be removed, the liquid crystal panel is removed, but the LCD panel is fixed to the hinge part.
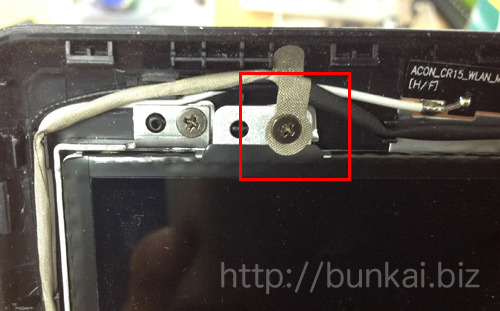
 The upper side is also fixed with screws, but please do not forget to remove the screw of the red frame part.
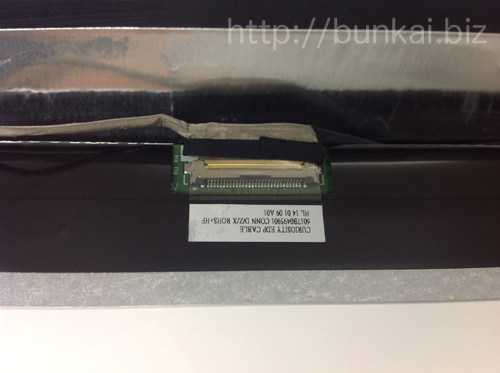
 Because the screen of windows8 is visible, the liquid crystal exchange was able to be done without a problem!

コメントを残す