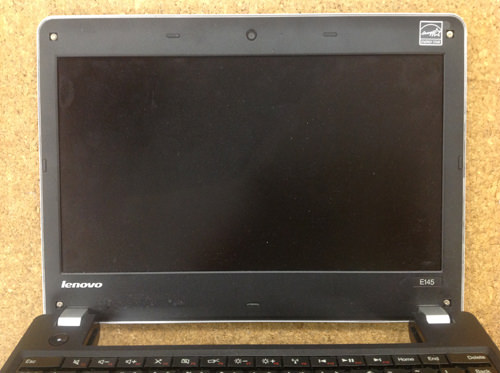
There is a crack in the screen, and the inside is not visible at all.
In this case, it is necessary to do the replacement of the panel, but please try to challenge if you want to cure even a little cheap because it becomes normal as work difficulty!
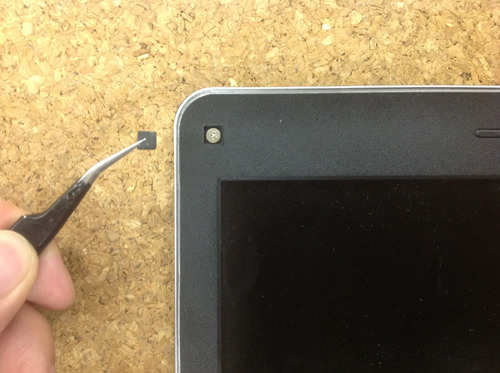
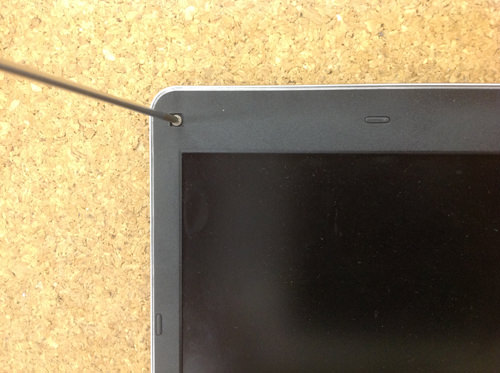
There are four screws in the frame of the liquid crystal, but it is hidden by rubber (black) called screw concealation.
You can easily peel off it if you turn it with tweezers.
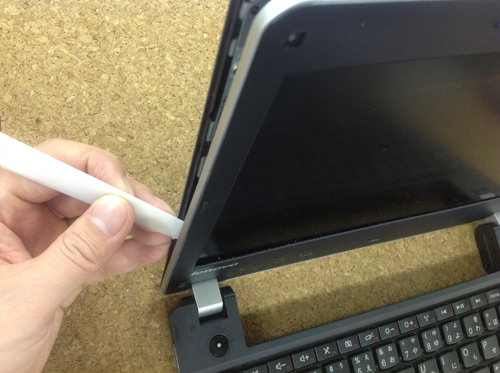
The next thing to do is to remove the frame itself.
I think that you can see that it peels off when the spatula is inserted into the gap between the rear panel and the frame and it is made to break lightly.
You can remove the frame by inserting the spatula into the periphery of the panel.
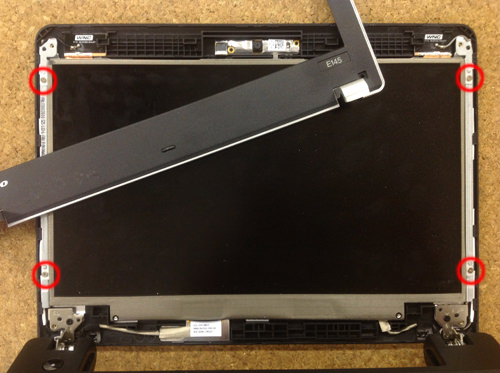
The frame could be removed!
There is a screw in the place which is enclosed in red, but the panel is fixed to the hinge, so I remove it all.
If you can remove the screw, you will be able to move the panel, so you will knock it down to the keyboard surface.
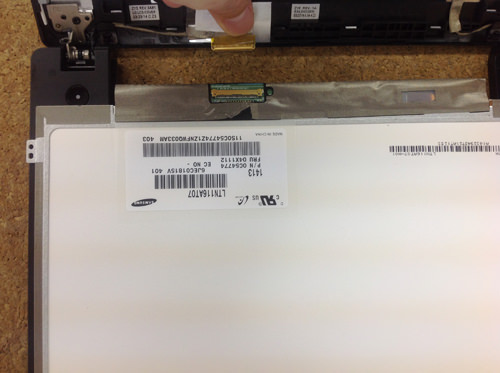
The LCD cable is connected to the back of the panel, so slide it off.
At this time, be careful not to damage the cable.
If the cable is broken, the line may enter the lcd or the screen may not be visible.
I think that only the liquid crystal was able to be removed from the personal computer if the decomposition method up to this point was able to be done accurately.
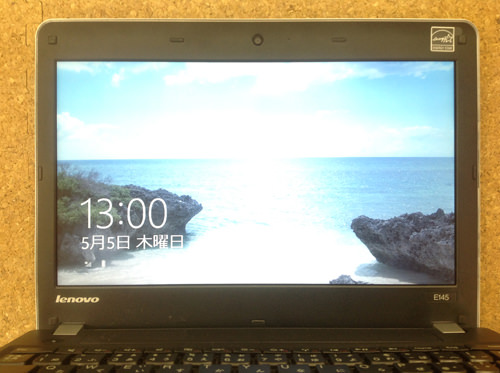
If a new LCD panel is installed and reassembled with the original procedure, the LCD replacement is complete.

 Replacing the LCD panel of the Lenovo ThinkPad Edge E145 can be solved in the following ways:
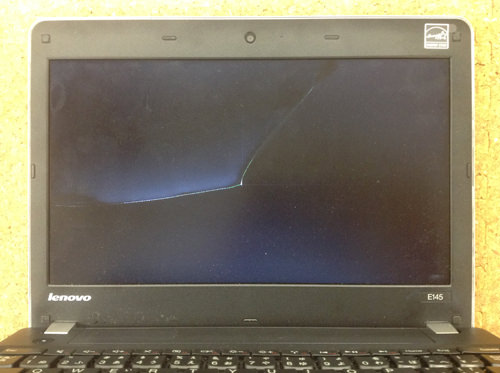


コメントを残す