If there is a liquid crystal crack or display failure of the ACER Aspire Timeline X 3830T, a liquid crystal panel replacement (LCD replacement) is required!
[ACER Aspire Timeline X 3830T LCD Repair and Decomposition Method STEP 1]
It can be seen that the liquid crystal has broken and the whole crack has become a bad display.
In this case, it is necessary to change the LCD panel, so I would like to disassemble it immediately.
[ACER Aspire Timeline X 3830T LCD Repair and Decomposition Method STEP 2]
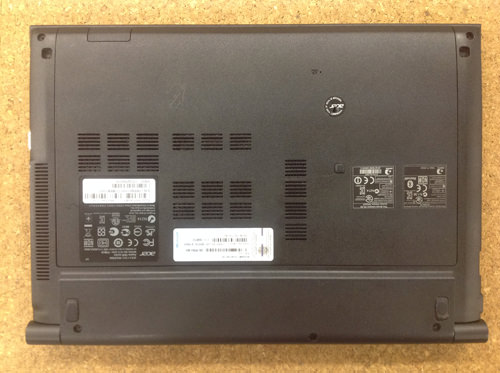
First of all, it is a place where you want to remove the battery, but this model will be a built-in battery type, so you can not remove the battery until you disassemble it.
The main body is turned over and a hidden screw is placed under the seal of the manufacturer logo of the back lid, so remove it, and slide the lid up of the image to remove the back lid.
[ACER Aspire Timeline X 3830T LCD Repair and Decomposition Method STEP 3]
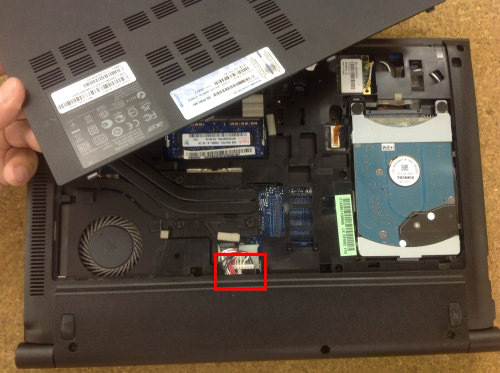
There is a battery connector in the place of the red mark, so remove it so as to pull it out.
[ACER Aspire Timeline X 3830T LCD Repair and Decomposition Method STEP 4]
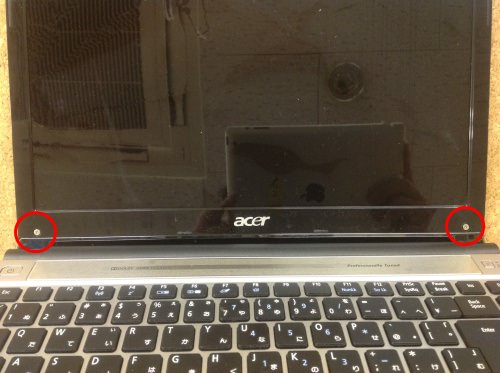
Next, a black plastic seal that hides the screw sash in the red mark place at both ends of the upper part of the liquid crystal is glued, so we use tweezers and peel it off.
[ACER Aspire Timeline X 3830T LCD Repair and Decomposition Method STEP 5]
There are two phillips screws under the screw hide that I removed earlier, so remove them.
[ACER Aspire Timeline X 3830T LCD Repair and Decomposition Method STEP 6]
When the screw can be removed, the frame can be removed, but it decomposes using a spatula (tool) as shown in the image.
You can remove the frame by inserting the tool into the gap between the rear panel and the frame and doing this work around the liquid crystal.
[ACER Aspire Timeline X 3830T LCD Repair and Decomposition Method STEP 7]
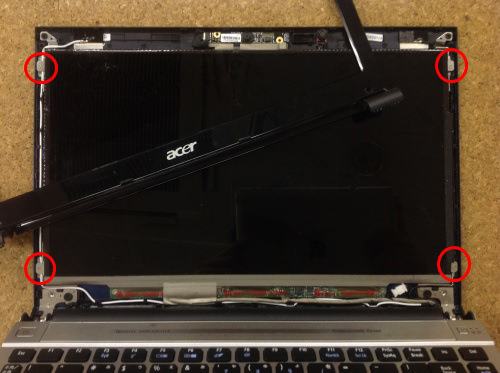
The LCD panel is secured with four phillips screws, so remove all of them.
[ACER Aspire Timeline X 3830T LCD Repair and Decomposition Method STEP 8]
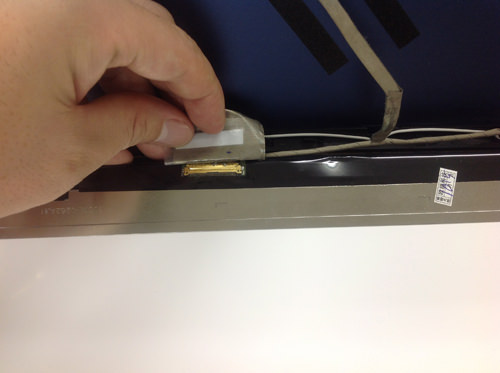
The red mark at the bottom of the LCD panel is protected by a gray seal so that the connector on the LCD cable does not come off.
[ACER Aspire Timeline X 3830T LCD Repair and Decomposition Method STEP 9]
You can easily remove it by turning the seal and sliding the connector.
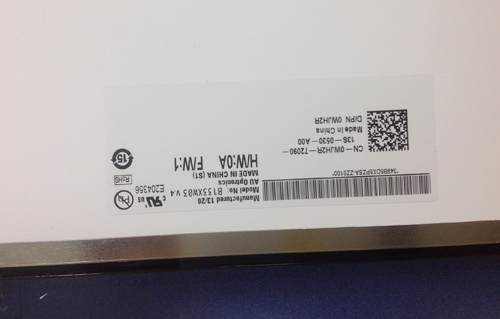
[ACER Aspire Timeline X 3830T LCD Repair and Decomposition Method STEP 10]
LCD panel that was installed
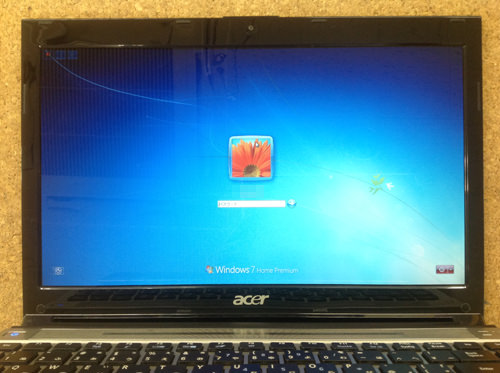
[ACER Aspire Timeline X 3830T LCD Repair and Decomposition Method STEP 11]
I turned on my laptop after i had to embed it, but I was able to confirm that it was displayed normally.

 If there is a liquid crystal crack or display failure of the ACER Aspire Timeline X 3830T, a liquid crystal panel replacement (LCD replacement) is required!
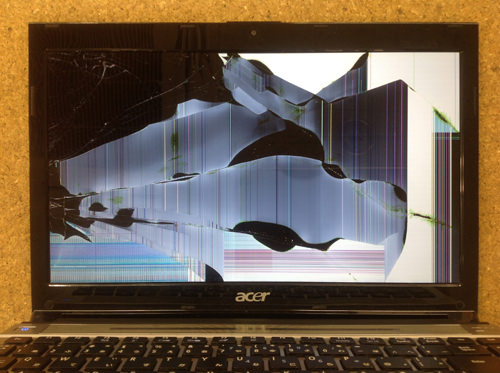

 There is a battery connector in the place of the red mark, so remove it so as to pull it out.
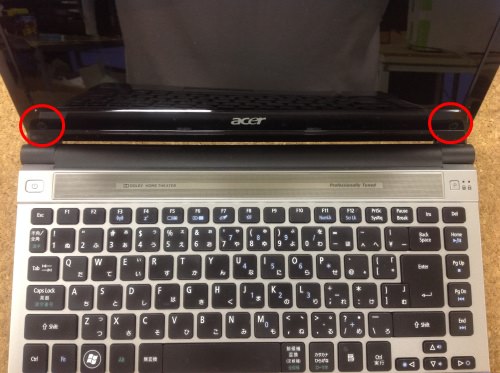
 There are two phillips screws under the screw hide that I removed earlier, so remove them.
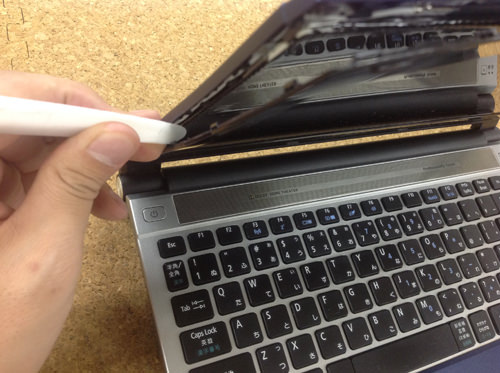
 The LCD panel is secured with four phillips screws, so remove all of them.
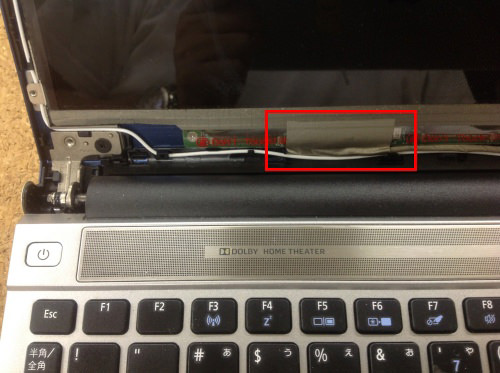


コメントを残す