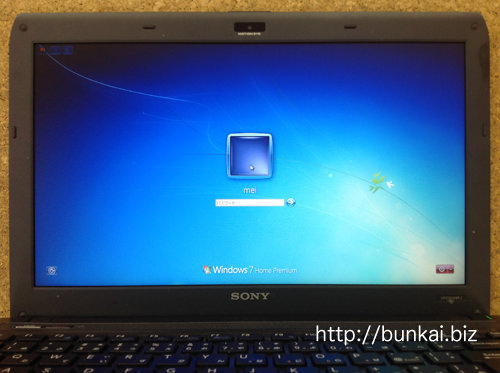
Because the screen is broken, you can check the mark such as ink leakage.
Since you can confirm that the data remains, if you change the LCD panel, you can use the laptop in the same environment as before, so I would like to disassemble the PC immediately.
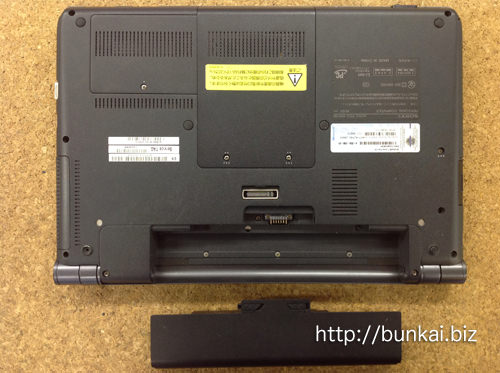
Be sure to remove the battery when disassembling your laptop.
If it is not removed, it may be short-circuited during disassembly.
The battery can be easily removed by turning the unit over.
Next, it enters the decomposition of the liquid crystal frame, but the screw comes into view when the screw is removed, so first peel off all screw strips with tweezers.
If all screws can be removed, the liquid crystal frame will be removed, but the liquid crystal frame is also fixed with plastic claws.
If you use a spatula like the image, you can remove it well.
Since the LCD frame is located all around the LCD, you can remove the frame by removing all the nails.
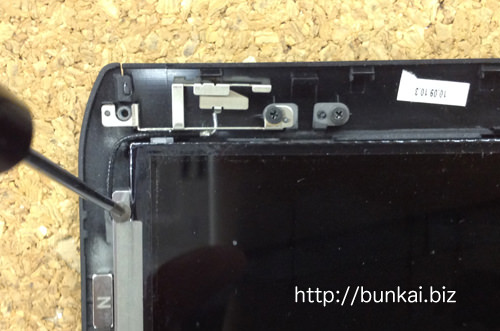
I think that the screw that secures the liquid crystal panel comes into view, so remove all screws.
Then, it is possible to move the LCD panel, so it will lie down to the keyboard side.
The LCD cable is still installed, so try to knock it down slowly.
The LCD cable is removed from the LCD panel.
Because it is fixed with transparent tape, it can be removed by peeling off and then sliding the LCD cable parallel.
If the decomposition method up to this point can be done accurately, I think that the liquid crystal panel could be removed from the laptop body, so if you reassemble it according to the original process, liquid crystal repair will be completed.

 SONY VPCS12AGJ LCD screen cracking, IF THERE is a display failure in the LIQUID CRYSTAL, lcd panel replacement (LCD replacement) is required!
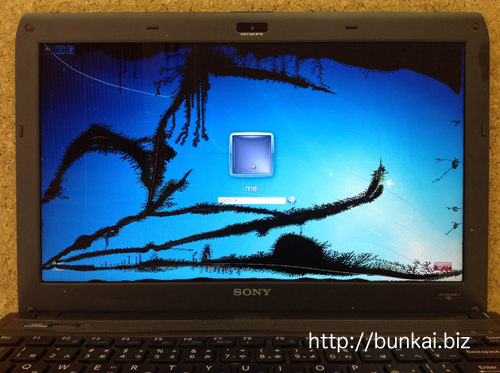

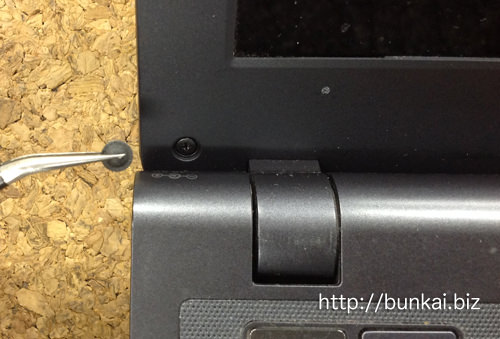
 Next, it enters the decomposition of the liquid crystal frame, but the screw comes into view when the screw is removed, so first peel off all screw strips with tweezers.
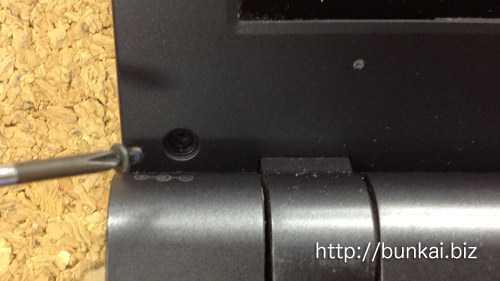
 Use a Phillips screwdriver to remove the screw scan scan scan scan scan scan scan scan scan scan scan scan scan scan scan scan scans the screws.
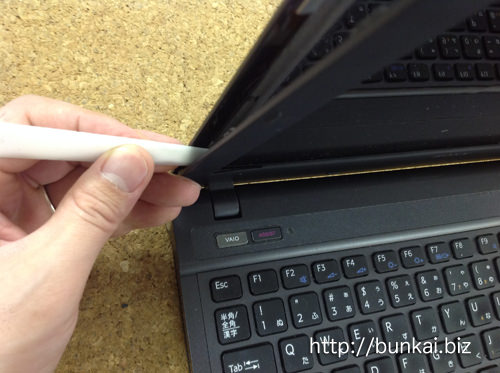
 I think that the screw that secures the liquid crystal panel comes into view, so remove all screws.
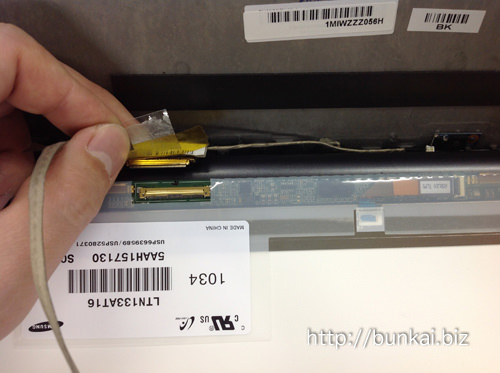


コメントを残す