SCREEN SCREEN Replacement of LCD Cracking ON HP Pavilion15-n210TU Repair Method, Decomposition Procedure
HP Pavilion15-n210TU LCD screen cracking, LCD panel replacement (LCD replacement) is required if there is a display failure in the liquid crystal!
[HP Pavilion15-n210TU LCD repair and disassembly method STEP 1]
It is a state that is not displayed properly because the LCD screen is cracked.
Since we were able to check the data successfully when using an external display, I think that you can use the laptop in the same environment as before just by replacing the LCD panel.
[HP Pavilion15-n210TU LCD repair and disassembly method STEP 2]
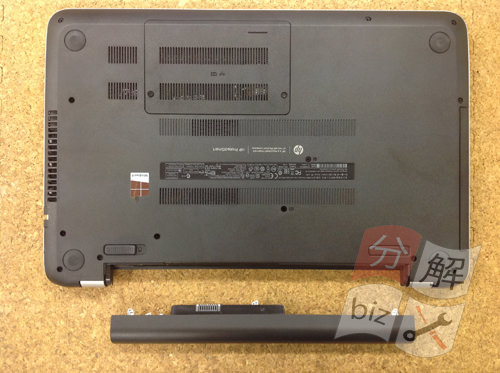
Be sure to remove the battery when disassembling your laptop.
Please note that if you disassemble without removing the battery, it may shortdown inside.
[HP Pavilion15-n210TU LCD repair and disassembly method STEP 3]
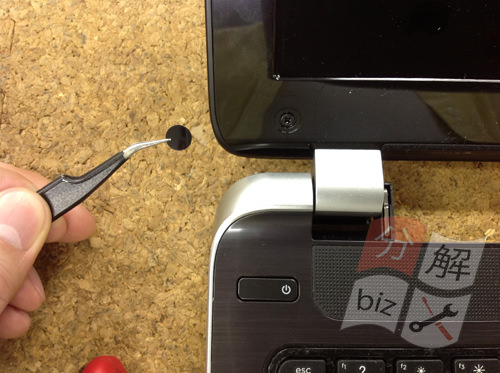
To remove the LCD panel, you must first remove the LCD frame.
Since the liquid crystal frame is secured with screws, first remove the liquid crystal frame in front of the LCD panel.
Because the seal called screw concealation is attached, it peels off using tweezers etc.
[HP Pavilion15-n210TU LCD repair and disassembly method STEP 4]
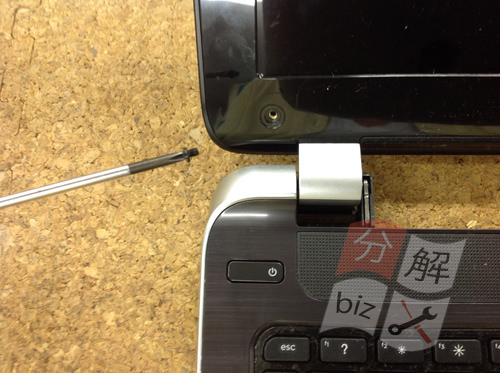
If you peel off the screw hidden, the screw is hidden inside, so you will use the Phillips screwdriver.
There are screws in the same part on the right side, so remove them as well.
[HP Pavilion15-n210TU LCD repair and disassembly method STEP 5]
The next process is to disassemble the LCD frame directly.
As is the same for all laptops, the LCD frame is secured with screws and plastic claws.
I removed the screw earlier, but the next step is to disassemble the plastic claws.
It is recommended because the work efficiency is improved if you use a spatula like the image and disassemble it.
Spatula can be purchased for several hundred yen at home centers, etc.
[HP Pavilion15-n210TU LCD repair and disassembly method STEP 6]
When the liquid crystal frame can be removed, the liquid crystal panel is removed, but the LCD panel is fixed to the hinge part.
Because the screw can be removed by using the Phillips screwdriver, all the screws on the left and right are removed.
If you can remove all the left and right screws, you will be able to knock the LCD panel down to the keyboard side, so slowly turn it down.
Since the LCD cable is fixed to the back of the liquid crystal, care must be taken to prevent the cable from failing.
I think that the liquid crystal panel could have been removed if the decomposition up to this point had been done correctly.
After that, if you replace the new LIQUID panel, liquid crystal repair will be completed.
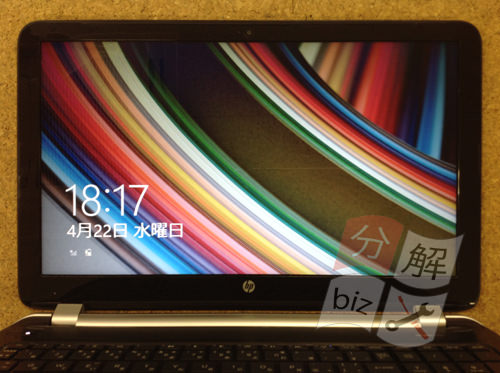
[HP Pavilion15-n210TU LCD repair and disassembly method STEP 7]
I was able to check the boot screen of windows8 successfully.

 HP Pavilion15-n210TU LCD screen cracking, LCD panel replacement (LCD replacement) is required if there is a display failure in the liquid crystal!
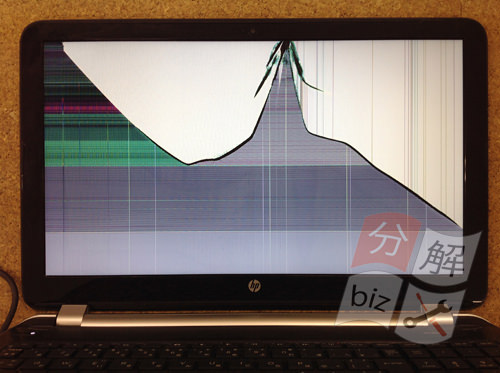


 The next process is to disassemble the LCD frame directly.
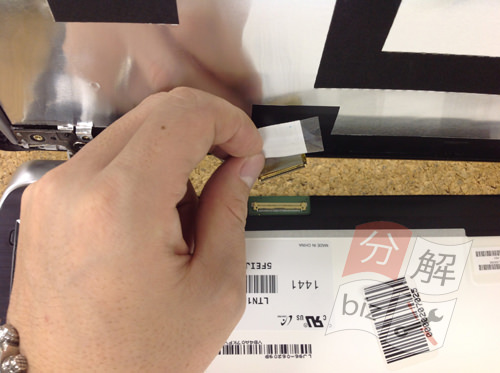


コメントを残す