CF-J10 is very small and convenient to carry because it becomes a mobile personal computer, but if the screen is broken, lcd panel replacement will be necessary, so please refer to the target!
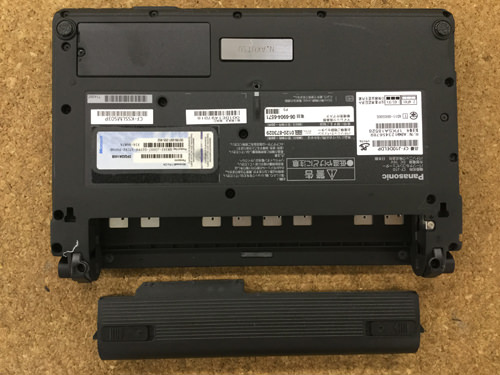
First of all, I turn the laptop inside out and go from the place where the battery is removed for the first time.
Because there is a knob on the battery itself, you can easily remove it by pulling it out while sliding the knob.
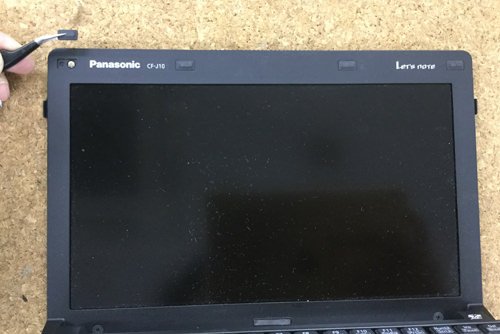
From here, we will start the process of removing the LIQUID panel.
The frame of the liquid crystal is fixed with six screws in all, and it is fixed with the upper four and the bottom two.
Because the lower side is visible, it can be removed easily, but the upper side is hidden by rubber, so it peels off with tweezers.
Please note that the lower part has a slightly larger screw than before, so if you use a screwdriver with a thin tip, you may get licked.
If all screws can be removed, the frame can be removed.
The LCD panel of CF-J10 can be removed as soon as the frame is removed, but please note that the back side is connected by a connector.
Let's knock it down to the keyboard side as it is!
I think that it is understood that there is a connector in the upper right part though it is put to the state in which it lays on the keyboard.
If you peel off the transparent tape and slide the connector, you can remove only the LCD panel.
Because black and thin rubber is attached around the removed panel, it is transplanted to the panel to be newly installed.
This part is not a problem for the time being without transplanting, but please transplant if it becomes likely to become a gap of the liquid crystal panel slightly.
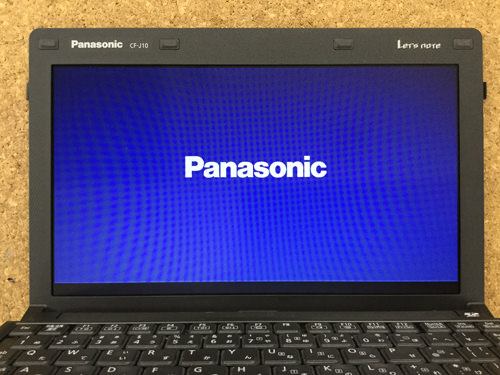
The newly prepared LCD panel has been replaced and turned on.
Since it was confirmed that it is displayed normally, the liquid crystal replacement of CF-J10 is completed.

 This decomposition method is effective when there is a liquid crystal crack or display failure of Panasonic Let's note CF-J10.
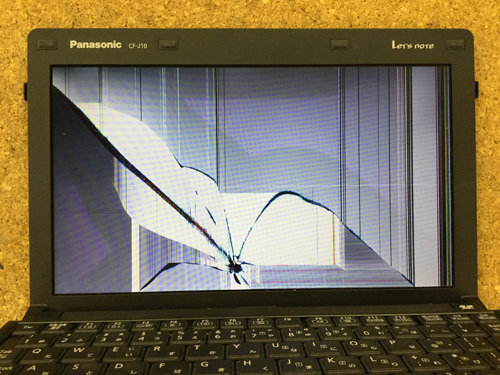

 From here, we will start the process of removing the LIQUID panel.
 If you can remove the rubber, you will see the screws, so you will remove all four using a Phillips screwdriver.
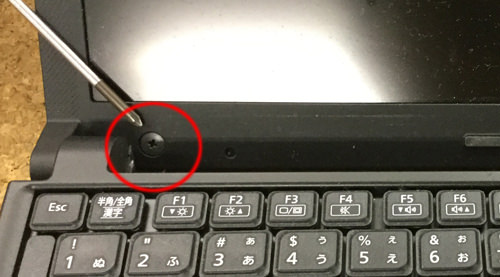
 Please note that the lower part has a slightly larger screw than before, so if you use a screwdriver with a thin tip, you may get licked.
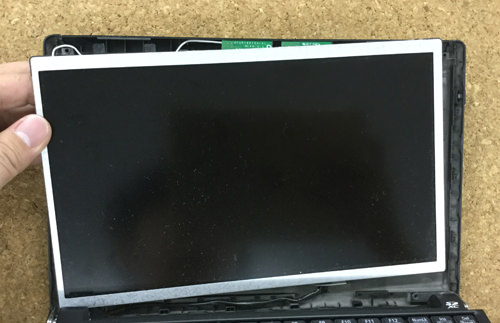
 The LCD panel of CF-J10 can be removed as soon as the frame is removed, but please note that the back side is connected by a connector.
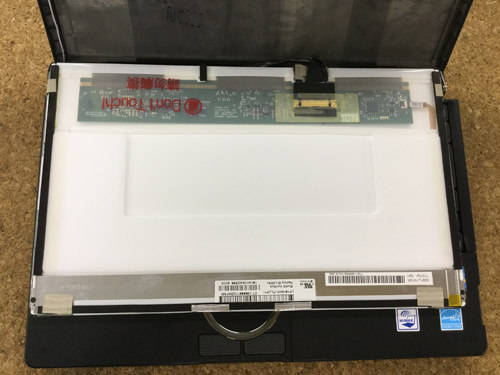


コメントを残す