It is difficult to understand as far as the image is seen, but there is a display failure on the LCD panel.
There is a condition that the mosaic and the wire are contained, and there is a suspicion that it is a liquid crystal panel failure, a liquid crystal cable failure, or a motherboard failure at this time.
When I connected to an external display, I felt that it was probably a liquid crystal panel failure because it was displayed normally on the external display.
I want to disassemble the liquid crystal immediately because it is possible to cut the failure part if I do parts exchange.
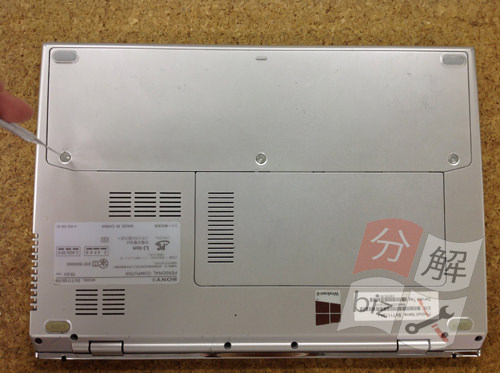
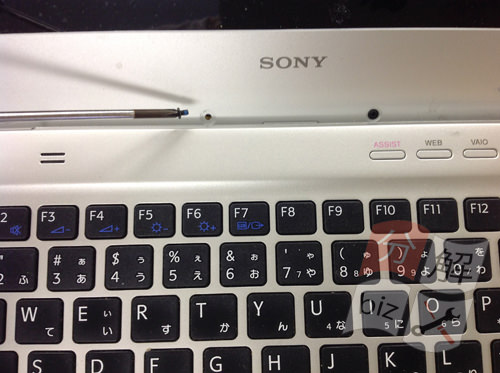
First of all, the battery is removed from the laptop body.
The battery of SVT111B11N is screwed on the back of the main body, so remove three places with a flat-blade screwdriver.
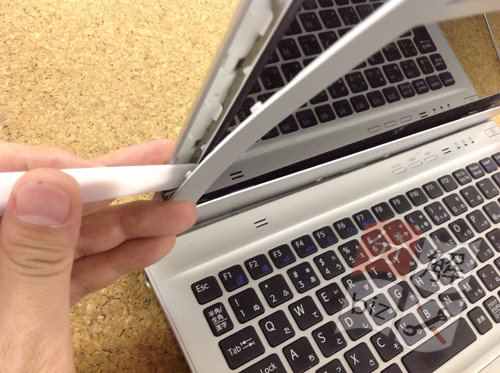
From here, the liquid crystal side is removed, but the liquid crystal frame is removed first to remove the liquid crystal panel.
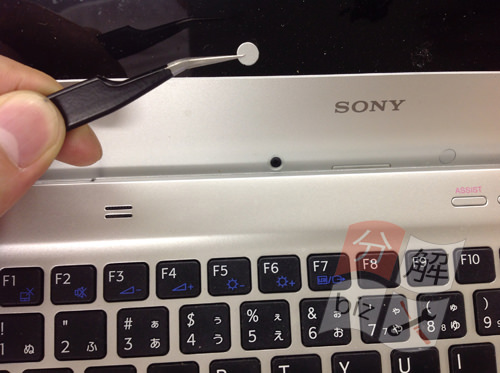
The liquid crystal frame is fixed with screws, but there is a seal called screw concealation on the screw, so it peels off with tweezers.
If the screw can be removed, the liquid crystal frame will be disassembled using a spatula like the image.
Since the liquid crystal frame is fixed even with plastic nails, we carefully disassemble it so as not to fold it.
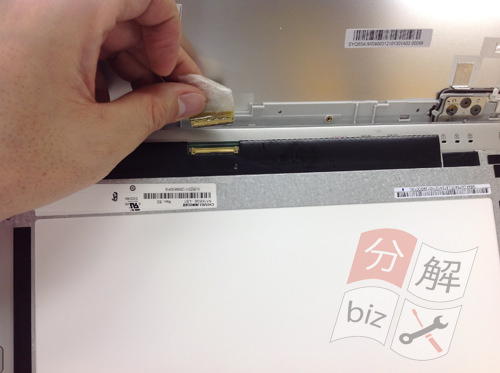
If you can remove the liquid crystal frame, you will see the liquid crystal panel, so if there is something that secures the liquid crystal, let's remove it.
The LCD panel is knocked down to the keyboard side, but a liquid crystal cable is connected to the back of the LCD.
You can remove the LCD cable by sliding it in parallel with the LCD panel.
I think that only the liquid crystal panel was removed from the laptop body by the decomposition work up to this point, but the liquid crystal panel replacement is completed if the liquid crystal panel which performs a new installation is done.

 SONY SVF15317DJW LCD screen cracking, LCD panel replacement (LCD replacement) is required if there is a display failure in the liquid crystal!
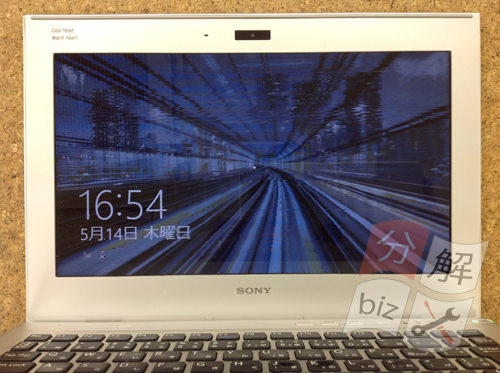


コメントを残す