Screen replacement of lcd cracking of Gateway ID49C-A22C Repair method, disassembly procedure
Gateway ID49C-A22C LCD screen cracking, IF THERE is a display failure, liquid crystal panel replacement (LCD replacement) is required!
[Gateway ID49C-A22C LCD repair and disassembly method STEP 1]
It is a liquid crystal crack by having trampled the laptop.
In the case of liquid crystal cracking, parts need to be replaced due to physical failure.
You may be worried about whether there is any data left, but you can check the internal data by using an external monitor.
If it appears normally on the external monitor side, it may be possible to use it in the same environment as before if only the LIQUID panel is replaced.
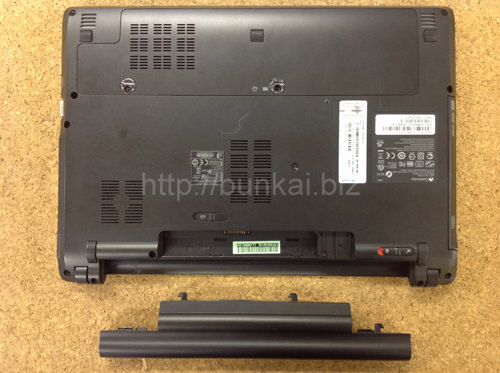
[Gateway ID49C-A22C LCD repair and disassembly method STEP 2]
It enters the removal of the battery, but there is a knob that can remove the battery in the lower right part in the image.
You can remove it by sliding the battery while sliding the knob.
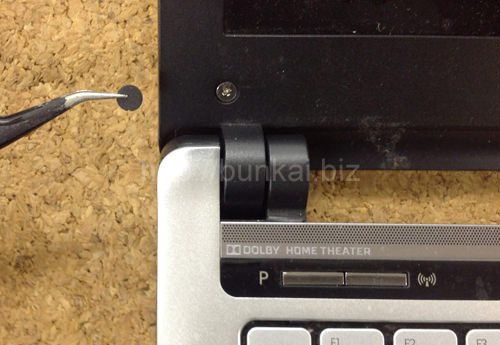
[Gateway ID49C-A22C LCD repair and disassembly method STEP 3]
When removing the LCD panel, it is necessary to remove the liquid crystal frame, so first go to remove the liquid crystal frame.
The lcd frame is secured with screws, and the screws are hidden from the screw.
Because the seal of the black circle is attached to the image part, i use tweezers etc. and peel it off.
[Gateway ID49C-A22C LCD repair and disassembly method STEP 4]
Since the screw comes into view, use the Phillips screwdriver.
[Gateway ID49C-A22C LCD repair and disassembly method STEP 5]
The next thing to do is to disassemble the LCD frame.
A slightly soft ert similar to the image is used to decompose, but the spatula is inserted into the gap between the back panel of the liquid crystal and the liquid crystal frame.
It is fixed with plastic nails, but it comes to float when it can be disassembled.
If the plastic around the liquid crystal can be removed, the liquid crystal frame can be removed.
[Gateway ID49C-A22C LCD repair and disassembly method STEP 6]
When the liquid crystal frame comes off, it becomes a liquid crystal panel paper embossed, but the liquid crystal panel itself is also screwed to the hinge.
Because there are a total of four places, all screws are removed.
When the screw is removed, the LCD panel is knocked down to the keyboard side.
The LCD cable is connected to the back of the LCD panel, so slide it out.
After that, if you replace it with a newly prepared liquid crystal panel, liquid crystal repair is complete.
[Gateway ID49C-A22C LCD repair and disassembly method STEP 7]

 Gateway ID49C-A22C LCD screen cracking, IF THERE is a display failure, liquid crystal panel replacement (LCD replacement) is required!
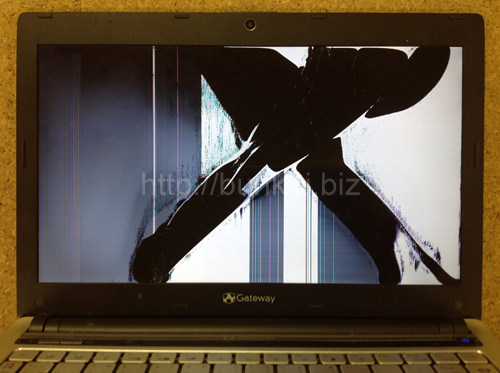

 When removing the LCD panel, it is necessary to remove the liquid crystal frame, so first go to remove the liquid crystal frame.
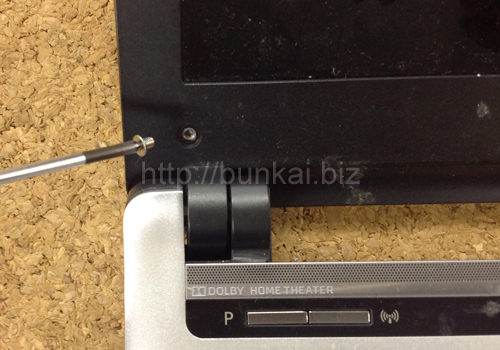
 Since the screw comes into view, use the Phillips screwdriver.
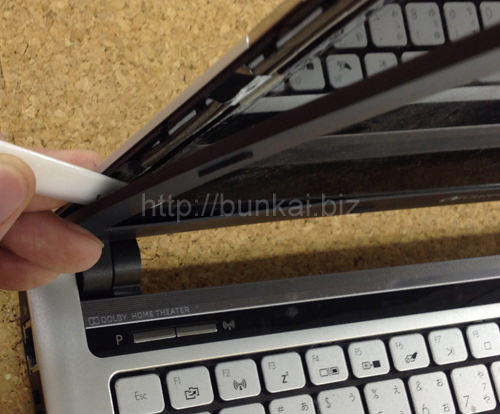
 The next thing to do is to disassemble the LCD frame.
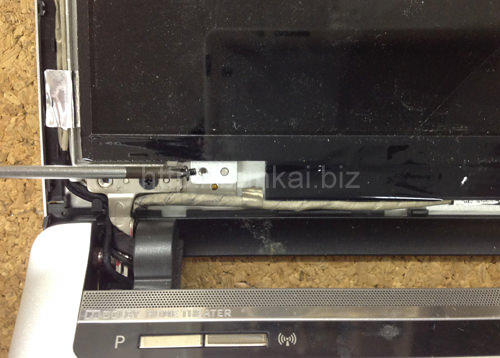
 When the liquid crystal frame comes off, it becomes a liquid crystal panel paper embossed, but the liquid crystal panel itself is also screwed to the hinge.
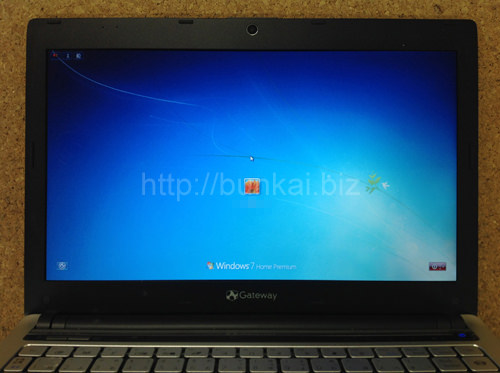


コメントを残す