If toshiba dynabook B240/22A has liquid crystal cracking, lcd panel replacement (LCD replacement) is required!
[Toshiba PB24022ASTB LCD repair and disassembly method STEP 1]
It is not displayed properly because there is a crack in the screen.
This symptom is commonly referred to as liquid crystal cracking, and it is a case of trouble that represents a personal computer that occurs when a strong impact is applied from the outside.
I have only entered the crack, but you can check that Windows is starting normally, so you can use the laptop as before if you only replace the panel.
[Toshiba PB24022ASTB LCD repair and disassembly method STEP 2]
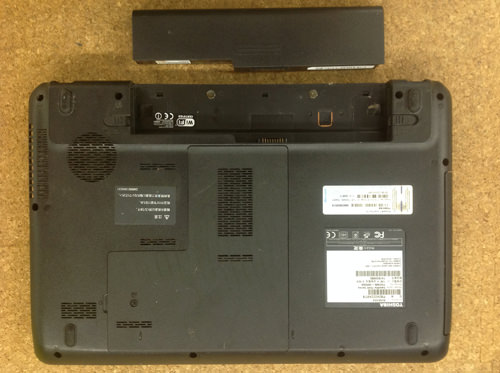
When disassembling, remove the battery from the laptop itself.
Remove the battery by turning the lid inside out and sliding the knob on the side.
[Toshiba PB24022ASTB LCD repair and disassembly method STEP 3]
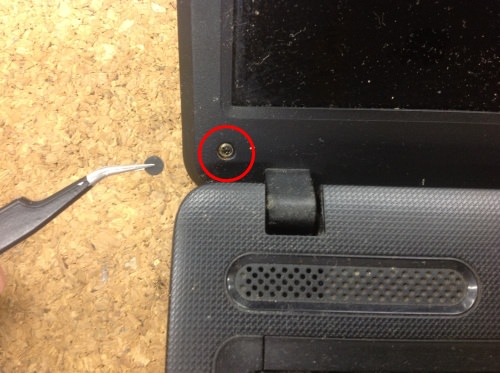
The frame must be removed in order to replace the LCD panel.
You can see that there is a screw in the image part, but because there is a black seal called screw concealation, it will peel off using tweezers.
Please do not throw away the screw concealment because it will be reused later!
[Toshiba PB24022ASTB LCD repair and disassembly method STEP 4]
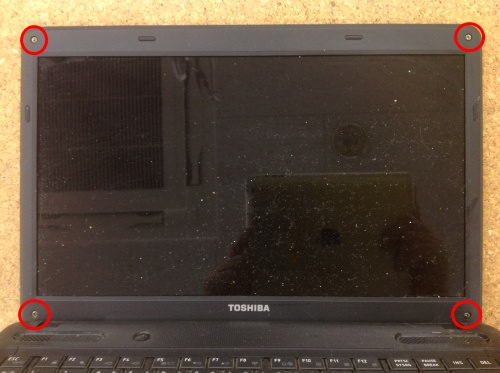
The frame of dynabook B240/22A is fixed with four screws in all, so let's remove everything in the previous manner!
[Toshiba PB24022ASTB LCD repair and disassembly method STEP 5]
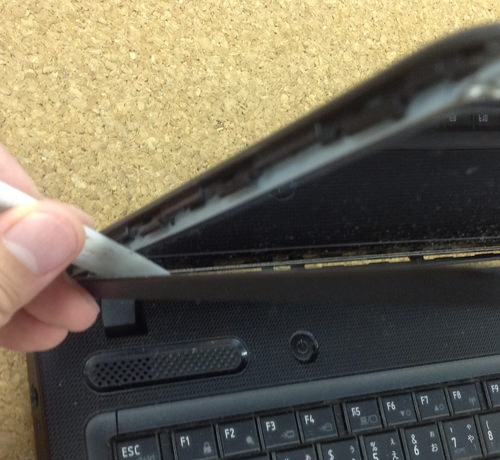
If all screws can be removed, the frame can be removed, so we will use a tool (spatula) like the image to disassemble it.
If you insert a spatula around the monitor, you will see that the frame comes off.
[Toshiba PB24022ASTB LCD repair and disassembly method STEP 6]
When you have finished removing the frame, remove all the screws next to the panel.
In the image, it will be on the left side, but remember to remove the right hinge because there are screws in the same way.
If you can remove all the left and right screws, you will be able to move the panel, so let's knock it down to the keyboard surface!
[Toshiba PT55467KBXW LCD repair and disassembly method STEP 7]
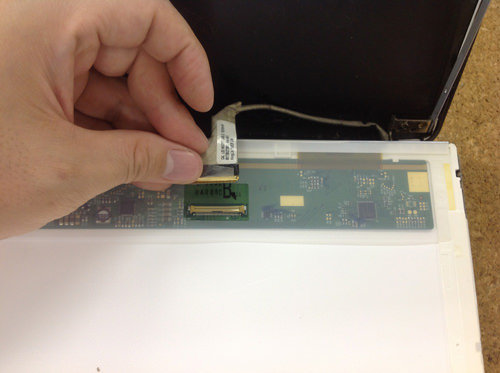
There is still a cable on the back of the panel, but you can remove the cable from the panel if you slide it like an image.
I think that i was able to remove only the panel from the laptop body if the decomposition method up to this point was able to be done accurately.
After that, if you replace it with a newly prepared panel, the monitor replacement will be completed.
[Toshiba PB24022ASTB LCD repair and disassembly method STEP 8]
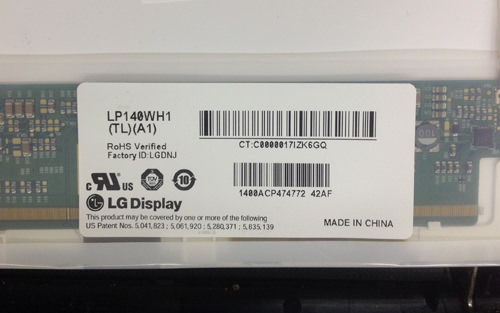
It is the model number of the panel that was used in this dynabook B240/22A.
LP140WH1(TL)(A1)
The above panel will be LG, but just because it is a Toshiba laptop, it does not have a toshiba panel.
[Toshiba PB24022ASTB LCD repair and disassembly method STEP 9]
I returned to the state before the failure because the data can be confirmed normal display and the data remains without any problems!

 If toshiba dynabook B240/22A has liquid crystal cracking, lcd panel replacement (LCD replacement) is required!
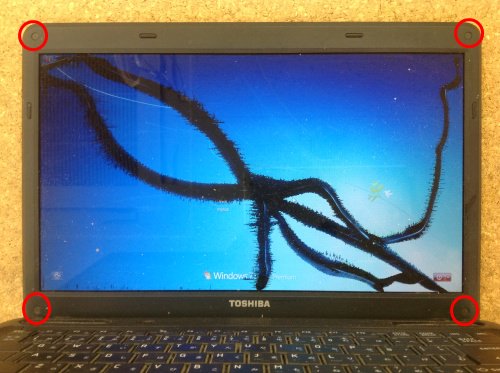

 If all screws can be removed, the frame can be removed, so we will use a tool (spatula) like the image to disassemble it.
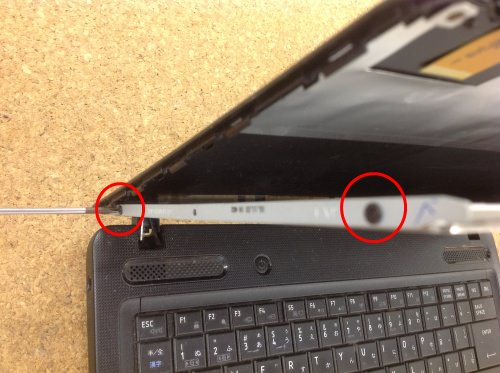
 It is the model number of the panel that was used in this dynabook B240/22A.
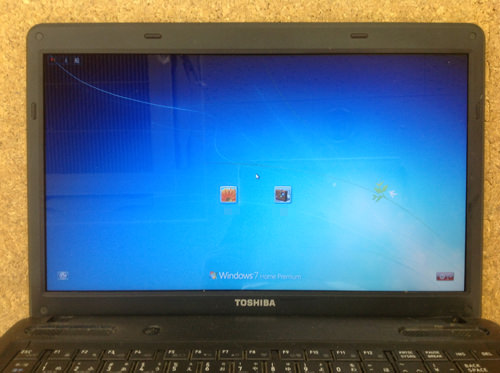


コメントを残す