If the screen of Toshiba dynabook R634 is broken, LCD panel replacement is mandatory, but I think that you can refer to it because the method of liquid crystal exchange is published below.
[Toshiba R634/K LCD replacement 1]
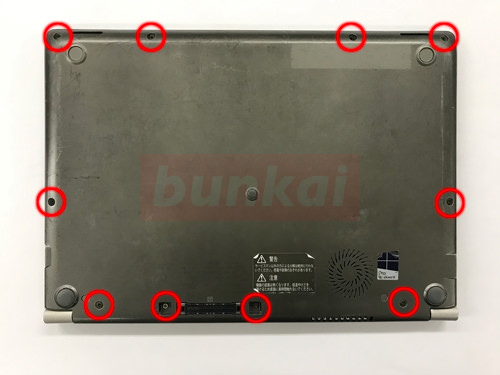
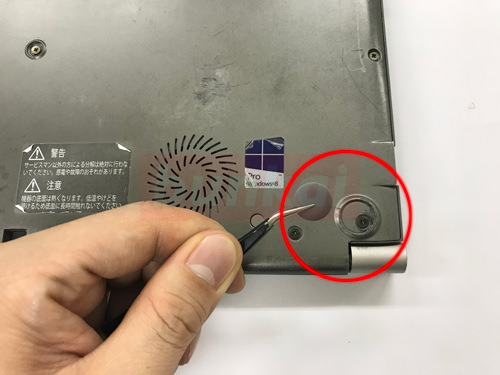
First of all, let's turn over the main body and remove all the screws of the part surrounded by a red circle.
[Toshiba R634/K LCD replacement 2]
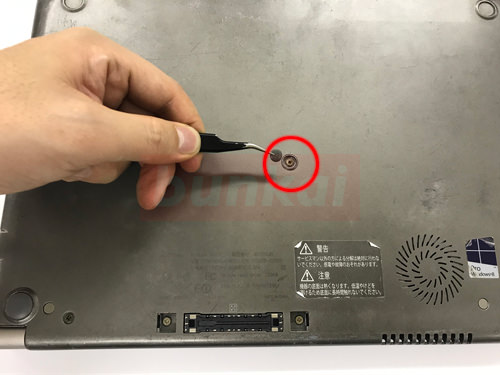
Because the screw is hidden in the middle, let's remove it to the forgotten lesbian.
[Toshiba R634/K LCD replacement 3]
This is a rubber foot, but i remove it because the screw is hidden when I turn the rubber.
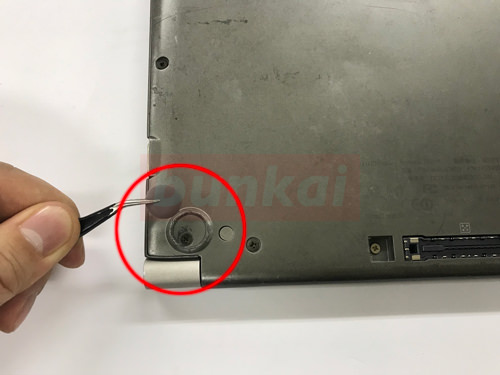
[Toshiba R634/K LCD replacement 4]
Because there is a screw when I turn the rubber as before, it removes it.
[Toshiba R634/K LCD replacement 5]
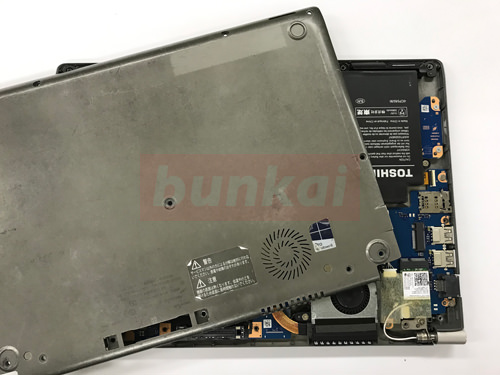
If you can remove all the screws on the back of the main body, you can remove the back cover.
[Toshiba R634/K LCD replacement 6]
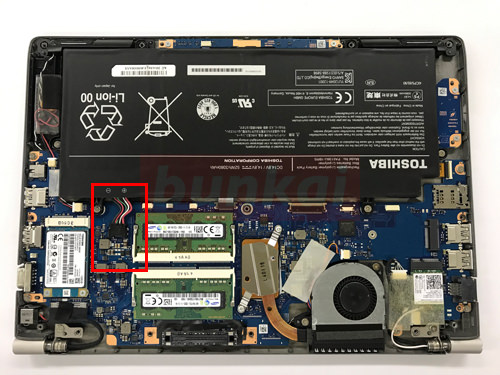
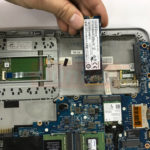
No matter which parts you replace, you will cut off the computer's electricity before you work, but first remove the battery connector.
The red frame is the connection between the battery and the motherboard.
[Toshiba R634/K LCD replacement 7]

You can remove the connector by sliding the connector in the direction of the arrow as shown in the image.
[Toshiba R634/K LCD replacement 8]
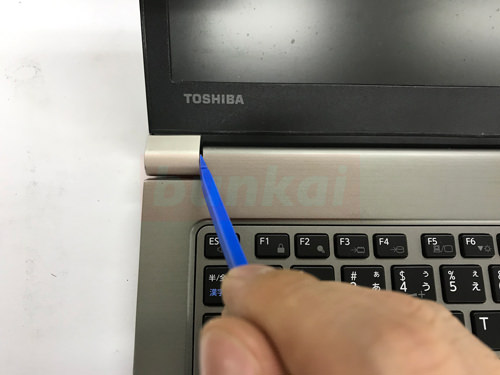
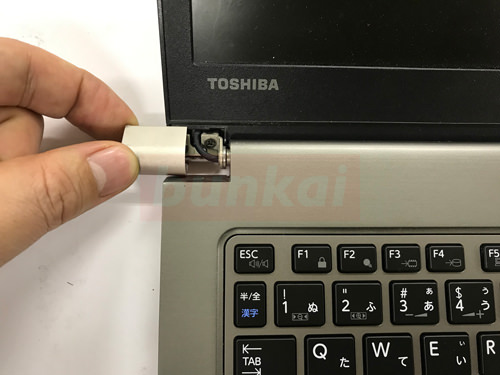
From here, we will break down the liquid crystal side, but the image is a part called a hinge.
Remove the hinge cover, but remove it as if it were sliding from inside to outside.
[Toshiba R634/K LCD replacement 9]
I was able to remove the hinge cover.
This is the left side towards, but let's remove the right side in the same way.
[Toshiba R634/K LCD replacement 10]
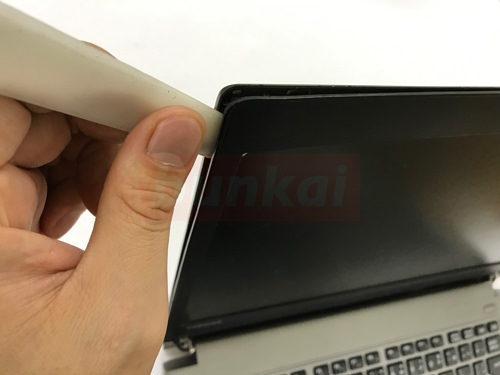
To remove the LCD panel, you must remove the frame that is around it first.
Since the frame is attached to the back cover with plastic claws, we will use a tool as shown in the image to disassemble it.
If you insert the tool into a small gap between the frame and the back cover, slide it or make it scohem, you will see the feeling that it is coming off.
[Toshiba R634/K LCD replacement 11]
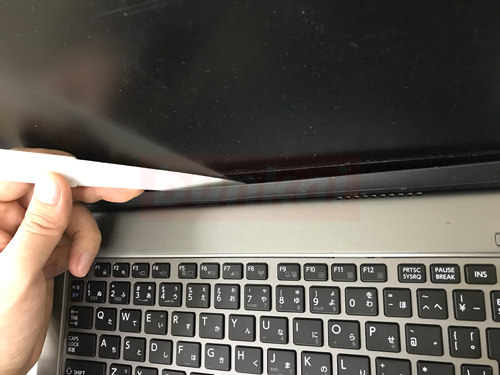
The lower side is also removed in the same way.
[Toshiba R634/K LCD replacement 12]
You can remove only the frame by inserting the tool around the liquid crystal.
[Toshiba R634/K LCD replacement 13]
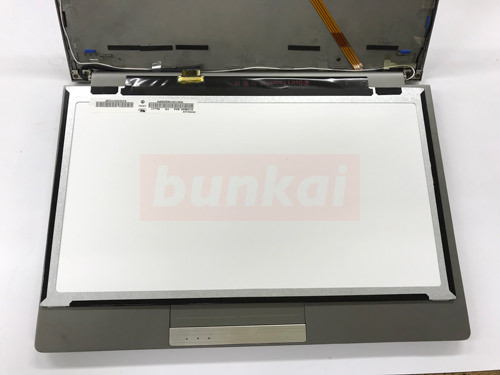
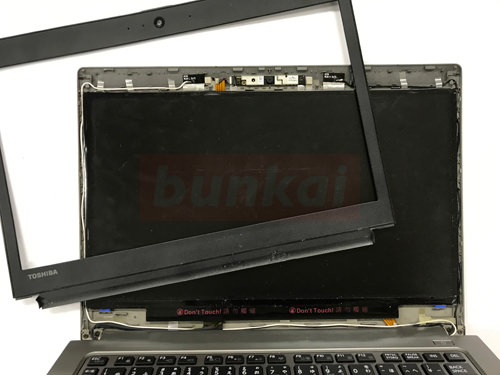
In the case of a typical laptop, the LCD panel itself is fixed to the main body with screws, but since the R634/K has no screws at all, it is possible to knock down the panel as if the frame is removed.
Please note the disconnection because the LCD cable is connected to the back.
[Toshiba R634/K LCD replacement 14]
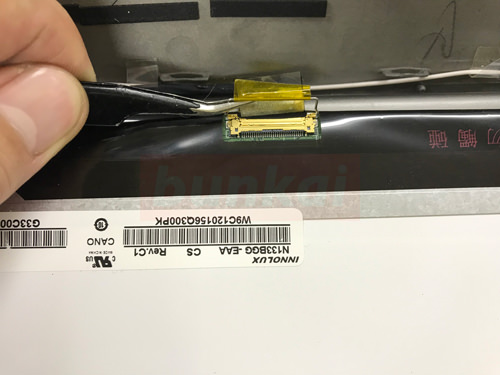
The cable connecting the motherboard and the LCD panel, but please lift the "co-shaped" hook as shown in the image and then slide the connector off.
I think that only the liquid crystal panel was able to be removed by this, but it is completed if I replace it with the liquid crystal panel which I prepared newly, and assemble it with the original procedure.