If there is a crack in the LCD screen or display failure of ACER TMB113M-W54D, a liquid crystal panel replacement (LCD replacement) is required!
[ACER TMB113M-W54D LCD repair and disassembly method STEP 1]
There is a malfunction in the display due to a crack in the display.
The entire screen is blank, so you can't check the data at all.
It is not uncommon for such a state to break the lcd, but I think that the data will be worried.
In that case, you can easily check whether the data remains on the computer by trying to connect to the external monitor.
In the case of this laptop, data was left, so if you replace the LCD panel, you can use it in the same environment as before.
I want to enter the decomposition immediately.
[ACER TMB113M-W54D LCD repair and disassembly method STEP 2]
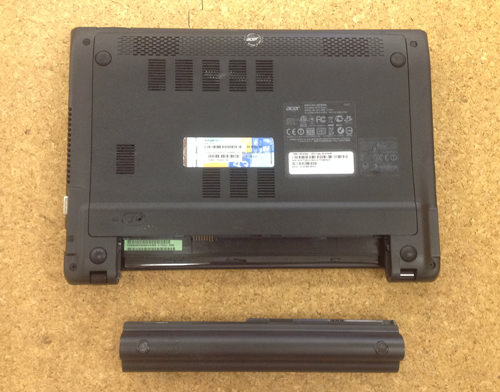
From here on, it will start disassembling, but remove the battery first.
The battery of the TMB113M-W54D has a small hole in the vicinity, and it can be removed by inserting the screwdriver into the hole and sliding it.
If you disassemble without removing the battery, there is a possibility of shorting inside, so be sure to do so.
[ACER TMB113M-W54D LCD repair and disassembly method STEP 3]
From now on, I would like to disassemble the liquid crystal side.
Usually the frame of the laptop is fixed with several screws, but the TMB113M-W54D is fixed only with plastic claws because there are no screws attached to the frame.
So I think that you can see the feeling that it is coming off if you insert a spatula (tool) like the image into the gap between the back panel and the frame.
You can remove only the frame if you put a spatula in one lap of the liquid crystal.
[ACER TMB113M-W54D LCD repair and disassembly method STEP 4]
I think that it becomes the state of the image when only the frame can be removed, but the panel itself is fixed with only four screws in all.
Because the screw is attached to the red circle part, let's use off the Phillips screwdriver!
If the screw is removed, the liquid crystal can be shifted, so slowly turn it down to the forward direction (keyboard side).
The LCD cable is still connected to the back of the panel, so be careful not to disconnect or disconnect it.
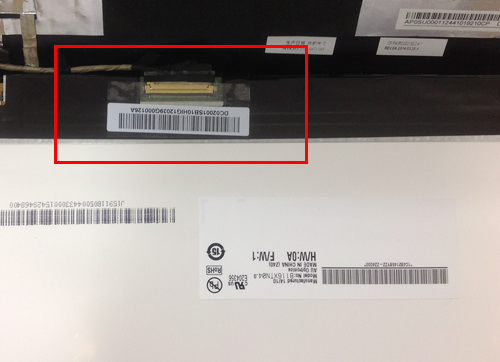
[ACER TMB113M-W54D LCD repair and disassembly method STEP 5]
You can see that the cable is connected to the back of the LCD panel, but it is fixed with tape, so the tape will be peeled off to some extent.
If the tape peels off and the connector is made to slide, the liquid crystal cable can be removed.
[ACER TMB113M-W54D LCD repair and disassembly method STEP 6]
I was able to remove the LCD cable.
I think that i was able to remove only the panel than the notebook if the decomposition up to this point was able to be done accurately.
If you replace the newly prepared parts and incorporate them according to the original procedure, the liquid crystal repair will be completed.
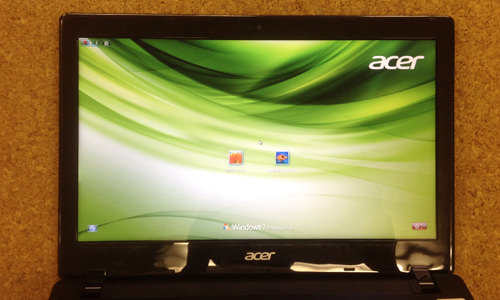
[ACER TMB113M-W54D LCD repair and disassembly method STEP 7]
I turned on my laptop after i had to embed it, but I was able to confirm that it was displayed normally.

 If there is a crack in the LCD screen or display failure of ACER TMB113M-W54D, a liquid crystal panel replacement (LCD replacement) is required!
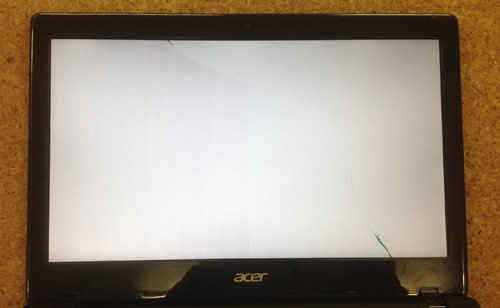

 From here on, it will start disassembling, but remove the battery first.
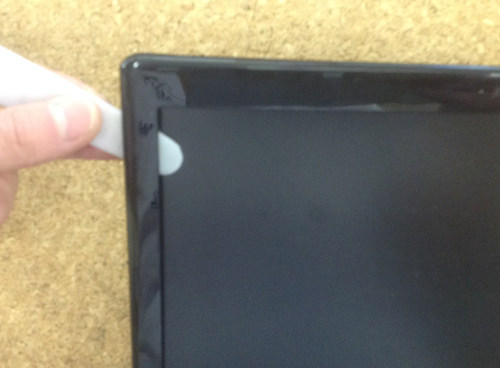
 From now on, I would like to disassemble the liquid crystal side.
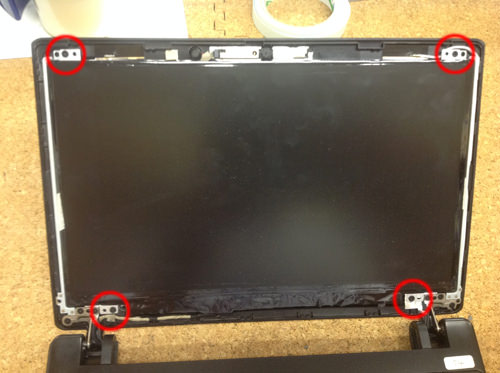
 You can see that the cable is connected to the back of the LCD panel, but it is fixed with tape, so the tape will be peeled off to some extent.
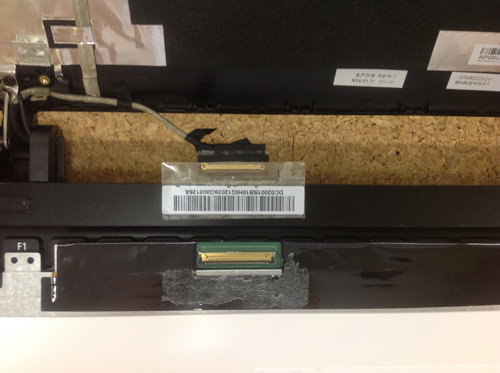
 I turned on my laptop after i had to embed it, but I was able to confirm that it was displayed normally.

コメントを残す