Screen replacement of LCD cracking of ACER E1-531-N14D/K Repair method, disassembly procedure

 If there is a crack in the LCD screen of ACER E1-531-N14D/K, please refer to it if there is a display failure.
- [ACER E1-531-N14D/K LCD repair and disassembly method STEP 2]
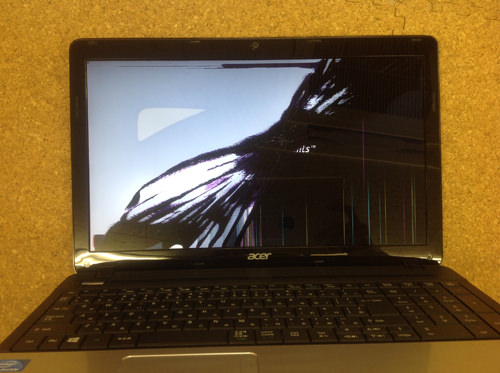
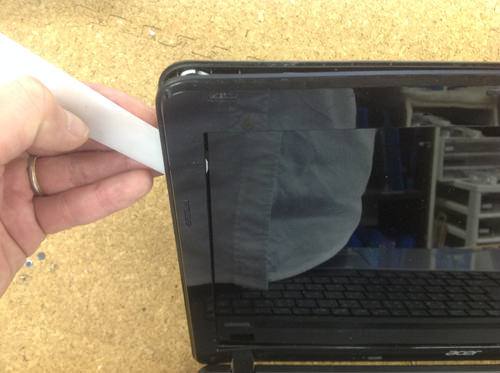
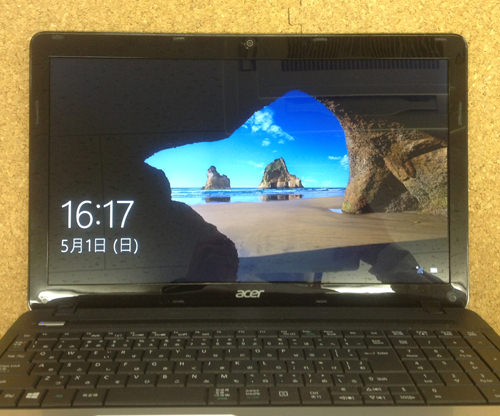
 You can see that the crack is obliquely and that there is a bad indication.
In this case, it is necessary to perform liquid crystal repair, but because general-purpose parts are often used for Acer's liquid crystal, it can be cured cheaply compared to other manufacturers.
If you are used to disassembly, it will be possible to change the LCD without taking that long, so please try to challenge by all means!
- [ACER E1-531-N14D/K LCD repair and disassembly method STEP 2]
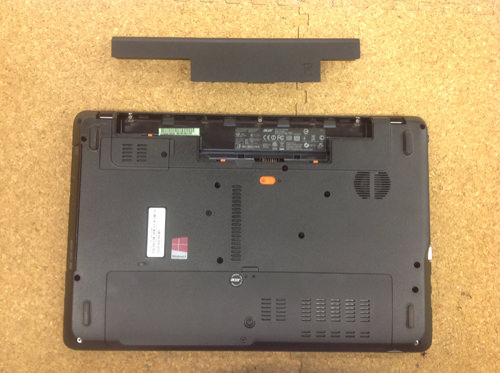 From here on, we will perform the decomposition, but be sure to remove the battery before entering the decomposition of the liquid crystal.
You can easily remove it by turning the unit over and then sliding the orange knob near the battery.
- [ACER E1-531-N14D/K LCD repair and disassembly method STEP 3]
 Remove the battery before disassembling the LCD.
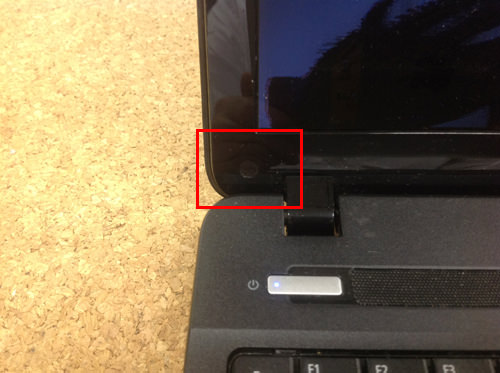
Since the LCD is fixed between the rear panel and the frame, it is necessary to remove the frame before removing it.
The frame is equipped with screws, but it is hidden by a seal called screw concealation, so it peels off using a sharp tool such as tweezers.
- [ACER E1-531-N14D/K LCD repair and disassembly method STEP 4]
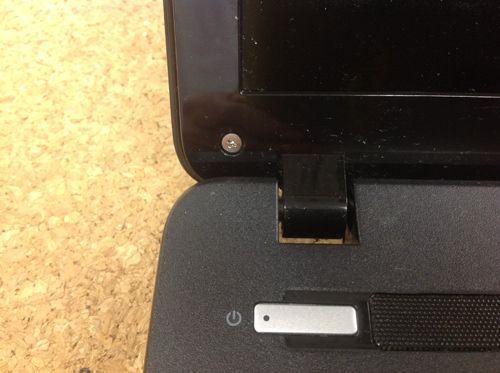 If you can peel off the screw hidden, the screw will come into view, so let's remove all screws (two) of the part attached to the frame!
- [ACER E1-531-N14D/K LCD repair and disassembly method STEP 5]
 The frame itself can be removed when the screw can be removed.
The inside of the frame has a plastic claw, but I think that you can see the feeling that it comes off if you insert it into the gap between the back panel and the frame using a tool (spatula) like the image.
- [ACER E1-531-N14D/K LCD repair and disassembly method STEP 6]
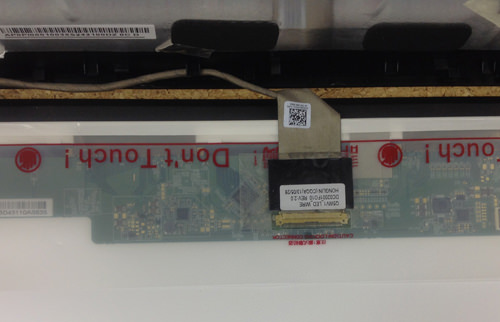
 The image is the connection between the LCD cable and the LCD panel.
If the frame can be removed, I think that the panel is now exposed, but the panel itself is also fixed with several screws.
First of all, let's remove the screw of the upper left part!
Because the same place as this part is on the right side, I take it off as well.
- [ACER E1-531-N14D/K LCD repair and disassembly method STEP 7]

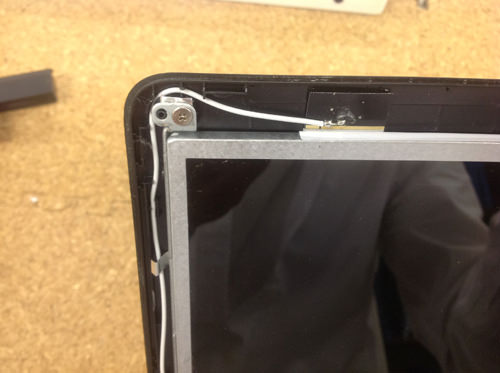
 If you can remove the screw of the previous, you will be able to wake the panel slightly in front, but it is fixed with a screw from the side to the iron frame called the hinge.
Because it is secured with a screw symmetrically, please do not forget to remove everything.
- [ACER E1-531-N14D/K LCD repair and disassembly method STEP 8]
 If the screw can be removed, the panel can be knocked down to the keyboard side, but the LCD cable is still connected to the back of the panel, so it will be knocked down with care not to break.
- [ACER E1-531-N14D/K LCD repair and disassembly method STEP 9]
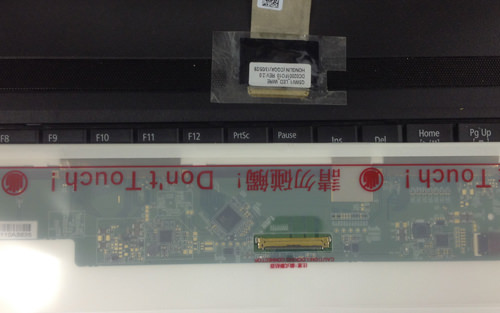 The LCD cable is connected to the base of the panel, but it can be easily removed by sliding the connector while removing the transparent seal.
I think that only the panel was able to be removed from the laptop body if the decomposition method up to this point was able to be done accurately.
If you replace it with a newly prepared part, the liquid crystal replacement will be completed.
- [ACER E1-531-N14D/K LCD repair and disassembly method STEP 10]
 All have been reassembled to their original state and turned on.
You have verified that it is displayed correctly.


コメントを残す