You can see that there is a display defect around the left side of the screen!
The logo of the dynabook is visible, and there seems to be no worry of the data because it goes to the t child login screen to do it as it is.
I want to disassemble the PERSONAL computer immediately because it becomes able to use the laptop normally by performing the liquid crystal panel exchange.
[Toshiba PT55445KSXG LIQUID Crystal Repair and Decomposition Method STEP 2]
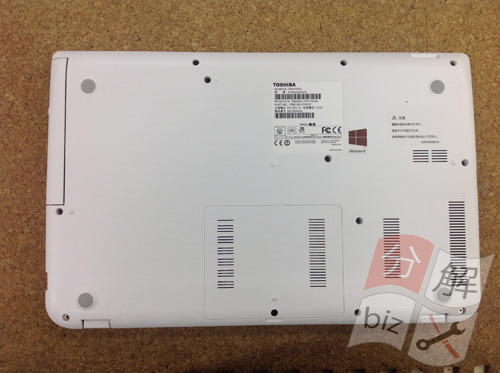
The battery is removed when disassembling.
The battery of the laptop is often attached to the back of the main unit, but the PT55445KSXG has a built-in battery, so it cannot be easily removed.
Since it is necessary to remove the bottom case and remove the connector of the battery, first go into the removal of the bottom case.
Remove all screws on the back of the body.
[Toshiba PT55445KSXG LIQUID Crystal Repair and Decomposition Method STEP 3]
One part of the back of the main unit is the screw that secures the DVD drive, so you can pull out the DVD drive as it is when you can remove the screw.
[Toshiba PT55445KSXG LIQUID Crystal Repair and Decomposition Method STEP 4]
When the DVD is removed, it can be confirmed that there is one screw in the red frame part, so remove it.
[Toshiba PT55445KSXG LIQUID Crystal Repair and Decomposition Method STEP 5]
There is a memory on the back of the main body, but remove the screw of the red frame part.
[Toshiba PT55445KSXG LIQUID Crystal Repair and Decomposition Method STEP 6]
When the lid is removed, there is a screw in the place where it is enclosed in red, so remove it.
The orange part will be a connector, so remove it from the bottom to the top.
Now that there is no connector relationship and screws that secure the bottom case, let's remove the bottom case.
[Toshiba PT55445KSXG LIQUID Crystal Repair and Decomposition Method STEP 7]
When you remove the bottom case, the motherboard will come into view, but you can see where the motherboard and battery are connected just around the middle, so slide the connector and remove it.
Now that the battery supply has been cut off, I would like to enter into the decomposition of the liquid crystal side.
It is recommended because it becomes easy to work after working after returning the bottom case once with a temporary stop.
[Toshiba PT55445KSXG LIQUID Crystal Repair and Decomposition Method STEP 8]
From here, we will enter the decomposition of the liquid crystal side.
To remove the LCD panel, you must remove the LCD frame first.
The liquid crystal frame is fixed with several screws and plastic claws, but the screw is hidden by a seal called screw concealation, and when it is peeled off with a pointed tool such as tweezers, the screw is visible inside, so remove the screw.
[Toshiba PT55445KSXG LIQUID Crystal Repair and Decomposition Method STEP 9]
The next thing to do is to remove the LCD frame.
The liquid crystal frame can be disassembled smoothly using plastic spatula.
[Toshiba PT55445KSXG LIQUID Crystal Repair and Decomposition Method STEP 10]
I was able to remove the liquid crystal frame.
[Toshiba PT55445KSXG LIQUID Crystal Repair and Decomposition Method STEP 11]
From here, we will remove the LCD panel.
The LCD panel is also secured with screws just like the frame, so the screw sib of the red frame part will be removed.
[Toshiba PT55445KSXG LIQUID Crystal Repair and Decomposition Method STEP 12]
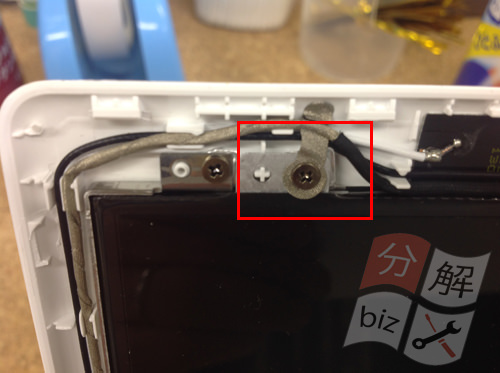
It was the lower side earlier, but this is the upper side.
If you can remove all four screws, you can remove the LCD panel.
Slowly knock the LCD panel down to the keyboard side.
[Toshiba PT55445KSXG LIQUID Crystal Repair and Decomposition Method STEP 13]
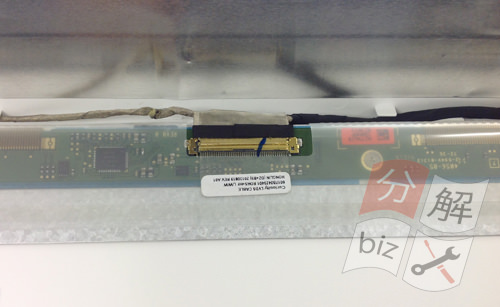
The LCD cable is connected to the back of the LCD panel, so we remove it.
There is a transparent tape, so peel off and slide the LCD cable.
If it is possible to disassemble up to this point, I think that the liquid crystal panel was removed from the laptop body, so if you replace it with a newly prepared liquid crystal panel, liquid crystal repair will be completed.
[Toshiba PT55445KSXG LIQUID Crystal Repair and Decomposition Method STEP 14]

 Toshiba PT55445KSXG LCD screen cracking, LCD panel replacement (LCD replacement) is required if there is a display failure in the liquid crystal!
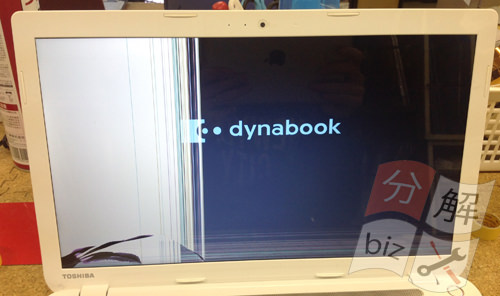

 The battery is removed when disassembling.
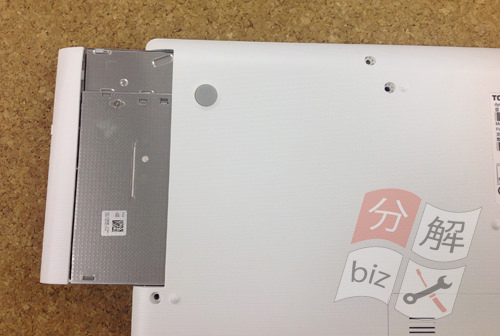
 One part of the back of the main unit is the screw that secures the DVD drive, so you can pull out the DVD drive as it is when you can remove the screw.
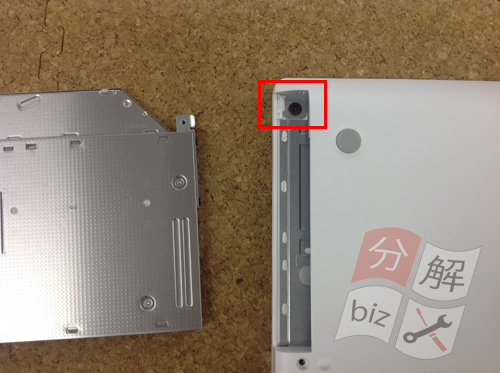

 There is a memory on the back of the main body, but remove the screw of the red frame part.
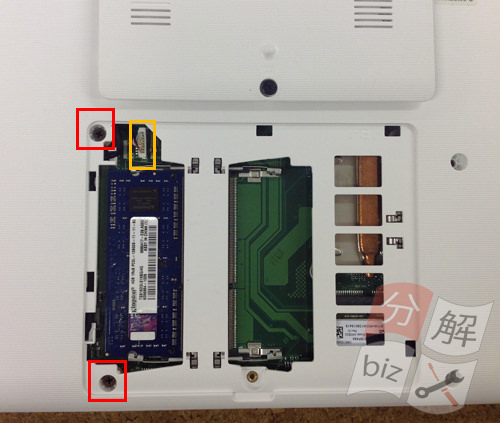
 When the lid is removed, there is a screw in the place where it is enclosed in red, so remove it.
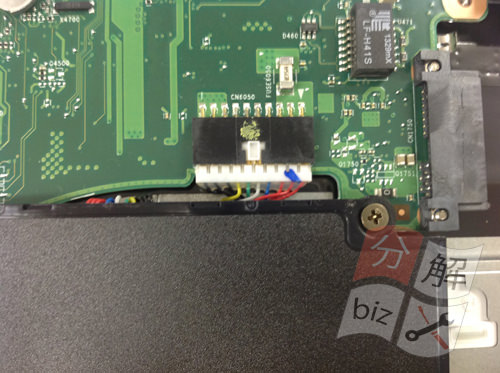
 From here, we will enter the decomposition of the liquid crystal side.
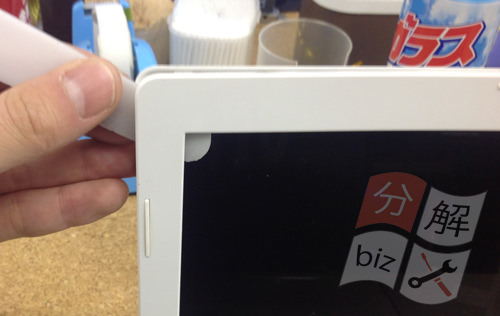
 The next thing to do is to remove the LCD frame.
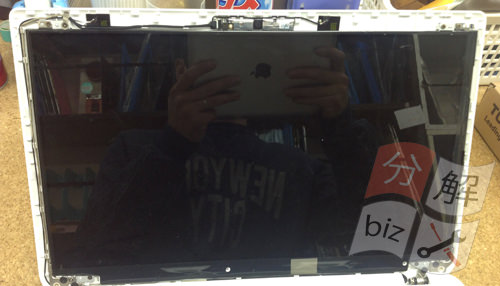
 I was able to remove the liquid crystal frame.
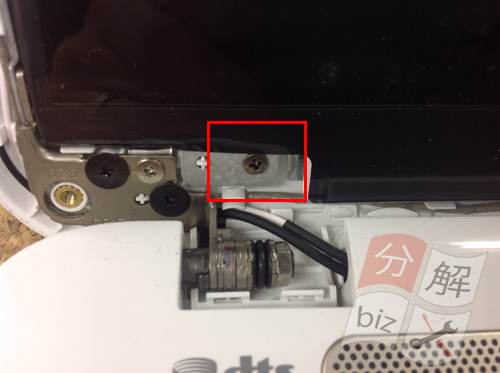
 The LCD cable is connected to the back of the LCD panel, so we remove it.
 Now displayed normally!

コメントを残す