How to repair the iMac A1311 if it does not advance from the apple mark and falls before the gauge accumulates
if the iMac A1311 does not start, does not advance from the apple mark, or has a folder mark
[iMac A1311 HDD replacement and disassembly method STEP 1]
When you press the power button on your iMac, it will sound a jagged sound and the apple mark will come out, but it won't go, it will freeze.
After the apple mark, it shuts down suddenly.
In the case of symptoms such as folder marks coming out, the possibility of failure or failure of HDD or OS is the highest.
Hdd is basically a consumable, but i recommend that you take a regular backup before causing a defect and then replace it with a new hard disk.
It becomes expensive when you ask the manufacturer to repair it, and the data will be erased, so it seems that the number of people who disassemble it by yourself and repair it is increasing.
This time I would like to disassemble the HDD take-out of iMac A1311 EMC 2389 for such a person, so please refer to it!
[iMac A1311 HDD replacement and disassembly method STEP 2]
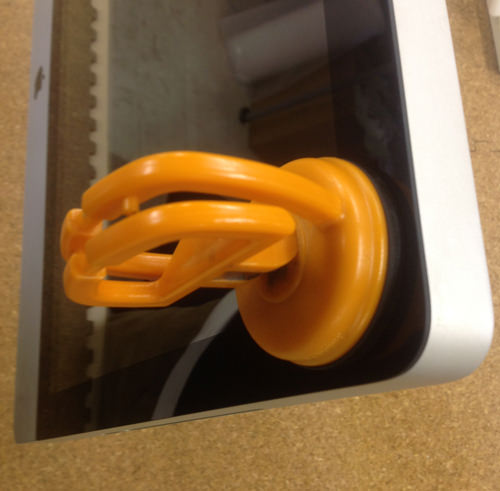
We have omitted some of the process of removing the LCD panel on the way, so please check it by replacing the liquid crystal panel.
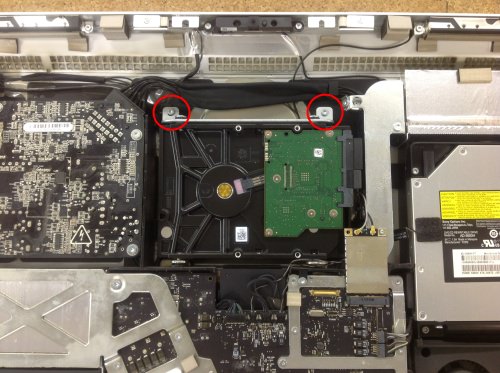
Once the LCD panel is removed, the hard drive (hard disk) is secured with a bracket and torx screws, so remove the red screw.
[iMac A1311 HDD replacement and disassembly method STEP 3]
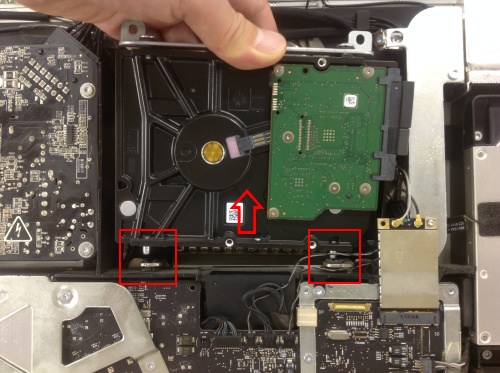
After removing the Torx screw on the top of the HDD (hard disk), the metal fittings are fixed by inserting them into the red mark part of the main body, so pull it out in the direction of the arrow.
[iMac A1311 HDD replacement and disassembly method STEP 4]
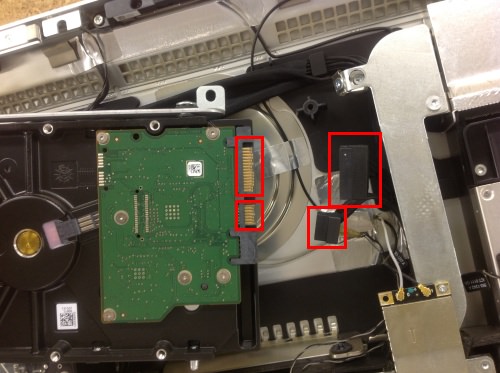
Remove both connector cables.
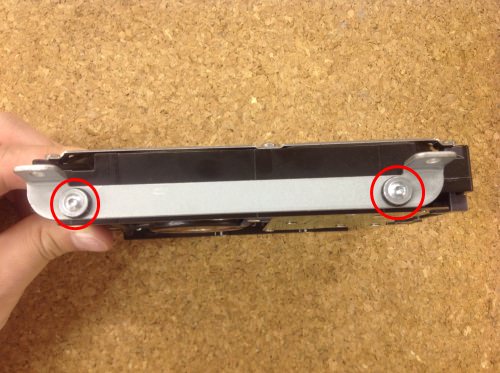
[iMac A1311 HDD replacement and disassembly method STEP 5]
Since the metal fittings are fixed with Torx on the side of the HDD body, remove both places.
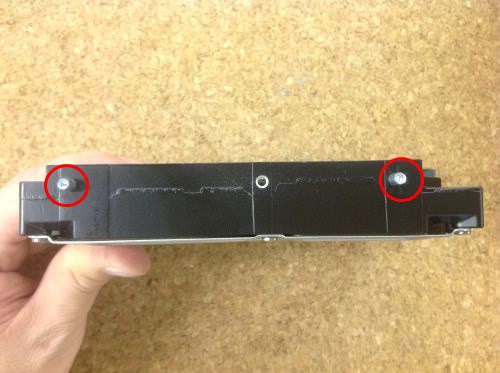
[iMac A1311 HDD replacement and disassembly method STEP 6]
Next, the opposite side has a Torx screw attached directly to the HARD Drive, so remove both.
Now that you have to remove it, after the investigation and replacement work of the HDD, let's return carefully by the reverse procedure!


コメントを残す