The Retina model has one speaker on the left and right, but I would like to do the disassembly method to the place where i remove each one.
I will disassemble the back side of the main body, but I use a Torx screwdriver because It cannot be opened by a Phillips screwdriver.
The Torx screwdriver used in this disassembly will be BEST 8800C 1.2, but remove all screws in the red frame.
I think that you can see the inside of Retina when you can remove the back cover, but the long parts next to the battery (left and right) are the speakers.
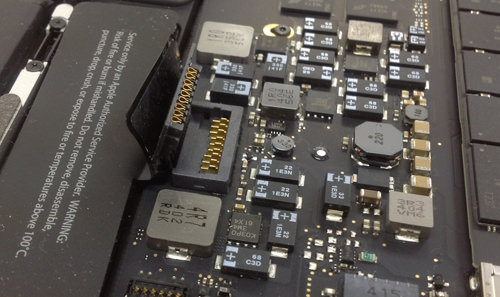
Before disassembling the speaker, remove the battery connector first, but you can remove the connector if you wake it up from the bottom as shown in the image.
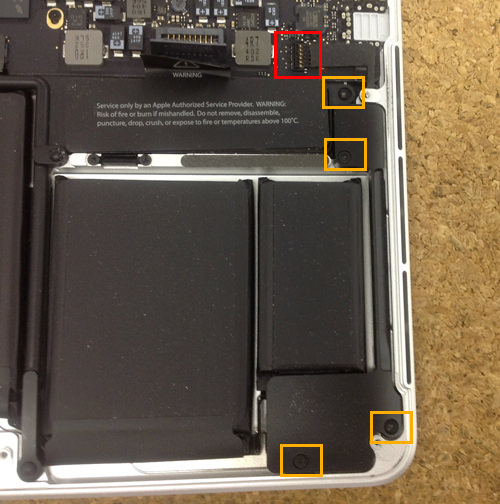
First of all, I want to remove it from the speaker on the right side of a simple battery.
Since the red frame part becomes a connector, you can easily remove it if you wake it up from the bottom.
Since the orange part is a screw, I will remove four places in all.
This is the speaker on the left side of the battery.
The structure is slightly different from the right side of the previous, but let's disassemble it because it is not particularly difficult!
Remove the orange screw, but unlike the right side of the previous, this is only one place.
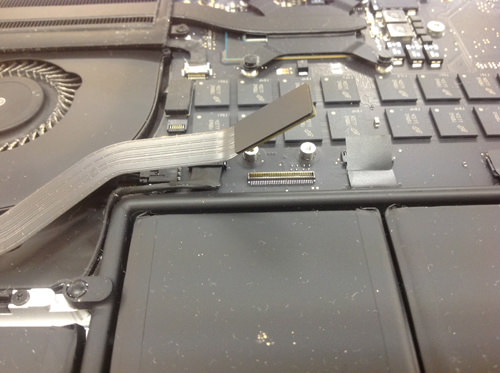
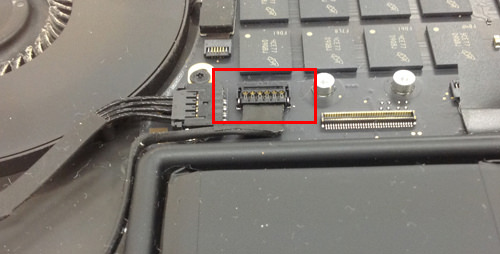
There is only one screw, but the connector is hidden under the cable that connects the USB HDMI Reader Board to the logic board, so we will disassemble it as well.
If you can remove the screw of the iron plate of the red frame part, the connector will be visible.
The cable on one side could be removed from the logic board.
I think the other is connected to the USB HDMI Reader Board, but there is no need to remove it in this disassembly.
The connector (red frame) under the previous cable becomes the thing of the speaker, so remove the connector of the right speaker as if it were removed.
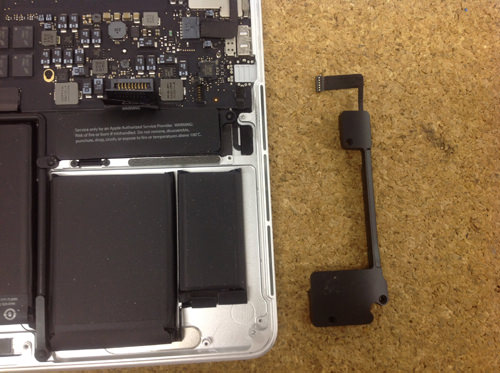
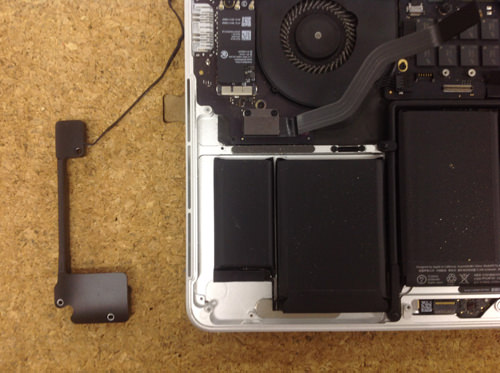
I was able to remove the speaker on the left side of the battery.
If the sound cracks from the speaker, it is likely to be improved by this speaker replacement because there is a high possibility of hardware failure rather than a failure on the OS side.

 The macbookProRetina A1502 (13-inch) speaker scans, doesn't sound, etc.
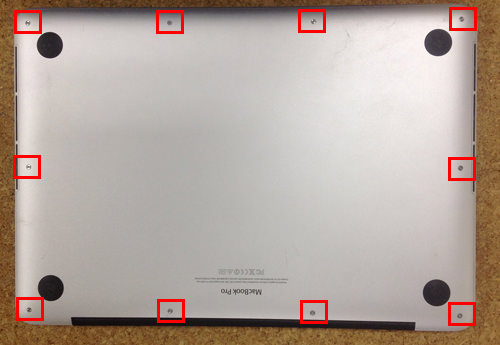


コメントを残す