How to repair the MacbookPro A1286 DVD if it can't play or doesn't load
The following decomposition method will be helpful when replacing the MacbookPro A1286 drive and failing the drive!
[MacbookPro A1286 Drive Replacement STEP 1]
Recently, MacBookAir and MacBookProRetina models are no longer built-in, but it is convenient when you listen to CDs and DVDs, watch THEM, install, etc., right?
If you have difficulty reading CDs or DVDs or have broken down, you will need to replace the parts.
Let's show you how to disassemble the MacBookPro 15" (Model No.A1286) optical drive, so please refer to it when replacing it.
[MacbookPro A1286 Drive Replacement STEP 2]
Since the removal of the battery is omitted in the process so far, please confirm it by the battery replacement.
The red connector in the image connects the optical drive to the logic board, so use a plastic spatula and remove the connector so that it lifts it up.
[MacbookPro A1286 Drive Replacement STEP 3]
The connector of the webcam on the top of the liquid crystal connected to the logic board is carefully slided using tweezers and pulled out.
[MacbookPro A1286 Drive Replacement STEP 4]
Then remove the connector so that the wiework connector connected to the logic board from the WiFi unit is lifted up.
[MacbookPro A1286 Drive Replacement STEP 5]
Then remove the three Phillips screws that secure the WiFi unit.
[MacbookPro A1286 Drive Replacement STEP 6]
If you remove the screw, the WiFi unit can be easily removed, but remember to remove it because there is a metal fittings that were stuck together in the hinge part of the upper body of the liquid crystal under it!
[MacbookPro A1286 Drive Replacement STEP 7]
There are three phillips screws that secure the optical drive to the red mark part of the image, so remove it.
[MacbookPro A1286 Drive Replacement STEP 8]
If you remove all screws, you can remove the optical drive!
If you want to replace the drive as it is, you can rearrange it according to the original procedure and the work will be completed.

 The following decomposition method will be helpful when replacing the MacbookPro A1286 drive and failing the drive!
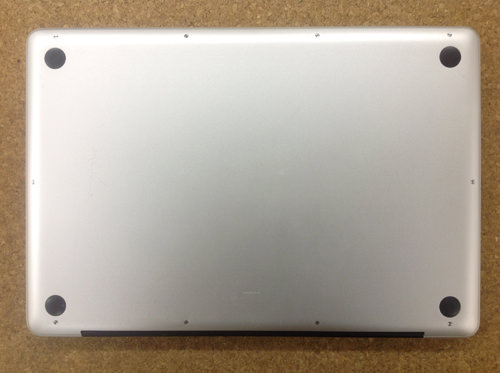
 Recently, MacBookAir and MacBookProRetina models are no longer built-in, but it is convenient when you listen to CDs and DVDs, watch THEM, install, etc., right?


コメントを残す