IPhone6s camera cannot be used, does not start, how to repair and disassemble sandstorms
iPhone6s rear camera replacement and disassembly procedure
- [iPhone6s Rear Camera Replacement STEP 1]
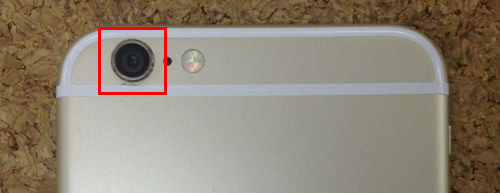
This is the decomposition method if the rear camera of the iPhone6s physically fails.
As you can see, it seems to be easy to remove, but it is necessary to disassemble it because it is fixed internally.
If the rear camera breaks down, it is difficult to isolate the fault point, but there are many failures of the rear camera itself when it falls immediately even if it starts, becomes a sandstorm, or freezes.
We recommend that you try the rear camera once, as rebooting or resetting the rear camera may heal.
If the symptoms still do not improve, there may be a hard failure, so you need to replace the rear camera itself.
- [iPhone6s Rear Camera Replacement STEP 2]
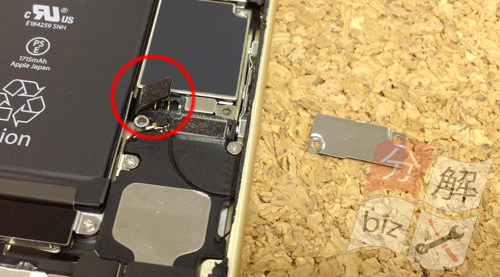
Because I removed the connector of the battery, electricity does not flow to the main body by this!
Up to this point, the battery replacement and disassembly method will be the same, so please refer to that.
- [iPhone6 Rear Camera Replacement STEP 3]
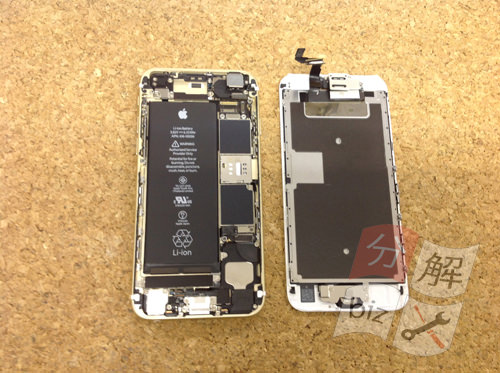
It was possible to separate the iPhone6s body and the liquid crystal side.
Up to this point, the liquid crystal exchange and decomposition method will be the same, so please refer to that.
- [iPhone6s Rear Camera Replacement STEP 4]
Once the liquid crystal side and the main body side can be separated, we will decompose only the main body side of the iPhone6s from here.
On the other hand, this time it is a rear camera, but when replacing the front camera, the liquid crystal side will be disassembled.
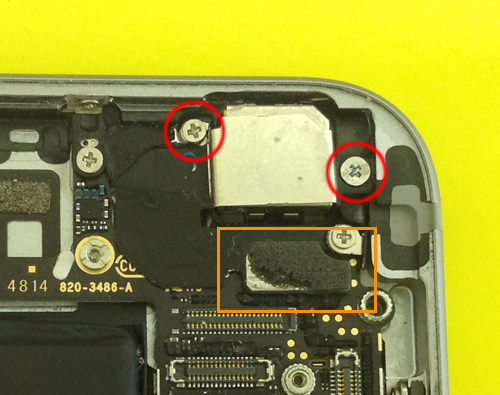
The red circle part becomes the place where the rear camera is located, but remove two screws first.
If you can remove the screw, let's remove the silver plate covering the camera because it comes off!
The orange color is where the rear camera and logic board are connected by a connector.
It is how to remove, but it can be easily removed if it is lifted from the bottom to the top.
- [iPhone6s Rear Camera Replacement STEP 5]
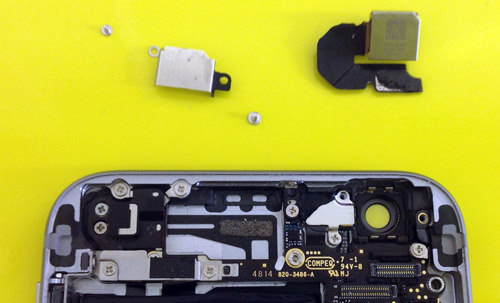
I was able to remove the rear camera of the iPhone6s.
If it breaks down, replace it with a newly prepared rear camera and incorporate it with the original procedure and the work is complete!
[An assicity]
There are other cases where the camera is not broken, but it is a symptom that there is a sunspot in a fixed position when you look at the image after taking a picture every time.
This is a symptom that causes dust and dust to occur in the gap between the rear camera and the glass, but if it is removed with a cotton swab after decomposition, it will be improved without camera replacement.


コメントを残す