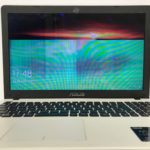
We will show you how to replace the hard disk and SSD of ASUS laptop X550C.
Even if it is the first time to disassemble a PC, the X550C can be removed from the hard disk very easily, so please try to challenge it!
You can remove the hard disk in five minutes!
[ASUS X550C Hard Disk Replacement 1]
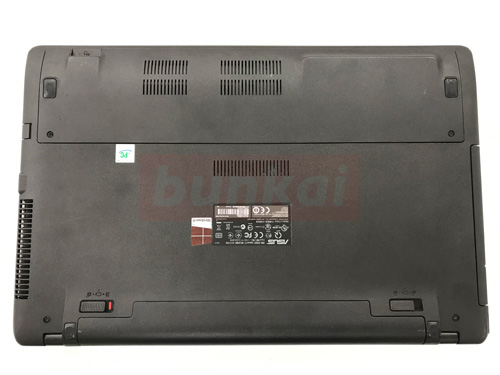
First of all, it is necessary to turn the battery over and remove the battery, but be sure to remove the battery first.
It is necessary to be careful because there is a possibility that it will short if the decomposition proceeds as it is.
[ASUS X550C Hard Disk Replacement 2]
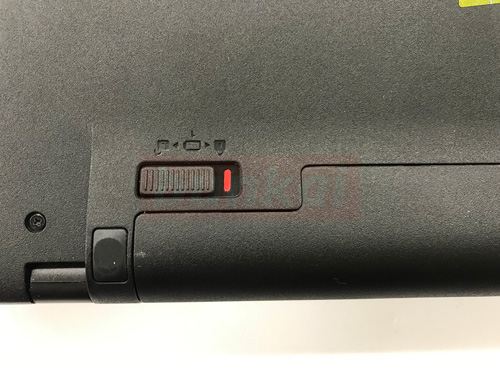
There is a knob next to the battery, so slide it to the one with the key open.
[ASUS X550C Hard Disk Replacement 3]
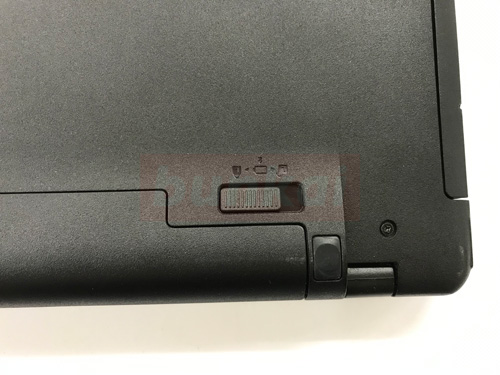
Slide the other side to the open one as well.
[ASUS X550C Hard Disk Replacement 4]

The battery could be removed.
[ASUS X550C Hard Disk Replacement 5]
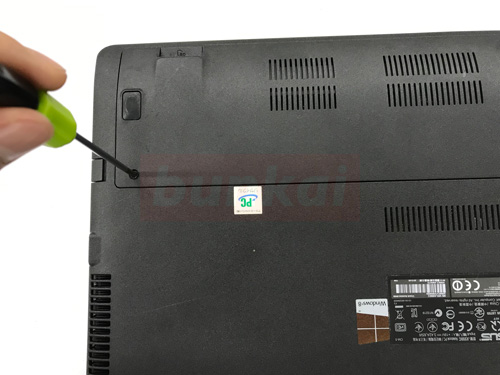
There is a lid on the other side of the battery, but this part contains memory and hard disk.
There are two screws, so let's remove it with a Phillips screwdriver.
[ASUS X550C Hard Disk Replacement 6]
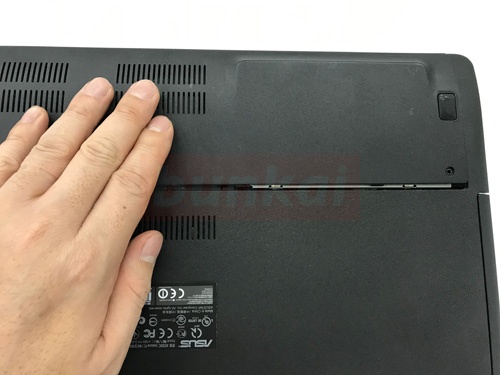
If possible to remove the screw, slide the cover.
[ASUS X550C Hard Disk Replacement 7]


The cover could be removed.
[ASUS X550C Hard Disk Replacement 8]

This becomes the hard disk of the X550C, but the hard disk is fixed to the main body with a screw, so all screws of the part enclosed in the red frame are removed.
[ASUS X550C Hard Disk Replacement 9]
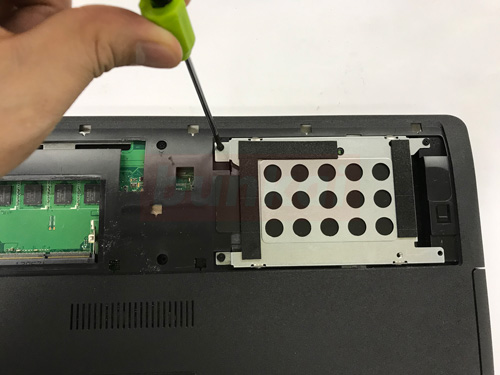
You can remove it with a Phillips screwdriver.
[ASUS X550C Hard Disk Replacement 10]
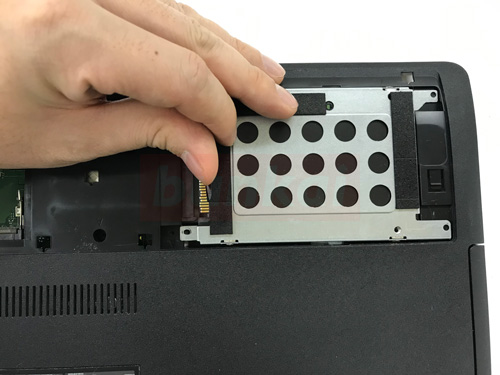
If you can remove the screw, the hard disk itself will move, so let's slide it from left to right in terms of the image.
[ASUS X550C Hard Disk Replacement 11]
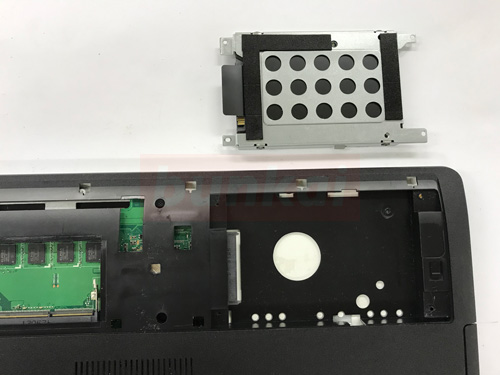
I was able to remove the hard disk, but if you want to replace it with a new hard disk, please port the iron plate that covers the hard disk.
You can change your hard disk to a large capacity, or you can replace it with an SSD.