The ASUS UX310U hard disk is an SSD, so it starts faster than a standard laptop.
I think that it is possible to refer to the decomposition method when parts replacement due to the expansion of SSD and the failure of the SSD is necessary.
[ASUS UX310U SSD Replacement 1]
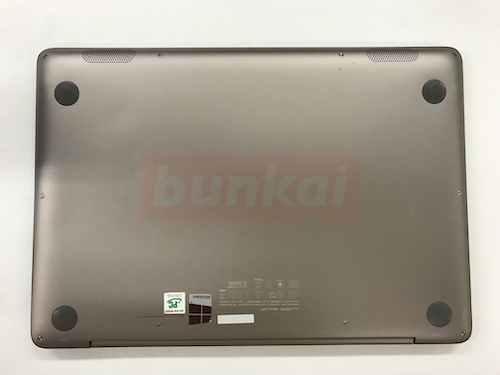
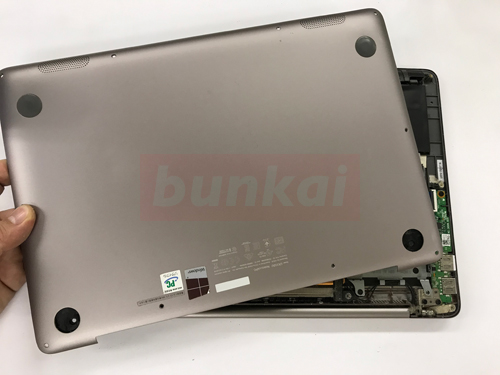
First of all, the work of removing the battery by turning the main unit over is the first priority, but because the battery of the UX310U is built-in, it is necessary to disassemble because it can not be easily removed.
[ASUS UX310U SSD Replacement 2]
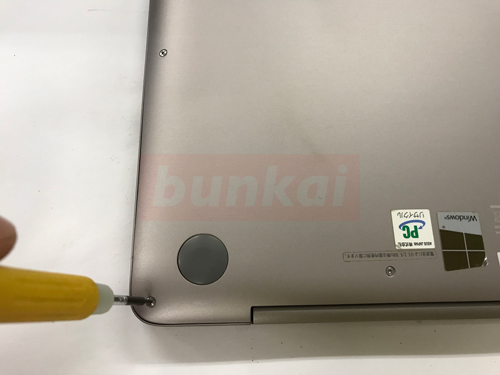
First of all, let's remove all the screws of the visible part.
It is not possible to remove it with a Phillips screwdriver, and a Torx screwdriver is required.
[ASUS UX310U SSD Replacement 3]
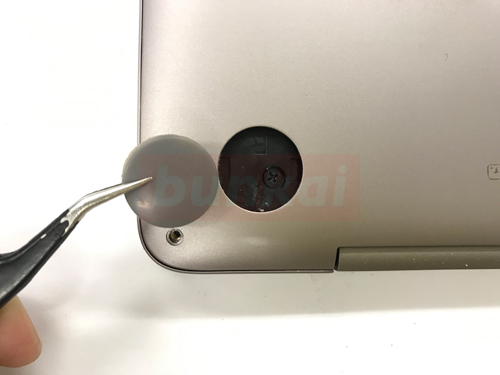
There is a rubber foot of the main body near the back of the hinge connecting the liquid crystal and the main body, but please do not forget to remove it because there is a screw when the rubber foot is removed.
There are four rubber feet in total, but there are two parts where the screws are hidden.
[ASUS UX310U SSD Replacement 4]
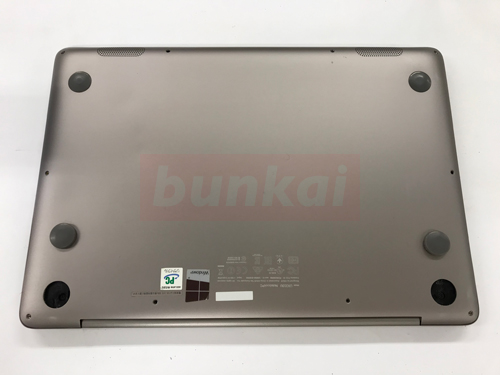
All screws on the back of the main body could be removed.
[ASUS UX310U SSD Replacement 5]
The back cover can be easily removed by hand.
[ASUS UX310U SSD Replacement 6]
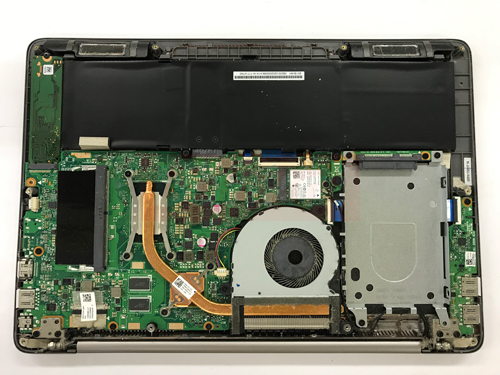
Since the battery is now visible, I will remove the battery first.
[ASUS UX310U SSD Replacement 7]
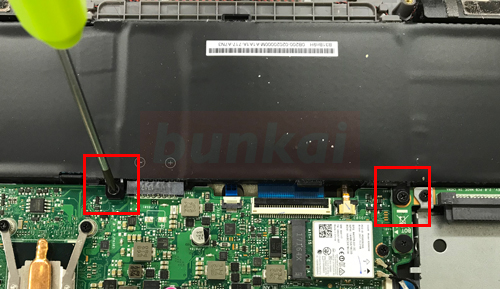
Since the battery is secured by a screw in the main body, let's remove the screw in the red frame part.
[ASUS UX310U SSD Replacement 8]
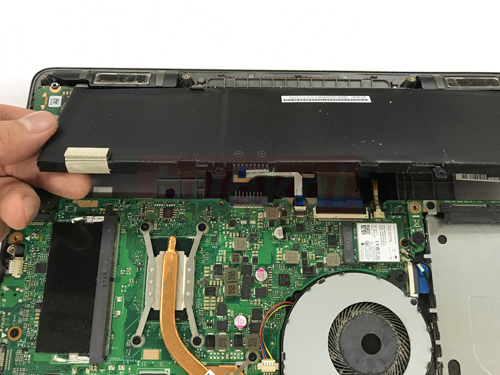
You can remove the battery if you try to lift it up as it is.
[ASUS UX310U SSD Replacement 9]
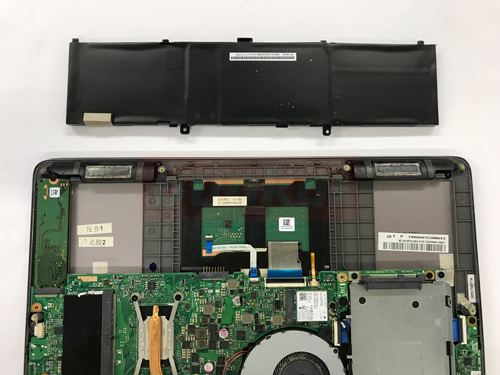
The battery could be removed.
[ASUS UX310U SSD Replacement 10]
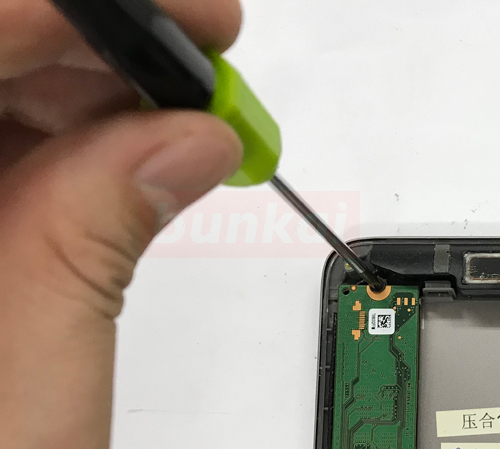
The SSD is screwed to the main unit, so let's remove the screw.
[ASUS UX310U SSD Replacement 11]
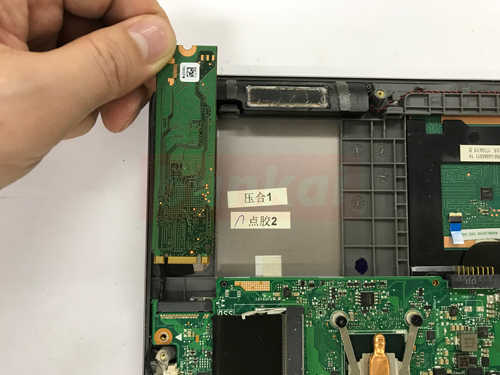
You can remove the SSD if you let it slide as it is.
[ASUS UX310U SSD Replacement 12]
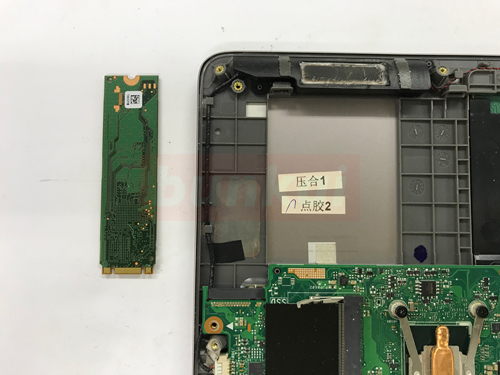
Only SSD was removed from the main unit.

