ASUS T101HA LCD crack screen replacement Repair method, disassembly procedure
I have repaired the touch panel crack of ASUS tablet T101HA, so I would like to expose the decomposition method.
Since the T101HA is integrated with a touch panel and a liquid crystal panel, the repair method is the same whether the touch panel cracks or the liquid crystal crack.
T100TA and T100H, which are all models of T101HA, are also very similar as a decomposition method, so it can be used for reference.
If you can't spend a lot of money on repairs because you can buy the tools you need for repair sparingly, please take on the challenge!
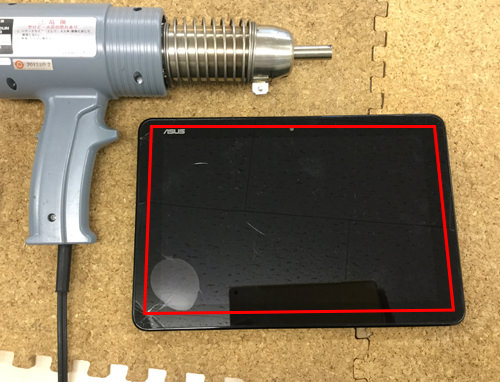
[ASUS T101HA LCD repair and disassembly method STEP 1]
- You can see that there is a crack in the center of the touch panel, but in this case, the internal liquid crystal is normal when you turn it on.
However, there is a malfunction in the fact that the touch panel has broken, there was a symptom that would be pushed without permission even in a state that does not touch the screen at all.
Let's change the touch panel and make it a state that can be used normally!
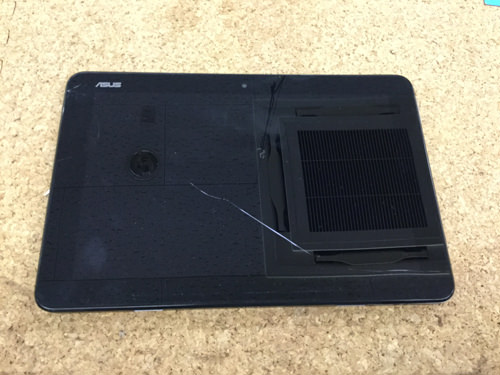
[ASUS T101HA LCD repair and disassembly method STEP 2]

- It is common to T100TA and T100H, but no screws are used on the back.
As soon as the back cover is removed, the base (motherboard) becomes visible, but the back cover is opened using a spatula as shown in the image.
Since it is good from anywhere in the four corners, the tip of the spatula is inserted into the gap between the touch panel and the main body.
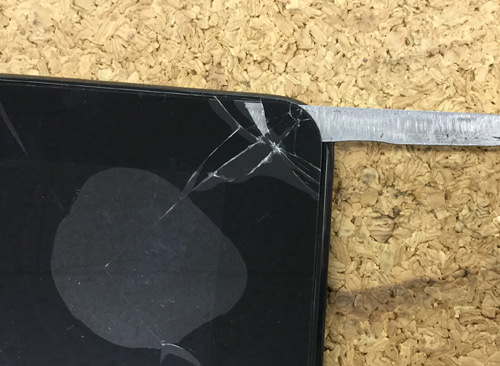
[ASUS T101HA LCD repair and disassembly method STEP 3]
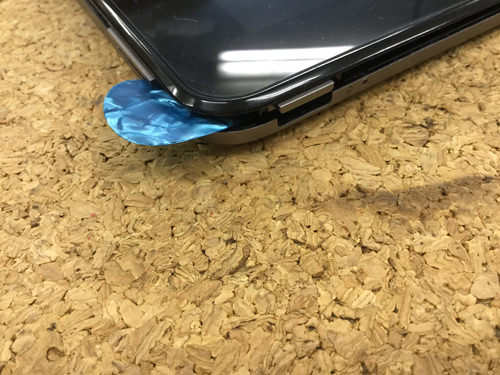
- I put a spatula in one lap around the liquid crystal, but I think that you can understand the feeling that comes off when I put a spatula and try to lightly twist it.
If you insert a pick or a card like an image in a raised place, the lid will not close, so efficiency will be better.
[ASUS T101HA LCD repair and disassembly method STEP 4]
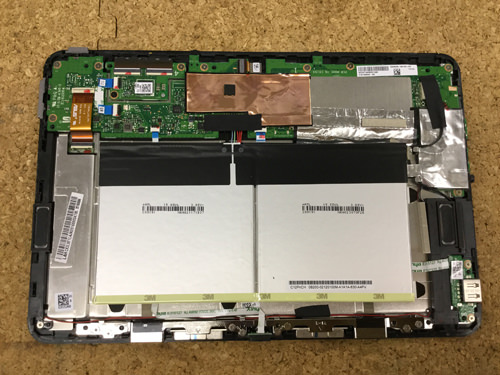
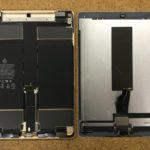
- When the rear cover is removed, the motherboard, battery, speakers, etc. are exposed in this way.
I think that the work speed increases when the position of the screw and the connector is checked to some extent.
[ASUS T101HA LCD repair and disassembly method STEP 5]
- The first task to do after removing the back cover is to remove the battery from the base, but the connector is hidden from black tape, so it will peel off.
[ASUS T101HA LCD repair and disassembly method STEP 6]
- The battery connector can be removed if it is raised from the bottom up, but it can be easily removed by using a tool as shown in the image.
It is a tool to be used at this time, but please use a plastic tool because it may short-circuit when touching the base if you use a metal object.
It is necessary to be careful because it may become a state that the power does not turn on if it makes it short by any chance.
[ASUS T101HA LCD repair and disassembly method STEP 7]
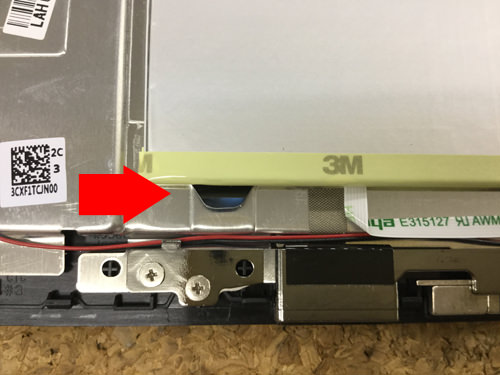
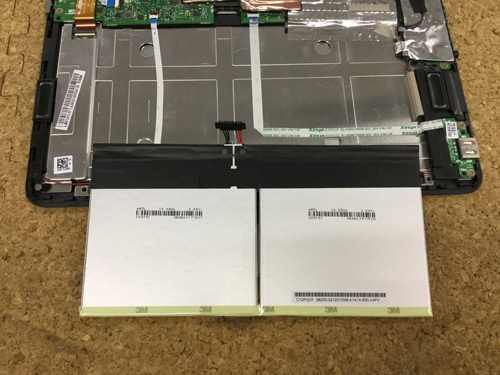
- After removing the connector, the battery itself is removed, but the battery is attached to the main body side with double-sided tape.
It is a little special even if it is said that it is double-sided tape, and it peels off by pulling it.
There is a black part in the arrow part of the image, but I grasp this part and pull it slowly to the front.
This tape is also used as a tape to fix the battery of the iPhone!
[ASUS T101HA LCD repair and disassembly method STEP 8]
- You can see that the tape is growing a little, but in fact it has become many times longer.
Is it a feeling to pull the tape and pull it out from under the battery rather than peel off the tape?
There is a feeling that it slips out when it pulls little by little and it works well, but if the tape runs out in the middle by any chance, it inserts the spatula directly under the battery and peels it off.
[ASUS T101HA LCD repair and disassembly method STEP 9]
- This is the tape on the side, but please pull it in the same way as before.
[ASUS T101HA LCD repair and disassembly method STEP 10]
- This part is next to STEP8, but there are four parts to pull the tape in all.
[ASUS T101HA LCD repair and disassembly method STEP 11]
- In this way, only the battery was able to be removed from the main body.
As i'm going to talk about earlier, when the LCD is replaced and the battery is returned, put the tape on it and fix it.
[ASUS T101HA LCD repair and disassembly method STEP 12]
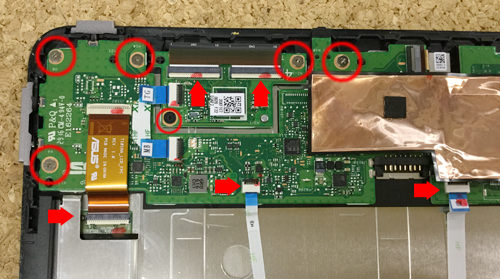
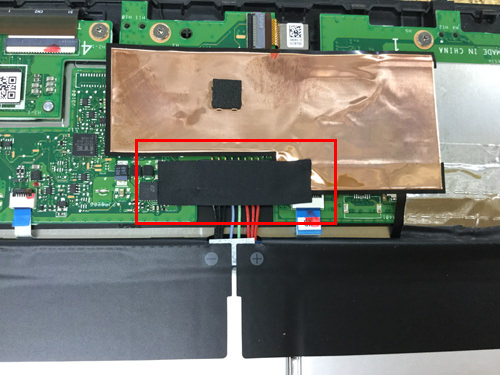
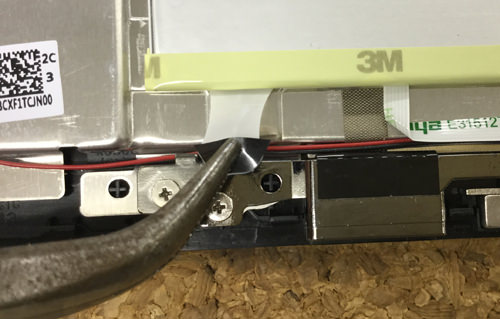
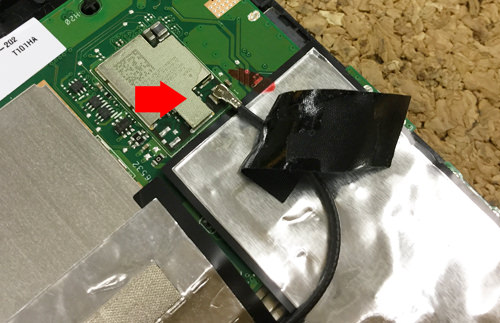
- The motherboard (base) is removed, but there are screws in the red circle part and a connector in the arrow part.
The screw can be easily removed with a Phillips screwdriver, but the connector part has a knack.
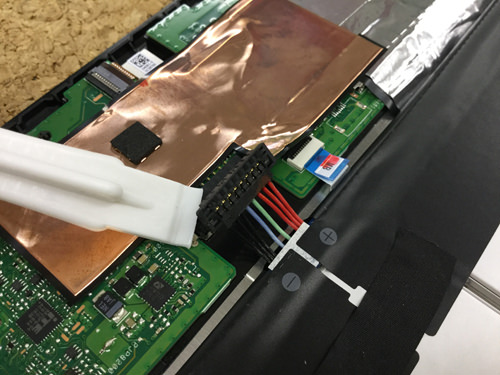
Although the tip part of the connector is sleeping, it is possible to pull out the connector if it causes the nail of the tip part with tweezers etc.
Be careful if you pull the cable without causing the nail.
[ASUS T101HA LCD repair and disassembly method STEP 13]
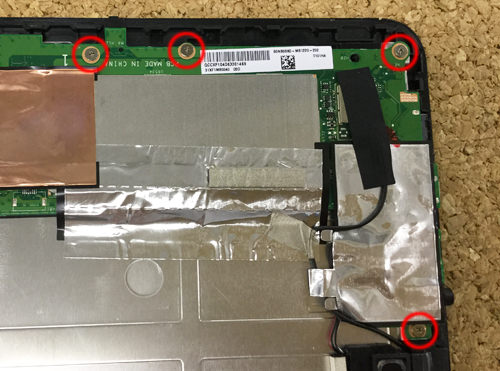
As before, remove the red circle screw with a Phillips screwdriver.
[ASUS T101HA LCD repair and disassembly method STEP 14]
- Please keep it so that it does not understand because the thickness and length of the screw are slightly different in the plate part of the base part.
[ASUS T101HA LCD repair and disassembly method STEP 15]
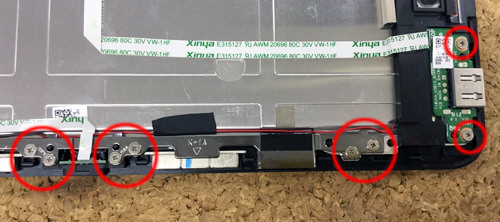
- This is the iron plate and the speaker part.
[ASUS T101HA LCD repair and disassembly method STEP 16]
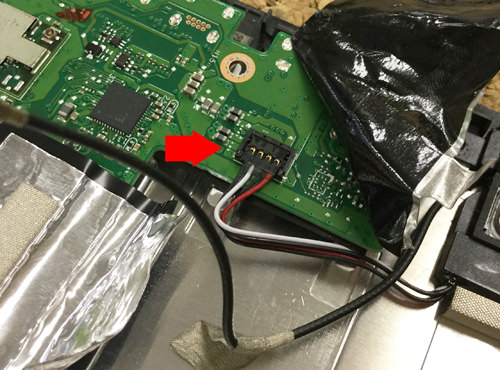
- This is the position of STEP 13.
When you turn over the black tape, you can see the Wifi cable, but it is possible to remove the connector if you try to lift it from the bottom to the top.
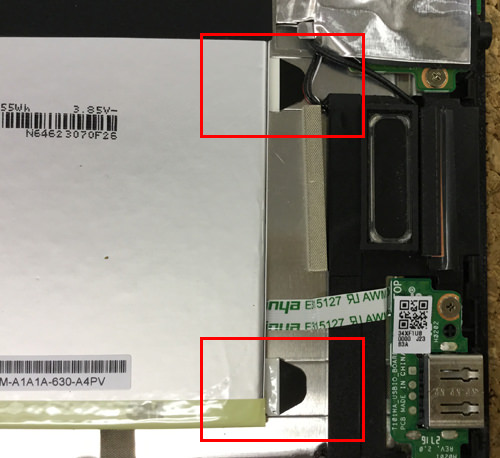
[ASUS T101HA LCD repair and disassembly method STEP 17]
- There is a connector when you peel off the aluminum foil part just below the Wifi cable, but it is possible to remove it if you try to lift this part from the bottom to the top.
I think that all connectors and screws are removed by this, so I think that I can remove the motherboard.
The motherboard will be a very important part, so be careful when storing it.
[ASUS T101HA LCD repair and disassembly method STEP 18]
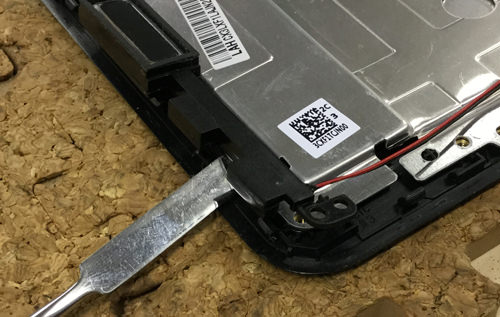
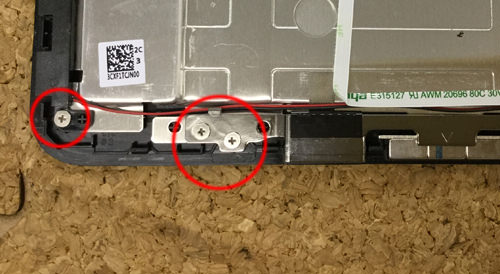
In addition to screws, the speaker part is fixed to the main unit with double-sided tape in addition to the screw, so the tool is used as shown in the image.
[ASUS T101HA LCD repair and disassembly method STEP 19]
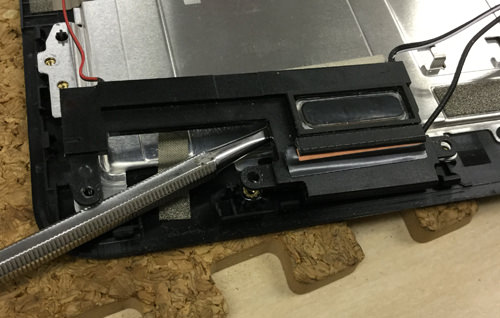
- The opposite speaker will also use and remove the tool.
I think that I was able to remove all parts except the liquid crystal by this.
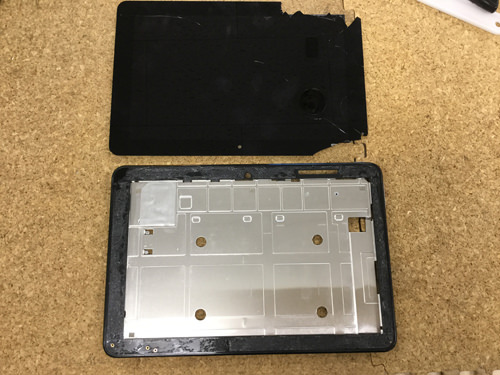
[ASUS T101HA LCD repair and disassembly method STEP 20]
- At the moment, I think it's only liquid crystal.
In the case of changing the liquid crystal for each frame, it ends here, but this time we will replace only the touch panel and the liquid crystal panel, so we will break it down further.
The liquid crystal is fixed to the frame with a strong tape, but the tape is attached to the red line part.
It is very difficult to peel off as it is, but applying heat makes it easier for the tape to peel off.
We work with heat guns, but if there is no heat gun, it is possible to substitute a dryer.
[ASUS T101HA LCD repair and disassembly method STEP 21]
- Insert the tool into the gap between the glass and the frame in the heated part and slide it slightly.
Since the most difficult work in the liquid crystal exchange of T101HA is here, I will try to peel off slowly over time, but it is better to work with gloves etc. because the glass may break on the way.
It is a sober task, but it performs one lap of "slide the tool by adding heat".
[ASUS T101HA LCD repair and disassembly method STEP 22]

- The liquid crystal could be removed from the frame.
If you do not remove the tape glue remaining in the frame, the liquid crystal to be newly attached will float, so please clean it.
After that, if you install the newly prepared liquid crystal and incorporate it with the original procedure, the liquid crystal replacement of T101HA will be completed.
[ASUS T101HA LCD repair and disassembly method STEP 23]
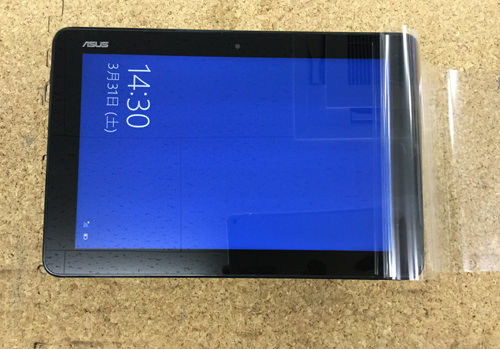
- It is a state in which all are built-in and turned on.
Before the repair, the touch panel was in a state where it was pushed without permission, but it came to operate normally by the thing that i repaired.
How long does it take to repair the ASUS T101HA?
I think it will take an hour for people who are used to disassembling.
Wouldn't it take three hours to break it down for the first time?
In this case, we further disassembled from the frame, but if you change the liquid crystal for each frame, you can repair it in a short time.