By dropping the laptop, you can check the display of the LCD.It is the OS of WINDOWS 8, but the screen is broken.
Since there is no failure in the data itself, we can use it in the same environment as before by replacing the LCD panel, so We would like to replace the LCD panel of SVE15123CJW immediately.
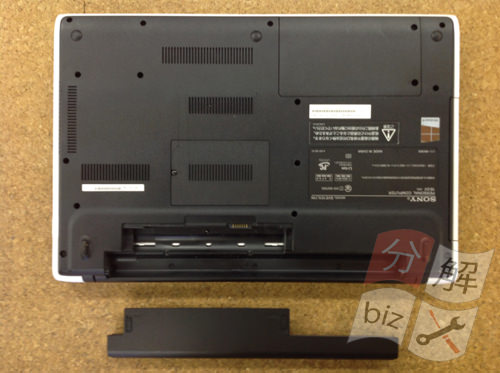
First of all, the battery is removed from the laptop body.
If you do not remove the battery and perform the disassembly as it is, it may shortdown inside, so be sure to remove the battery when disassembling the laptop.
In the case of this model, you can easily remove it by turning the PC inside out and sliding the knob near the battery.
From here on, we will break down the liquid crystal.
The structure of the liquid crystal is divided into liquid crystal frames, rear panels, and LCD panels, but when removing the LIQUID panel, the lcd frame is removed.
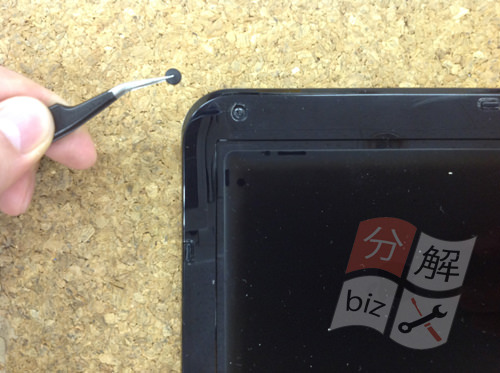
Since the liquid crystal frame is fixed with screws as shown in the image, first remove the parts called screw-hiding with tweezers.
If all screws can be removed, the liquid crystal frame will be removed, but the liquid crystal frame is also fixed with plastic claws.
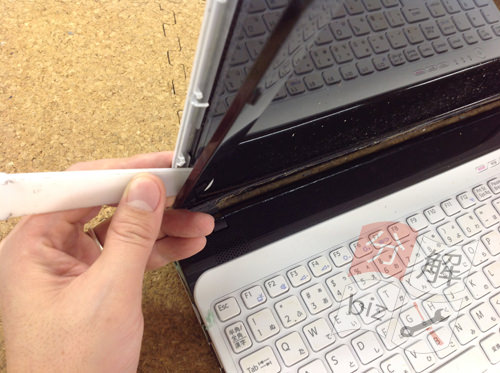
If you use a spatula like the image, you can remove it well.
Since the LCD frame is located all around the LCD, you can remove the frame by removing all the nails.
When the liquid crystal frame can be removed, the liquid crystal panel becomes exposed, but the liquid crystal panel itself is also fixed with screws, so it is not possible to remove the liquid crystal immediately.
Because there is a screw as shown in the image, I use the Phillips screwdriver.
If all screws can be removed, the LCD panel will be able to be knocked down to the keyboard side, so it will slowly knock it down.
Since the LCD cable is still connected to the back of the LCD panel, let's knock it down carefully so as not to break!
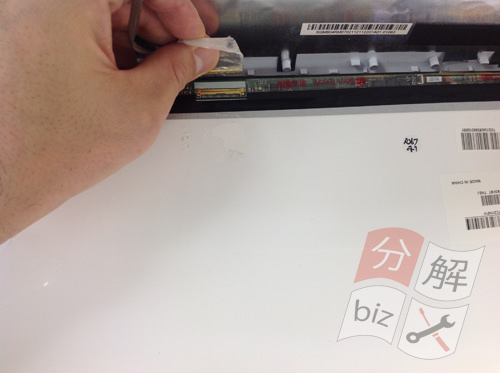
Remove the LCD cable from the LCD panel.
If the LCD cable is made to slide, it will be able to remove it.
If it is possible to disassemble up to this point, the liquid crystal panel will be removed from the laptop body, so if you replace it with a newly prepared liquid crystal panel, liquid crystal repair will be completed.

 SONY SVF15317DJW LCD screen cracking, LCD panel replacement (LCD replacement) is required if there is a display failure in the liquid crystal!

 From here on, we will break down the liquid crystal.
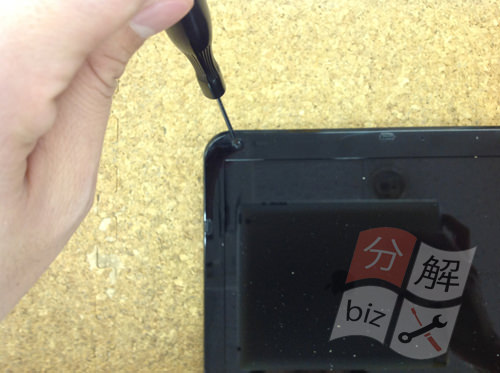
 If all screws can be removed, the liquid crystal frame will be removed, but the liquid crystal frame is also fixed with plastic claws.
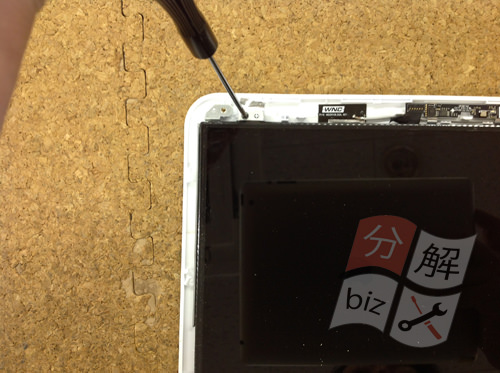
 Remove the LCD cable from the LCD panel.


コメントを残す