How to repair and disassemble macbookAir 11 when it does not turn on or does not start
It is helpful when replacing parts when the MacbookAir does not turn on or is not energized.
[MacbookAir A1370 Power supply replacement and disassembly method STEP 1]
If the power supply part is installed with an electrical outlet, the lamp does not turn on, it does not energize, and if the power supply does not turn on, there is a possibility of failure of the power supply part.
If the symptoms do not improve even if the power supply is replaced, please confirm by logic board replacement because the possibility of logic board failure becomes thick.
The decomposition process up to this point has been omitted in part.
I was able to remove the battery, but please confirm the decomposition method so far by the battery replacement.
[MacbookAir A1370 Power supply replacement and disassembly method STEP 2]
The cable enclosed in the red frame becomes the camera cable.
This is also connected to the power board from the web camera in the center of the upper body of the liquid crystal, so it will be removed while carefully sliding with tweezers.
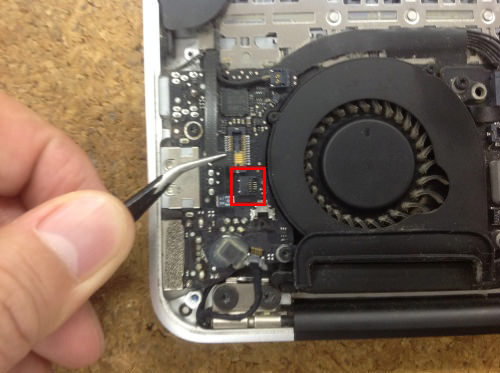
[MacbookAir A1370 Power supply replacement and disassembly method STEP 3]
Because the red mark part of the cable connecting the power supply board and the logic board is a connector, it is removed by lifting it up using a spatula etc.
[MacbookAir A1370 Power supply replacement and disassembly method STEP 4]
Next, the thin cable of the microphone next to the main unit is connected to the red mark of the power board, so raise the pin and pull it out.
[MacbookAir A1370 Power supply replacement and disassembly method STEP 5]
The wiring of the speaker is also removed by lifting it up while using tweezers.
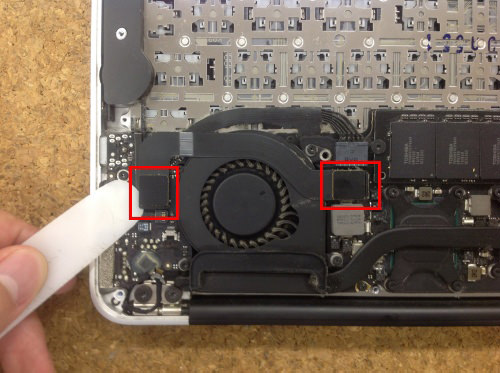
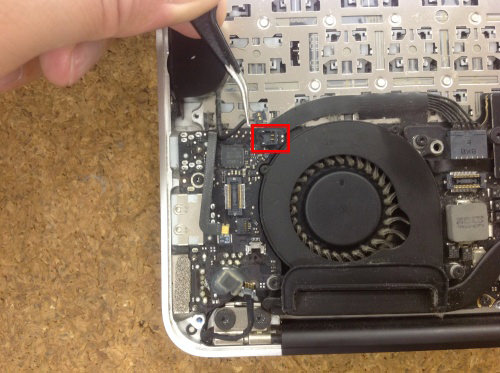
[MacbookAir A1370 Power supply replacement and disassembly method STEP 6]
It is connected by a connector from the power board to the logic board.
Because the protrusion part of the connector is stuck in the hole of the upper part of the connector, pull out the connector while pushing in the protrusion part.
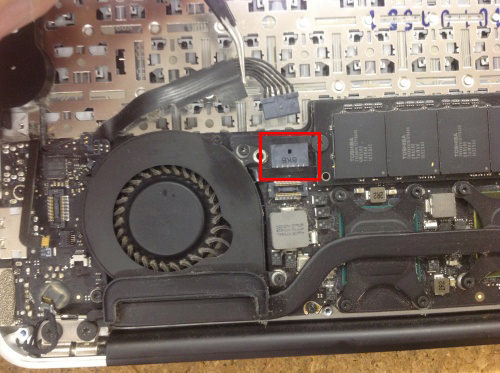
[MacbookAir A1370 Power supply replacement and disassembly method STEP 7]
The SSD is secured in one Torx screw, so remove it.
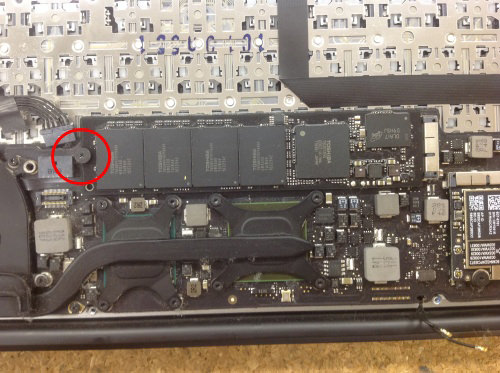
[MacbookAir A1370 Power supply replacement and disassembly method STEP 8]
When the screw comes off, gently lift the SSD and slide it in the direction of the arrow in the image to pull it out.
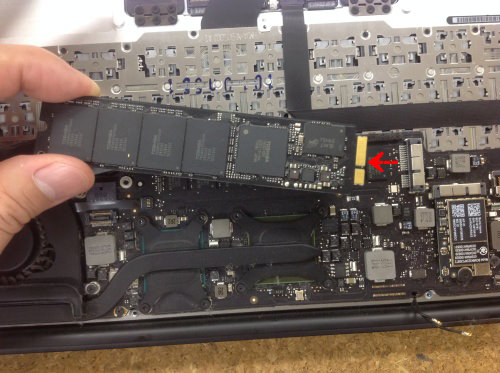
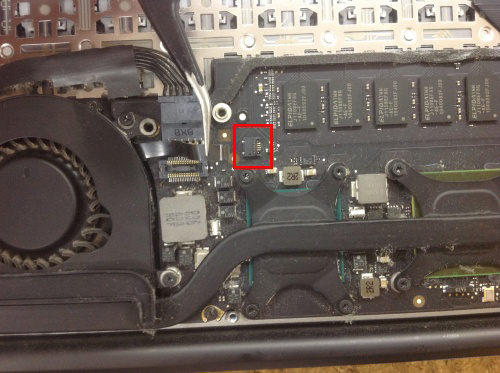
[MacbookAir A1370 Power supply replacement and disassembly method STEP 9]
The FAN cable is connected to the bottom of the SSD with a small connector, so raise the pin and pull it out carefully.
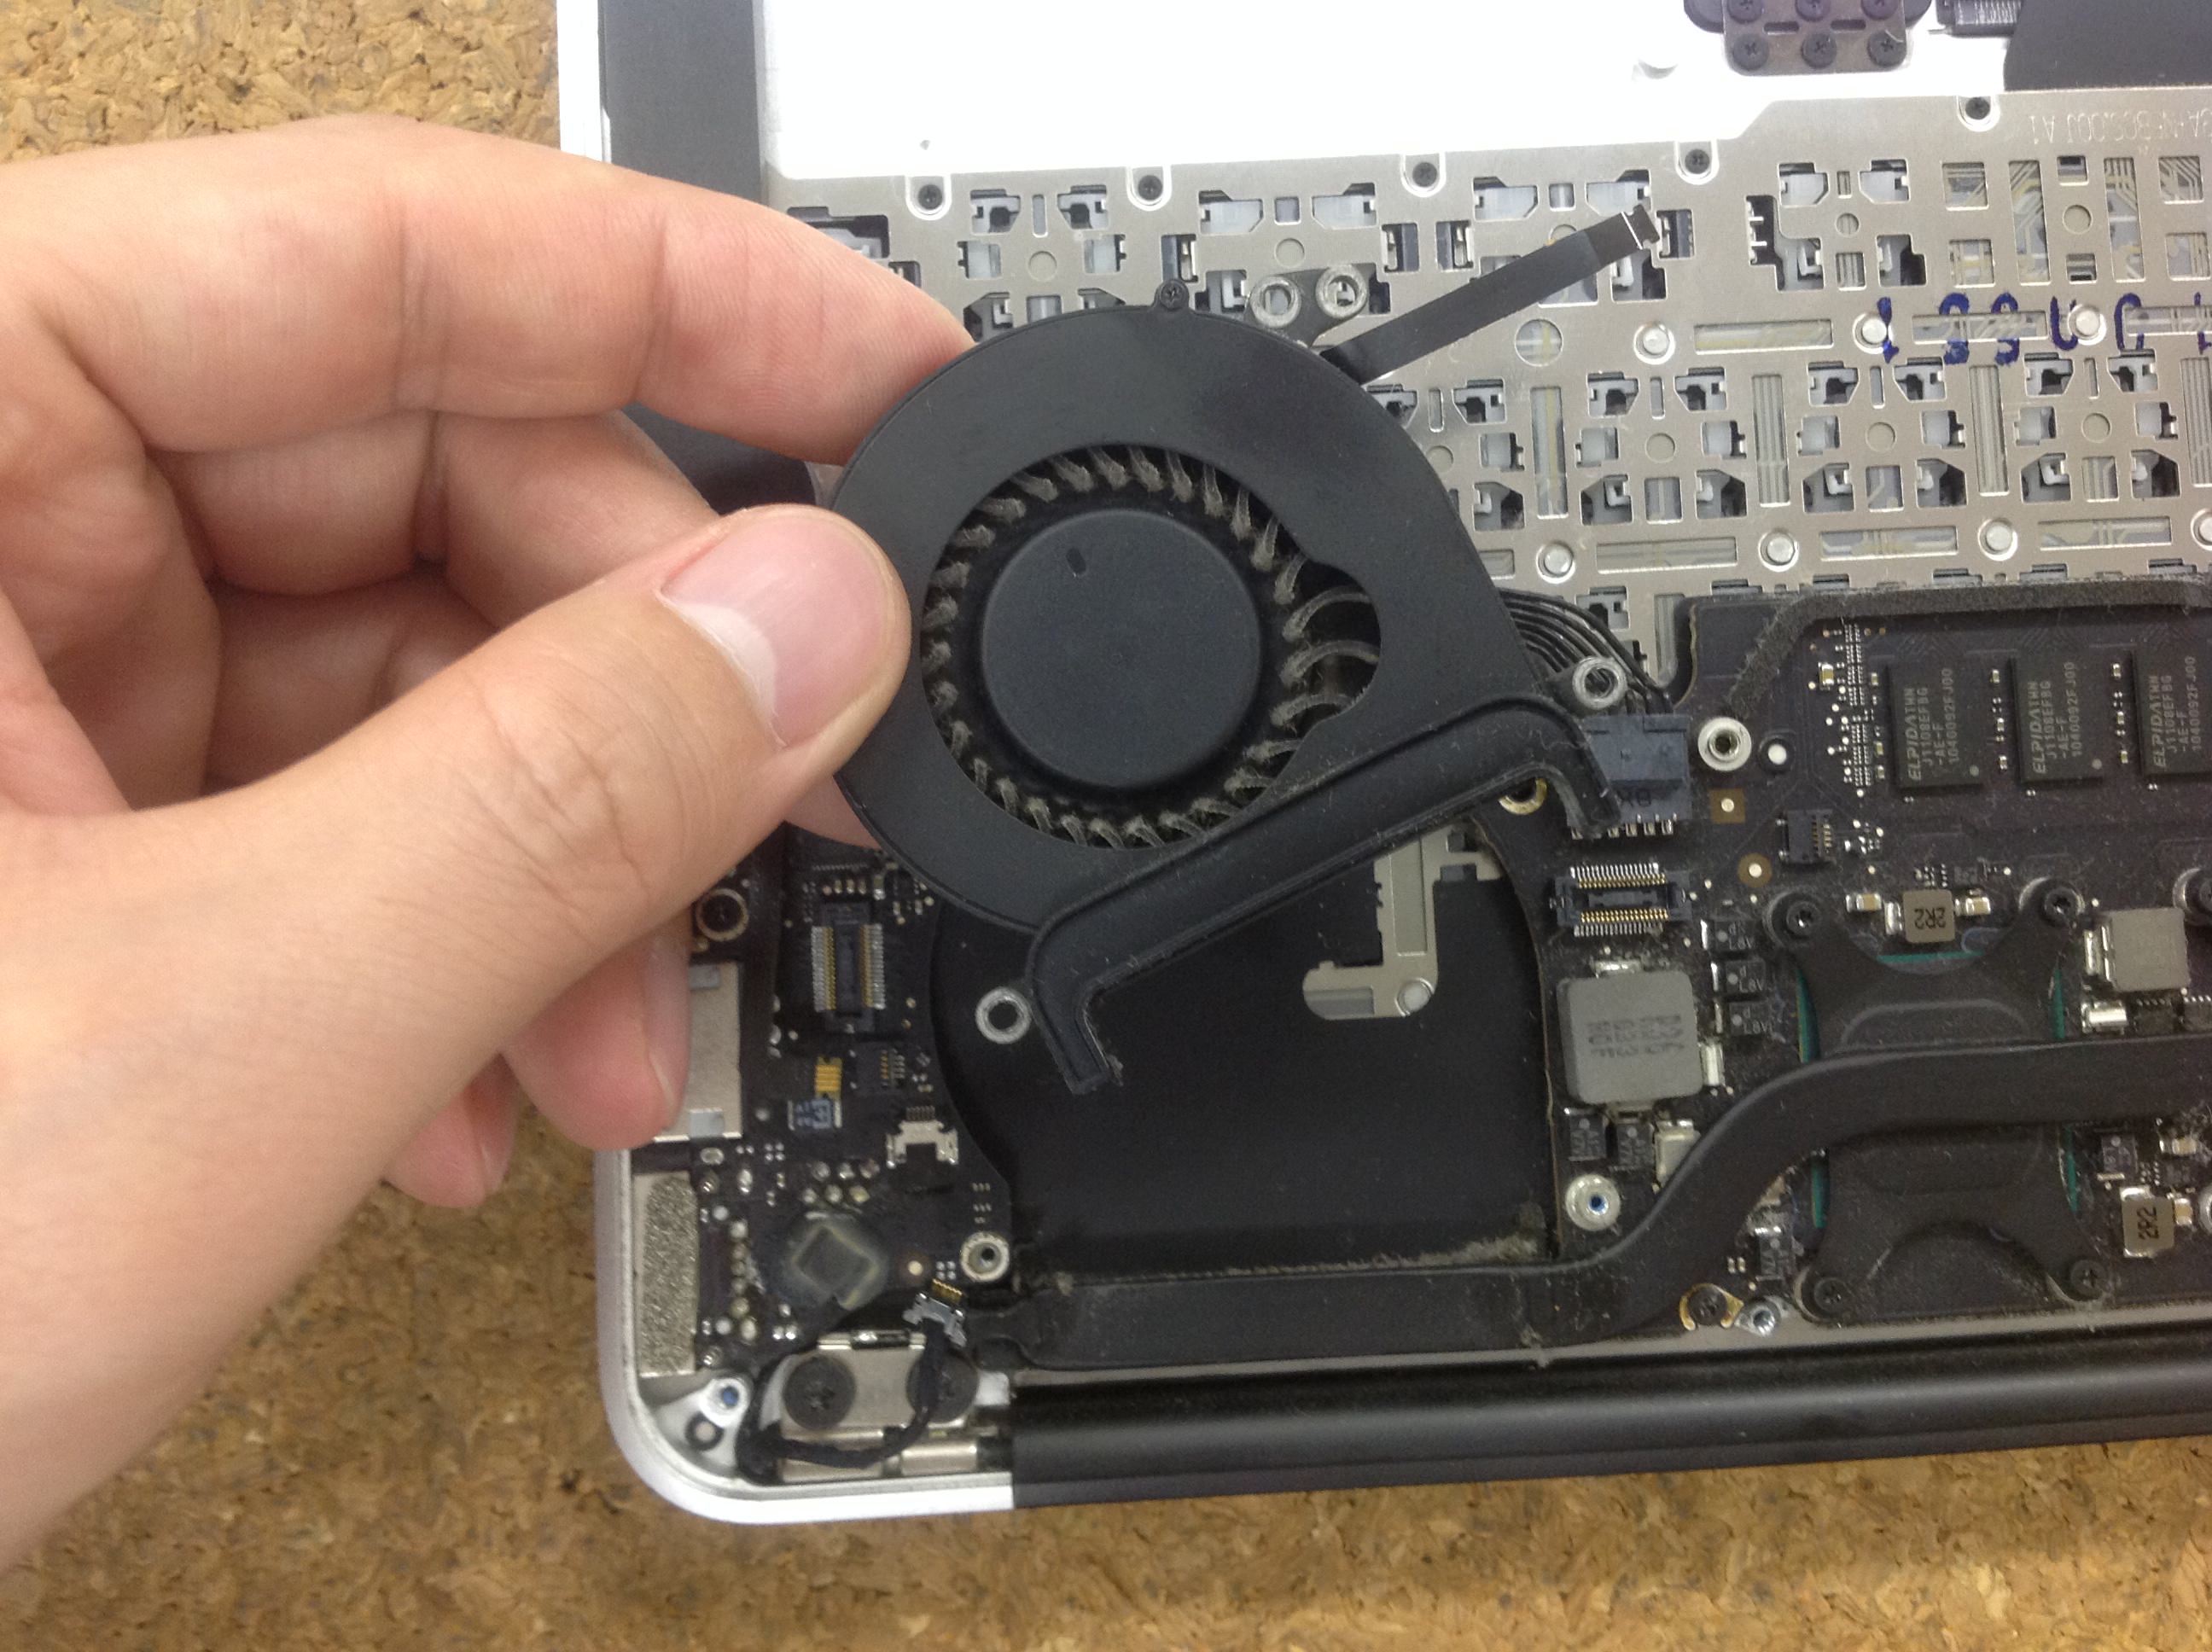
[MacbookAir A1370 Power supply replacement and disassembly method STEP 10]
When the FAN cable is complete, remove the three torx screws on the red mark on the FAN body.
[MacbookAir A1370 Power supply replacement and disassembly method STEP 11]
When all the cables and screws are removed, the FAN body can be easily removed, so if dust or dirt is attached, it will increase the cooling effect by cleaning cleanly using a soft brush.
Let's work carefully over time because it will be a precise part!
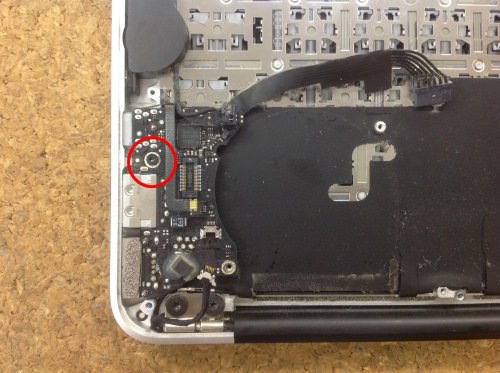
[MacbookAir A1370 Power supply replacement and disassembly method STEP 12]
The power board is secured with the same Torx screws as the logic board.Remove one red torx screw.
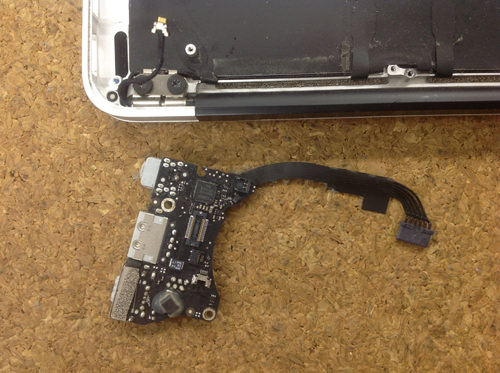
[MacbookAir A1370 Power supply replacement and disassembly method STEP 13]
Removal of the power board is complete!
If the power does not turn on, there is a possibility of improvement if you replace this part, but if the symptoms do not improve by any chance, there is a possibility of logic board failure.

 It is helpful when replacing parts when the MacbookAir does not turn on or is not energized.
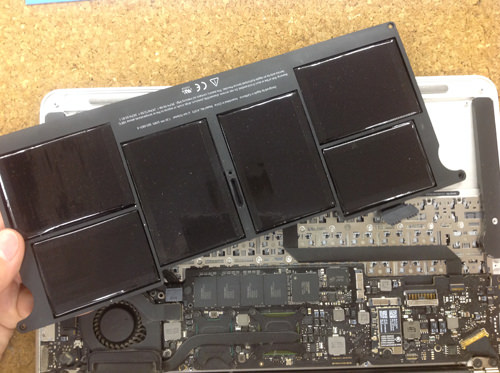
 If the power supply part is installed with an electrical outlet, the lamp does not turn on, it does not energize, and if the power supply does not turn on, there is a possibility of failure of the power supply part.
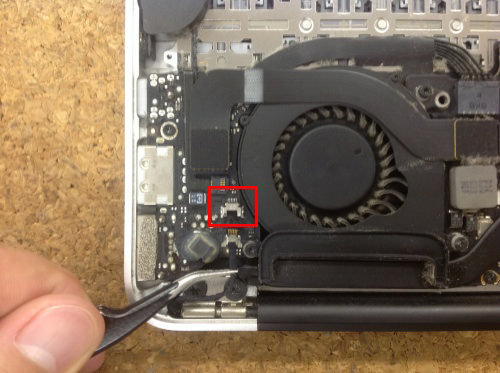


コメントを残す