[Fujitsu FH77/B3 LCD replacement 1]
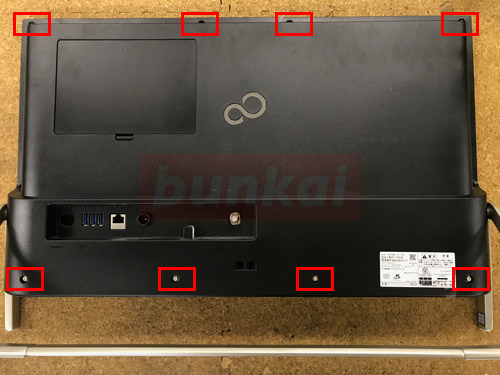
Because an integrated PERSONAL computer weighs unlike a notebook PC, it is better to put it to bed and disassemble it.
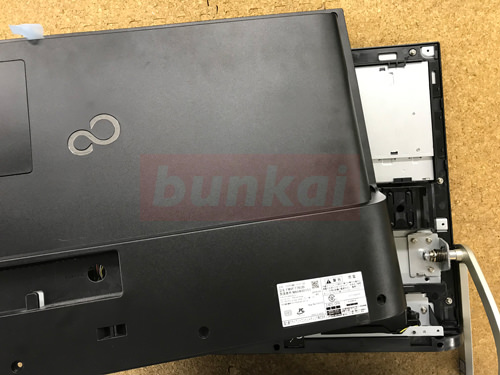
Let's remove all because there is a screw in the part surrounded by the red waku on the back.
[Fujitsu FH77/B3 LCD Replacement 2]
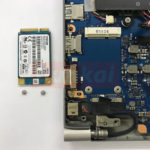
There are quite a lot of screws to remove when replacing the hard disk, but please do not forget the position because the shape is slightly different.
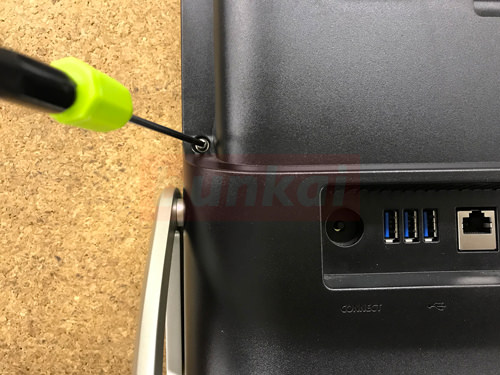
[Fujitsu FH77/B3 LCD Replacement 3]
If all screws can be removed, the back cover can be removed, but it will be disassembled using a tool as shown in the image.
The tool used in the image is a caulking spatula (plastic), but we recommend plastic tools because they are likely to scratch them if they are disassembled with iron tools.
Insert the spatula into the gap between the rear cover and the LCD side and let it slide.
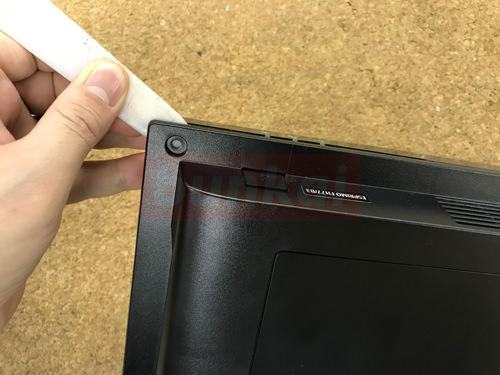
[Fujitsu FH77/B3 LCD Replacement 4]
Integrated Personal Computers are available from various manufacturers, but Fujitsu FH77/B3 is easy to disassemble.
I was able to remove the back cover.
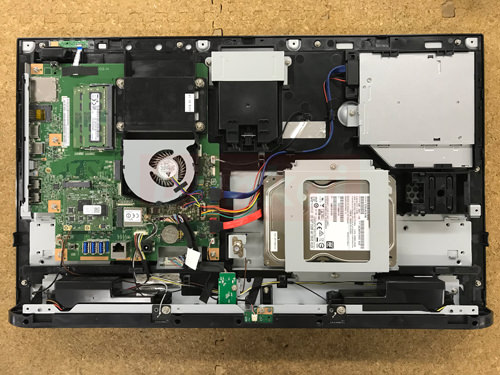
[Fujitsu FH77/B3 LCD Replacement 5]
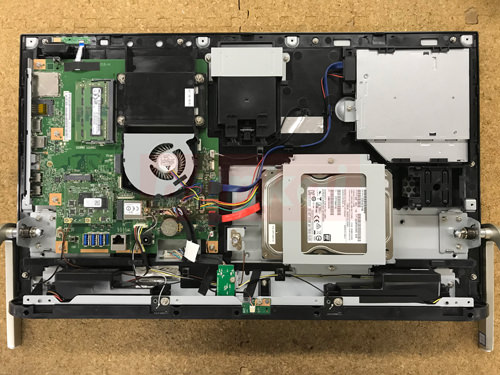
If you can remove the back cover, you can see the motherboard, FAN, drive, hard disk, etc., but the motherboard on the left side is particularly precision part, so do not touch it carelessly.
[Fujitsu FH77/B3 LCD replacement 6]
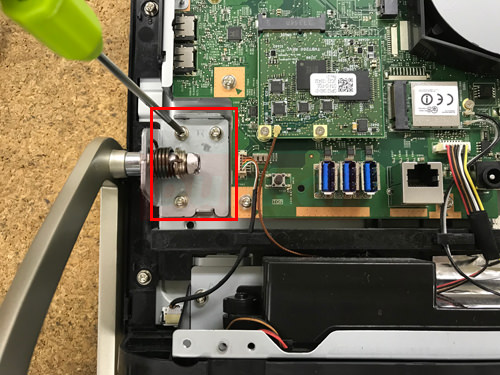
I have a foot for an integrated personal computer, but I will remove the foot.
Let's remove all the screws in the red waku part.
[Fujitsu FH77/B3 LCD replacement 7]
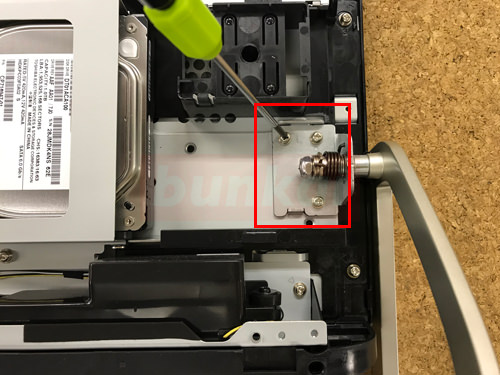
The other side also removes the screw as before.
[Fujitsu FH77/B3 LCD replacement 8]
I was able to remove my legs.
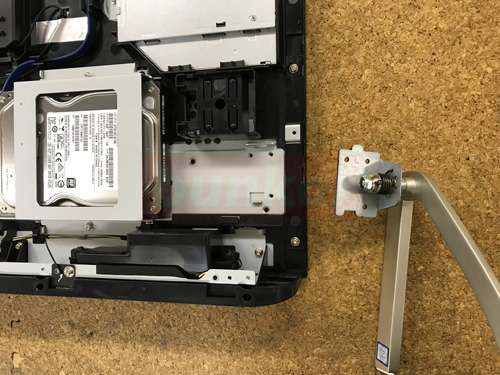
[Fujitsu FH77/B3 LCD replacement 9]
I think that it is in this state now, but please do not forget the position of the screw and the place of the wiring because there is a more detailed decomposition from here.
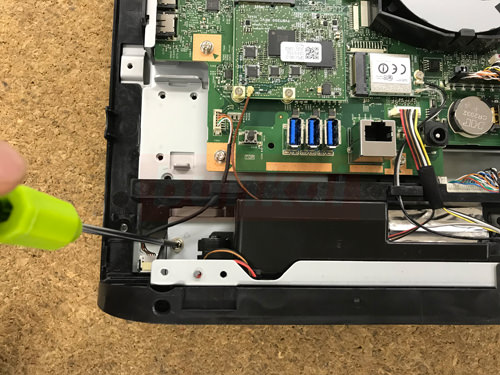
[Fujitsu FH77/B3 LCD replacement 10]

Remove the screw on the side of the USB side.
[Fujitsu FH77/B3 LCD replacement 11]
Remove the screws here, too.
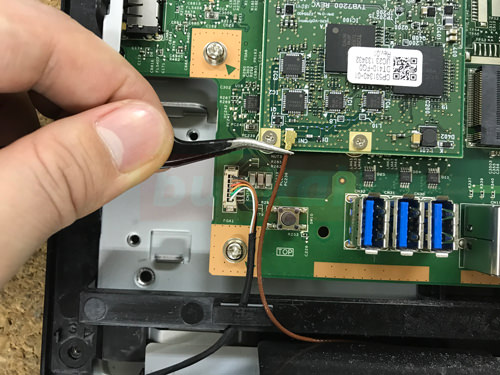
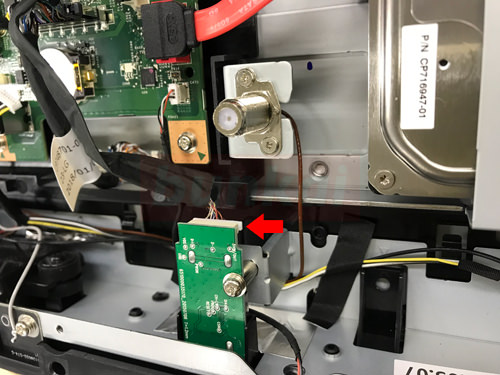
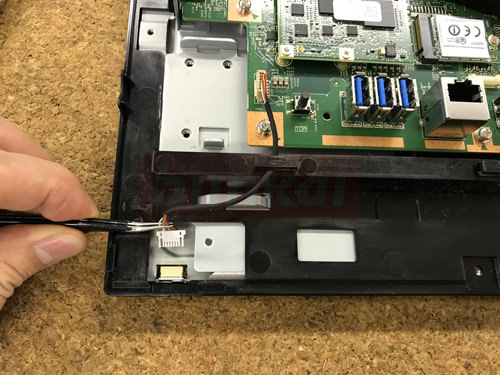
[Fujitsu FH77/B3 LCD replacement 12]

This is where the connector is connected to the motherboard, but pull it out and remove it.
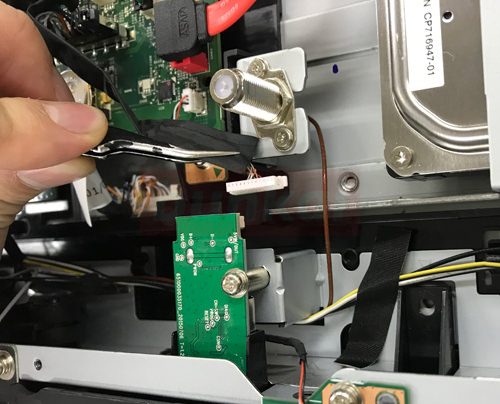
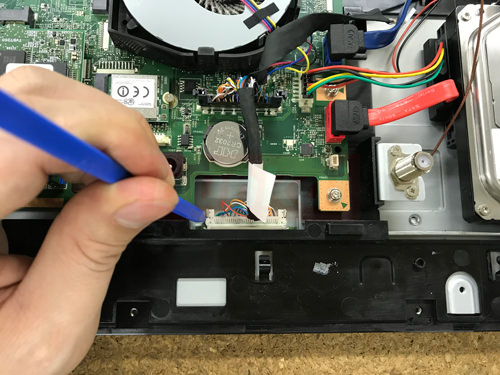
[Fujitsu FH77/B3 LCD replacement 13]
Remove this connector by lifting it from the bottom to the top.
[Fujitsu FH77/B3 LCD replacement 14]

Let's remove the wiring (black, white) in the same way as before.
[Fujitsu FH77/B3 LCD replacement 15]
The connector is hidden behind the base, but Pull it out to the back.
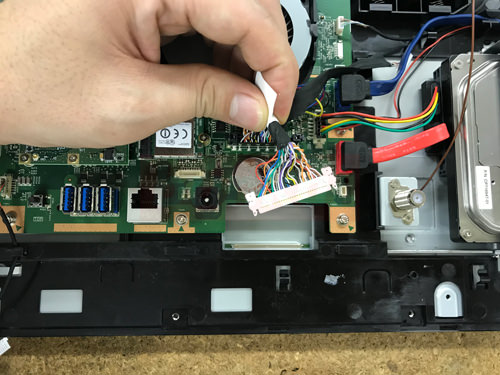
[Fujitsu FH77/B3 LCD replacement 16]
I was able to remove the connector.
[Fujitsu FH77/B3 LCD replacement 17]
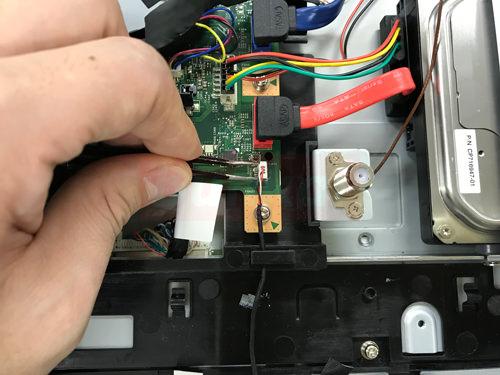
Pull this connector out of the top.
[Fujitsu FH77/B3 LCD replacement 18]
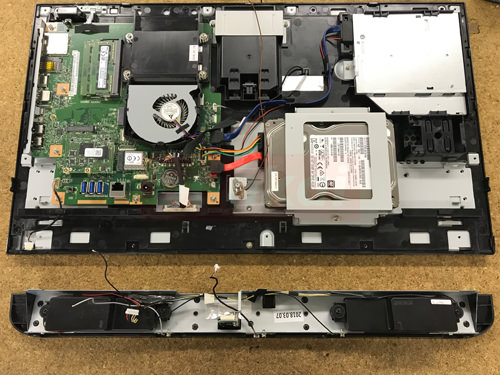
I was able to remove the parts of the lower part of the body.
[Fujitsu FH77/B3 LCD replacement 19]
It becomes the wiring which connects the motherboard and the liquid crystal, but it slides and pulls it out.
[Fujitsu FH77/B3 LCD replacement 20]
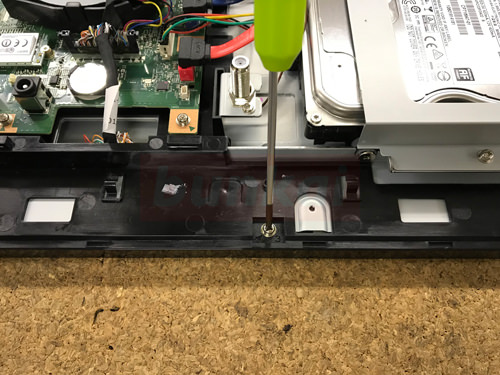
Use a Phillips screwdriver to remove the screws.
[Fujitsu FH77/B3 LCD replacement 21]
The LCD cable has claws on both sides, but can be removed by pushing it inward.
[Fujitsu FH77/B3 LCD replacement 22]
The LCD cable could be removed from the panel.
[Fujitsu FH77/B3 LCD replacement 23]
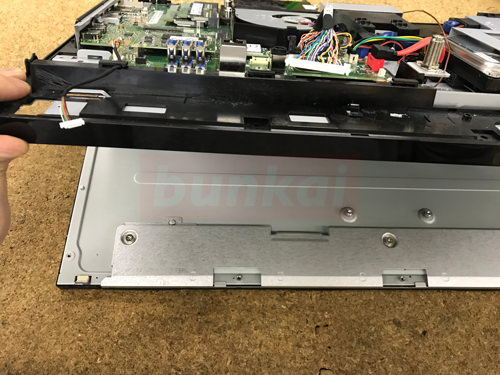
In the image, the base side is lifted up, but it does not lift up if you forget to remove the wiring and screws.
Look inside with the base side floating slightly, check to see if you forget to remove the screws and wiring, and then lift it up.
[Fujitsu FH77/B3 LCD replacement 24]
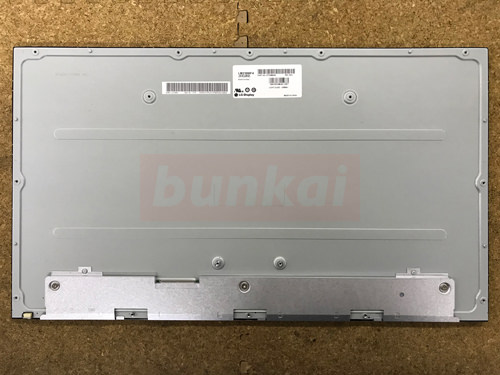
Only the liquid crystal panel was able to be removed from the main body.
After that, if you replace the newly prepared parts and incorporate them in the original procedure, the LCD panel replacement will be completed.