How to perform LCD cracking and screen replacement of SONY tablet Z2 yourself
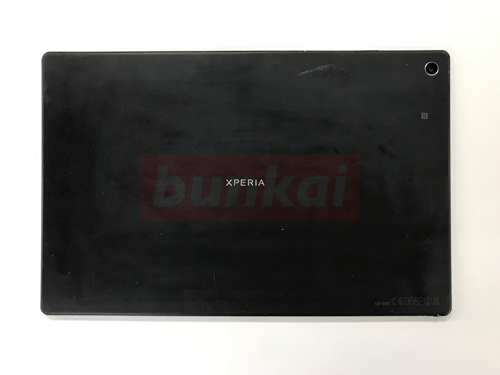
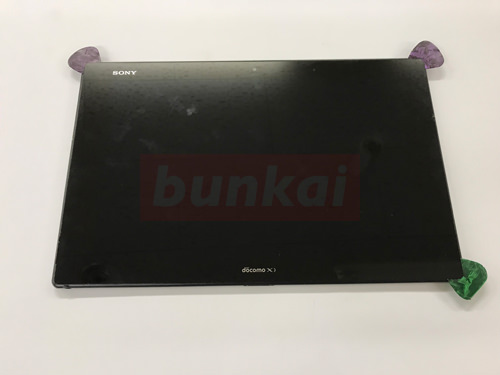
The XPERIA Tablet Z2 is a model that docomo released in 2014, but it was a popular model.
When it comes to tablets, failure due to fall (such as liquid crystal cracking) can not be avoided by all means in order to carry, but please refer to it because it can be fixed at the lowest price if you can repair it yourself.
SONY XPERIA Z2 SO-05F LCD Replacement and Disassembly Repair Method 1
In some cases, the tools used for disassembly can be substituted for those in the home, but in that case, please choose the one that is as close as possible.
SONY XPERIA Z2 SO-05F LCD Replacement and Disassembly Repair Method 2
The XPERIA Tablet Z2 has no screws on the back and decomposes from the surface (touch panel side).
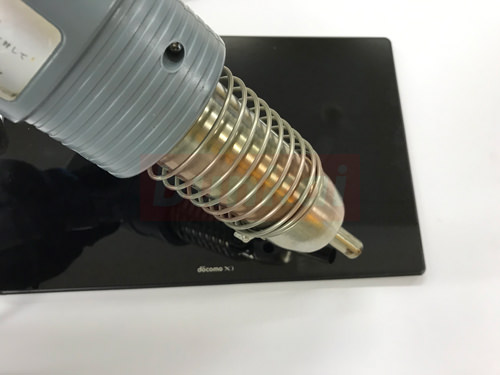
Since it is no longer possible to peel off the display easily, and it is attached to the main body with a strong double-sided tape, we will first soften this tape and make it easy to peel off.
The tool in the image is called a heat gun, but if you say it in an easy-to-understand way, it is a powerful thing of the dryer.
If you think that the temperature of the dryer is about 30 to 40 degrees, the heat gun will be more than 100 degrees depending on the object, so care must be taken when handling.
However, because the heat is high, the work efficiency is improved, so it is used a lot in professional companies such as film shops.
Let's apply the heat little by little because the tape is attached to about 1cm around the liquid crystal!
SONY XPERIA Z2 SO-05F LCD Replacement and Disassembly Repair Method 3
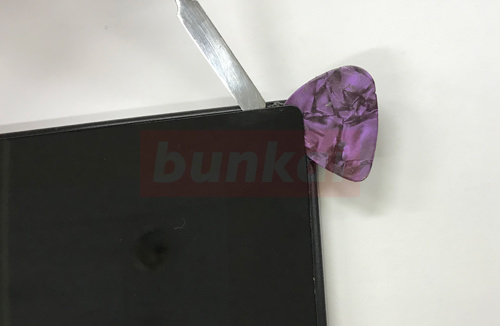
After applying the heat, a thin object of the tip such as a pick and a card (such as a card) is inserted into the gap between the glass and the main body as shown in the image.
If the heat is not fully hit, it is not possible to insert it like an image, so we will repeat the process of inserting it with heat.
If you apply more heat than necessary, it will cause deformation and failure of the body, so be careful.
SONY XPERIA Z2 SO-05F LCD Replacement and Disassembly Repair Method 4
I took an easy-to-understand image and watched it.
It is efficient to insert a pick etc. in the part where the liquid crystal floats even a little like this.
It is an image that slides the part which has been hatched sideways, and tears the tape.
SONY XPERIA Z2 SO-05F LCD Replacement and Disassembly Repair Method 5
When it is possible to peel off the double-sided tape, it is possible to lift the liquid crystal as in the image.
Even if the liquid crystal is lifted, the inside is connected by wiring, so please do not break it.
At this time, it is not possible to completely remove the liquid crystal, but please check the internal structure at this point.
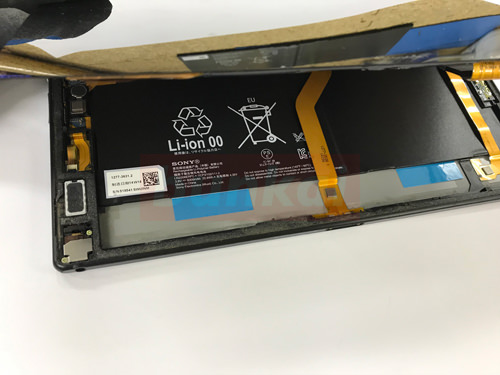
SONY XPERIA Z2 SO-05F LCD Replacement and Disassembly Repair Method 6
If you look inside through the gap of the lcd that is still connected, you can see the battery and the motherboard connection part.
At this time, it is still energized, so please remove the battery connector first.
Use a plastic tool (important here) as shown in the image, and remove the connector part by lifting it from the bottom to the top.
Use plastic instead of metal tools.
Note that using a metal tool may cause shortcircuit.
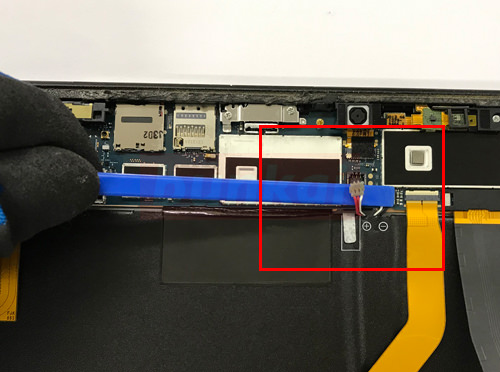
SONY XPERIA Z2 SO-05F LCD Replacement and Disassembly Repair Method 7
I was able to remove the connector.
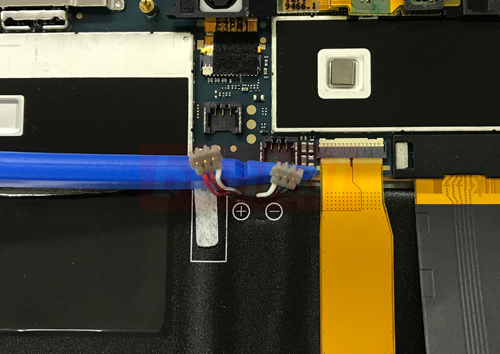
SONY XPERIA Z2 SO-05F LCD Replacement and Disassembly Repair Method 8
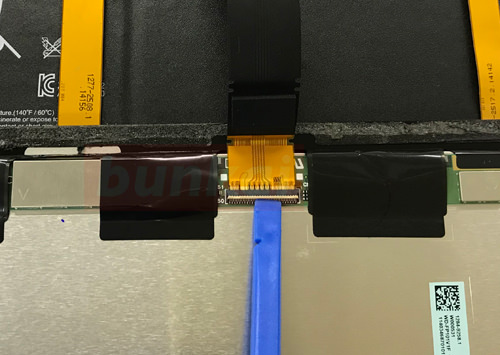
It is the opposite side of the cable connected to the LCD, but it is connected to the motherboard.
Use a tool to cause cream-colored nails, but be careful if you pull the cable without causing the nails, it will lead to cable failure.
SONY XPERIA Z2 SO-05F LCD Replacement and Disassembly Repair Method 9
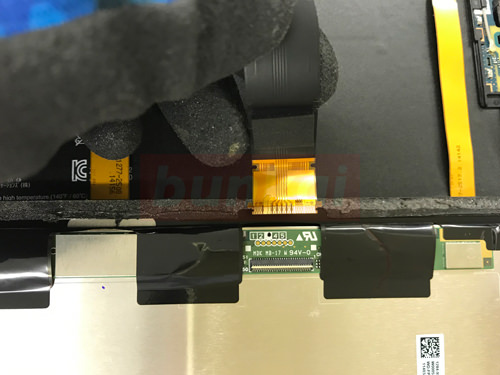
It is possible to pull out the cable when you wake up the previous nail.
SONY XPERIA Z2 SO-05F LCD Replacement and Disassembly Repair Method 10
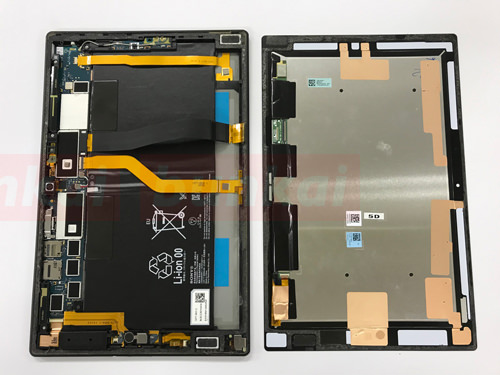
The LCD panel could be removed from the main unit.
The XPERIA Tablet Z2 is difficult to peel off the LCD, but it is better to spend the most time on STEP 2, 3 and 4.
It is easy after that if you can even peel off the liquid crystal!