NEC PC-NS350BAB LCD Cracking Screen Replacement Repair Method, Decomposition Procedure
The monitor used for PC-NS350BAB is a general-purpose product, so if you can repair it yourself, you can repair it relatively cheaply.
Please try to challenge because it has become an intermediate level from the first ball as a PC decomposition difficulty!
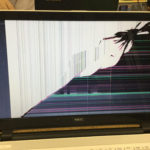
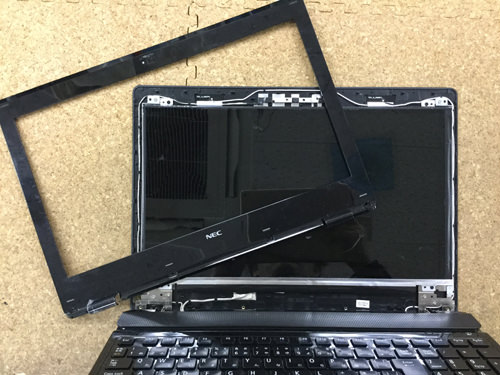
- [NEC PC-NS350BAB LIQUID Crystal Repair and Decomposition Method STEP 1]
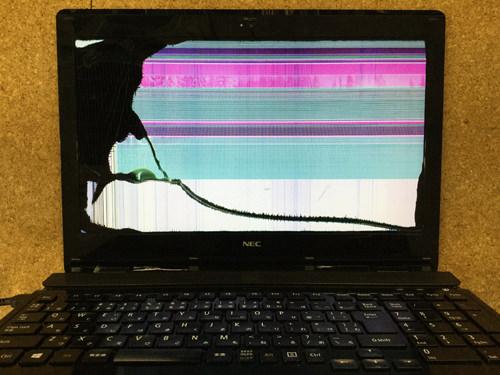

- Because the liquid crystal is completely cracked, it is in a state that cannot be seen at all.
There are many reasons for this, but most of the reasons are external shocks.
If you close the lid while you drop the PC or place things on the keyboard, it will cause liquid crystal cracking, so be careful.
- [NEC PC-NS350BAB LIQUID Crystal Repair and Decomposition Method STEP 2]
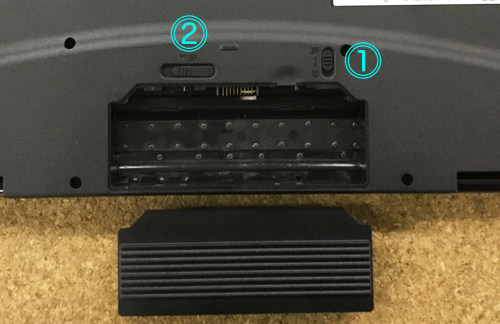

- First, turn the battery inside out and remove the battery.
You can easily remove the battery by sliding the knob of 1 and sliding the knob of 2.
If you want to disassemble your computer, be sure to do this and then disassemble it.
- [NEC PC-NS350BAB LIQUID Crystal Repair and Decomposition Method STEP 3]
- The liquid crystal is disassembled from here.
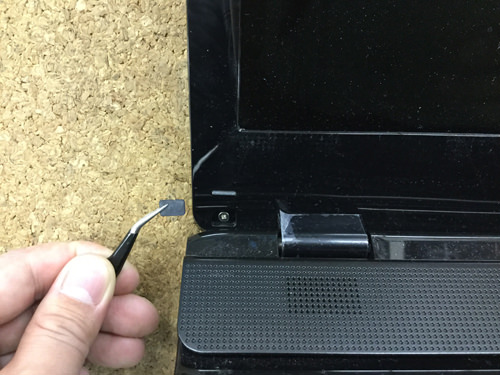
To remove the LCD panel, the frame attached to the liquid crystal is removed first, but the liquid crystal frame is fixed with several screws and plastic claws.
The screw swept the rubber so that it would not be visible, so use tweezers and remove the rubber.
- [NEC PC-NS350BAB LIQUID Crystal Repair and Decomposition Method STEP 4]
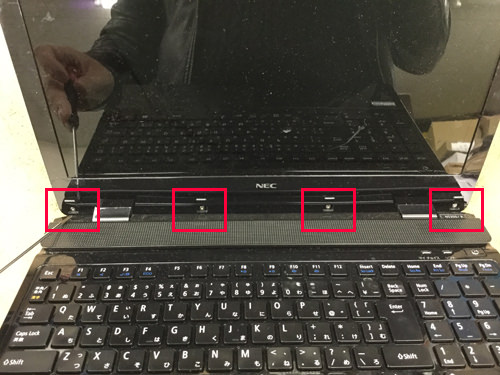
- There are four places in total, so remove all the rubber.
- [NEC PC-NS350BAB LIQUID Crystal Repair and Decomposition Method STEP 5]
- Because the screw is hidden under the rubber, i try to use the Phillips screwdriver.
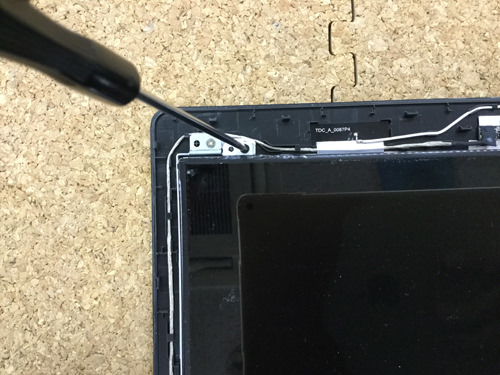
- [NEC PC-NS350BAB LIQUID Crystal Repair and Decomposition Method STEP 6]
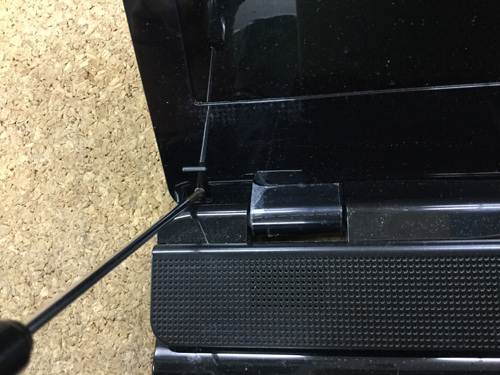
- After removing all screws, use a plastic tool to disassemble.
As shown in the image, the tool is inserted into the gap between the rear panel and the frame, but this is done all around the LCD. - Because it is all fixed with plastic claws, if it is possible to remove even one place, the rest will only be done the same work repeatedly.
- [NEC PC-NS350BAB LIQUID Crystal Repair and Decomposition Method STEP 7]
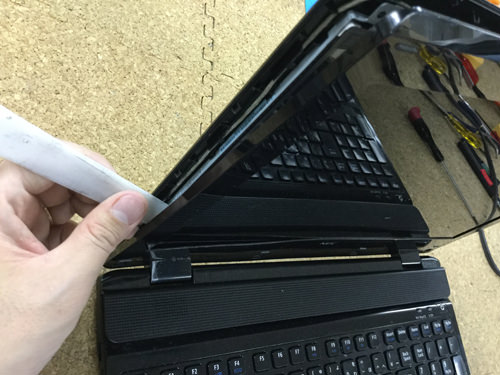
- The LCD frame could be removed.
If you can remove the liquid crystal frame, it will not be too difficult, so if you can disassemble it so far, there will be no problem.
- [NEC PC-NS350BAB LIQUID Crystal Repair and Decomposition Method STEP 8]
- I think that the monitor part is exposed when the frame can be removed, but the monitor part is fixed with four screws.
All four screws in the four corners of the liquid crystal are removed with a Phillips screwdriver, but it is possible to move the monitor part if you can remove the screw.
Slowly lower the button in the forward direction (keyboard surface), but be careful not to break it because the cable is still connected to the back of the LCD panel.
- [NEC PC-NS350BAB LIQUID Crystal Repair and Decomposition Method STEP 9]
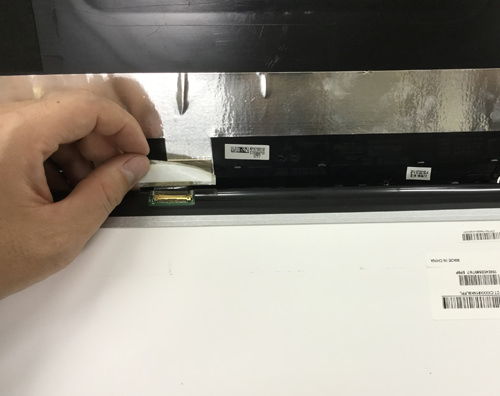

- The panel is sleeping on the keyboard, but slowly turn the seal on the cable connection.
- [NEC PC-NS350BAB LIQUID Crystal Repair and Decomposition Method STEP 10]
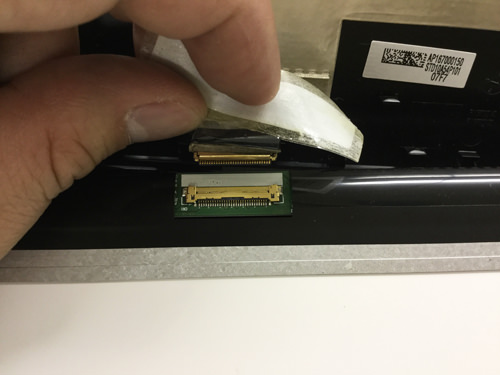
- When you turn the seal, you can see where the connector is connected, so let's remove it while sliding slowly!
I think that only the liquid crystal panel was able to be removed from the PC body if it is possible to disassemble up to this point, but the rest will only be restored to its original state.
- [NEC PC-NS350BAB LIQUID Crystal Repair and Decomposition Method STEP 11]
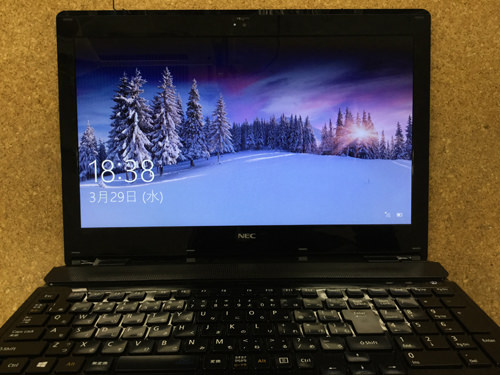
- It is a state in which the new LCD panel is replaced and the power is turned on.
I was able to confirm that the screen that was not seen at all came to be reflected normally!
In the case of liquid crystal replacement, it is possible to use a personal computer as before after repair because it remains as it is because it is not related to the hard disk at all.