SCREEN Replacement of LCD Cracking on PC-GN14CUSA3 Repair Method, Decomposition Procedure
The LCD panel of PC-GN14CUSA3 is a model that can cure liquid crystal cracking cheaply if it can be repaired by oneself because general-purpose products are used.
If you have broken down a personal computer even once, the decomposition is not so complicated.
I think that you can refer to it because the decomposition method is open to the public below.
- [NEC PC-GN14CUSA3 LCD Repair and Decomposition Method STEP 1]


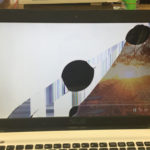
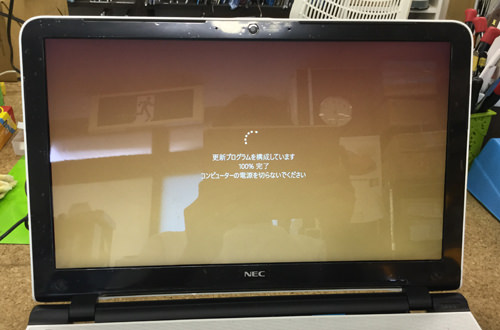
- I do not know whether Windows is starting normally by the liquid crystal cracking.
When I checked whether Windows was running using an external display, I stood up without any problems, so there is no problem with the data.
Such a name is often, but because it is understood that the data remains, it is possible to use the personal computer as before only by the liquid crystal panel exchange.
- [NEC PC-GN14CUSA3 LCD Repair and Decomposition Method STEP 2]


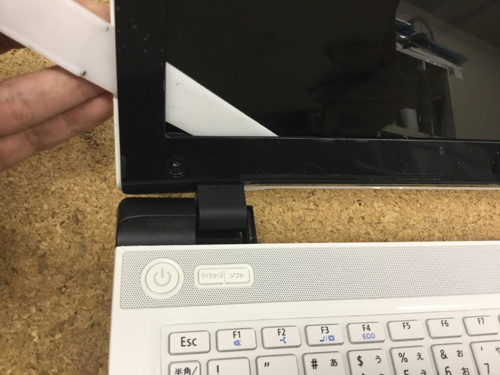
- Decomposition will start from the place where the battery is removed by turning over the main unit.
The battery comes to be removed by sliding the knob of the part which is enclosed in a red frame.
- [NEC PC-GN14CUSA3 LCD Repair and Decomposition Method STEP 3]
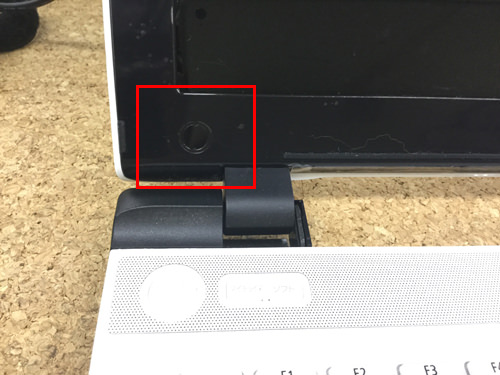
- The liquid crystal is disassembled from here.
The image will be in the lower left of the liquid crystal, but if you look closely, you can see that a black seal is attached.
Let's peel off the seal using a pointed tool such as tweezers.
The seal will be reused later, so please keep it without throwing it away.
- [NEC PC-GN14CUSA3 LCD Repair and Decomposition Method STEP 4]
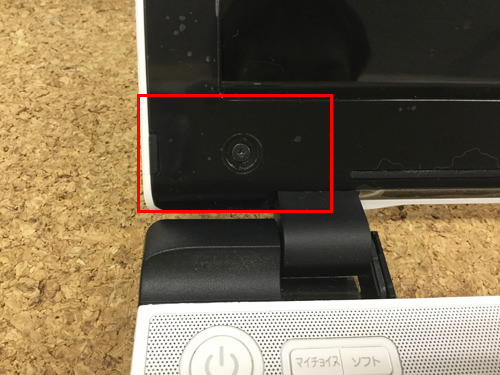
- If you can peel off the seal, the screw will come out, so you will use the Phillips screwdriver.
As with the lower left, there is the same place in the lower right, so please do not forget to remove the screw.
- [NEC PC-GN14CUSA3 LCD Repair and Decomposition Method STEP 5]
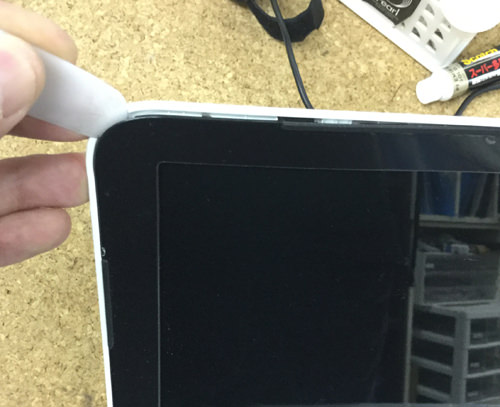

- There is a frame around the split lcd panel, so it is necessary to disassemble it.
After removing the screws below the left and right, the frame is removed using a spatula, but the tool is inserted into the gap between the rear panel and the frame as shown in the image.
How can I get involved?
It seems, but please slide the spatula to the right side and the lower side after inserting the tool in the upper left as shown in the image.
Soon stiff!There is a part that I feel, but the plastic nail is fixed in the part.
Therefore, since there is a plastic claw in the place where the spatula no longer slips, it is possible to remove it if you move the spatula lightly up, down, left and right there.
Even if you break the plastic nails by any chance, you can repair them as much as you like with bonds.
- [NEC PC-GN14CUSA3 LCD Repair and Decomposition Method STEP 6]
- It is possible to remove only the frame if the tool is inserted into one lap of the liquid crystal frame.
- [NEC PC-GN14CUSA3 LCD Repair and Decomposition Method STEP 7]
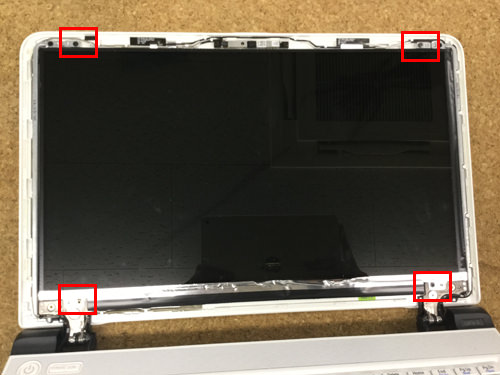
- The monitor is now exposed, but it is still not possible to remove it because it is secured with a screw.
Because there is a screw in the red frame part 4 places, let's remove it with a Phillips screwdriver!
Because it is possible to move only the panel when the screw can be removed, it is possible to sleep to the keyboard side, but because one place cable is connected to the back of the panel, please be able to sleep while paying attention to the disconnection etc.
- [NEC PC-GN14CUSA3 LCD Repair and Decomposition Method STEP 8]
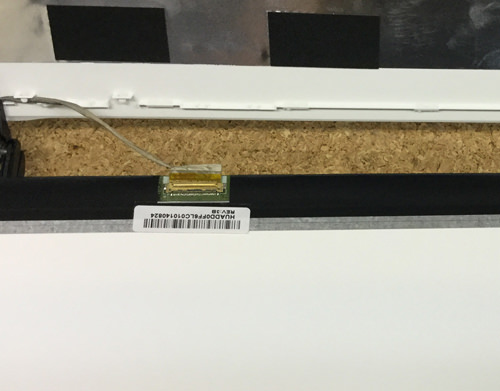

- This is the cable connected to the LCD panel from the motherboard.
Since the bar code part is tape, it is possible to remove the liquid crystal cable by sliding the connector while removing the tape.
Because I think that only the liquid crystal panel was able to be removed from the PERSONAL body, the liquid crystal exchange is completed if I replace it with a newly prepared display and assemble it with the original procedure.
- [NEC PC-GN14CUSA3 LCD Repair and Decomposition Method STEP 9]

- I was able to confirm that it moves normally when I turn on the power.
Because the data is left, you can use the laptop as usual!