NEC PC-LS150LS6B LCD Cracking Screen Replacement Repair Method, Decomposition Procedure
NEC PC-LS150LS6B LCD screen cracking, IF THERE is a display failure in the LIQUID CRYSTAL, lcd panel replacement (LCD replacement) is required!
[NEC PC-LS150LS6B LIQUID Crystal Repair and Decomposition Method STEP 1]
The display of the LCD has occurred due to the fall of the laptop.
Since it is displayed normally on the external monitor, it can be predicted as a problem related to liquid crystal.
If you change the LCD panel, you can use your laptop without changing the current environment, so I would like to disassemble the PC immediately.
[NEC PC-LS150LS6B LIQUID Crystal Repair and Decomposition Method STEP 2]
First, turn the laptop inside out and remove the battery from the pc itself.
To remove the battery, slide the knob near the battery and let it wake up to remove it.
[NEC PC-LS150LS6B LIQUID Crystal Repair and Decomposition Method STEP 3]
The liquid crystal is disassembled, but first, all the screw scistaking on the liquid crystal frame is removed.
Because there is a screw hidden (rubber) in the red frame part, i use a sharp tool such as tweezers to peel off.
[NEC PC-LS150LS6B LIQUID Crystal Repair and Decomposition Method STEP 4]
The middle part is removed in the same way as before.
[NEC PC-LS150LS6B LIQUID Crystal Repair and Decomposition Method STEP 5]
If you remove the screw hidden, the screw will be visible inside, so try to remove the Phillips screwdriver.
[NEC PC-LS150LS6B LIQUID Crystal Repair and Decomposition Method STEP 6]
Remove the LCD frame itself once all screws are removed.
It is possible to remove it smoothly when disassembling using a spatula like the image, and it is a gap between the liquid crystal frame and the rear panel though it is the position where the spatula inserts.
It is better to disassemble from either the upper left or the upper right.
[NEC PC-LS150LS6B LIQUID Crystal Repair and Decomposition Method STEP 7]
The LCD frame is removed.
At this time, the LCD panel is exposed, but the LIQUID PANEL itself is also secured with screws.
Remove the screws at the top two and the bottom two.
[NEC PC-LS150LS6B LIQUID Crystal Repair and Decomposition Method STEP 8]
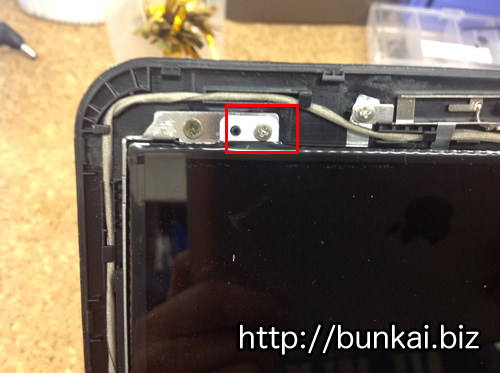
First of all, please remove only the red frame part though it is a screw on the upper left.
The screw on the left side of the red frame is the screw that secures the hinge and the main body, so there is no need to remove it in this disassembly.
If only the screw spinneret that secures the liquid crystal panel can be removed, the LCD panel can be knocked forward.
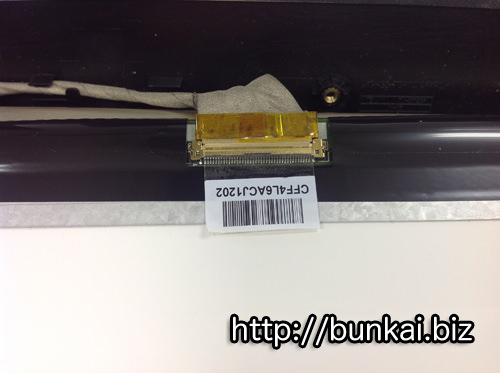
[NEC PC-LS150LS6B LIQUID Crystal Repair and Decomposition Method STEP 9]
A liquid crystal cable is connected to the back of the LCD panel.
You can easily remove it by turning over the seal part of the bar code and sliding the LCD cable.
If the decomposition method so far was able to be done correctly, I think that only the liquid crystal panel was removed from the laptop body.
After that, if you replace it with a newly prepared liquid crystal panel, liquid crystal repair will be completed.
[NEC PC-LS150LS6B LIQUID Crystal Repair and Decomposition Method STEP 10]

 NEC PC-LS150LS6B LCD screen cracking, IF THERE is a display failure in the LIQUID CRYSTAL, lcd panel replacement (LCD replacement) is required!
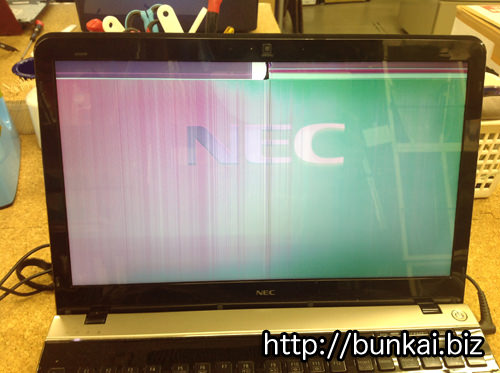
 The display of the LCD has occurred due to the fall of the laptop.
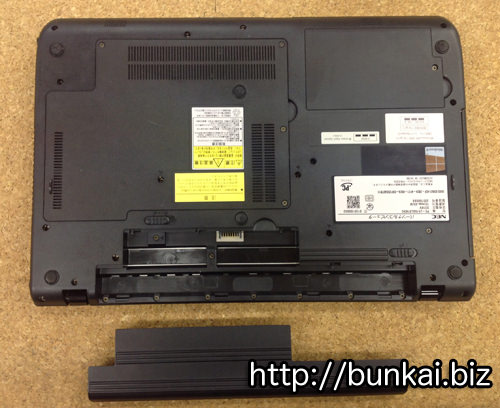
 First, turn the laptop inside out and remove the battery from the pc itself.
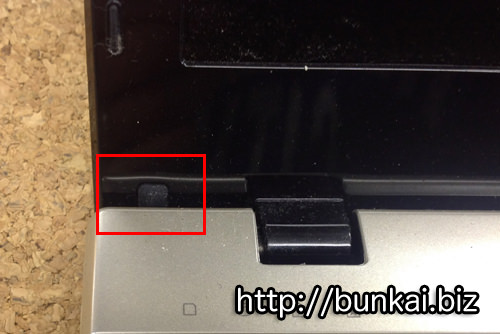
 The liquid crystal is disassembled, but first, all the screw scistaking on the liquid crystal frame is removed.
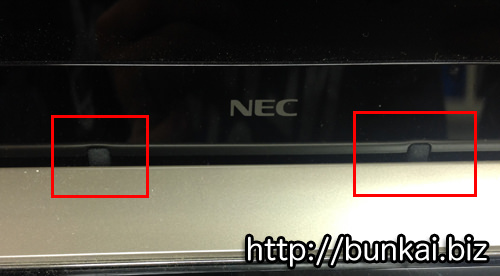
 The middle part is removed in the same way as before.
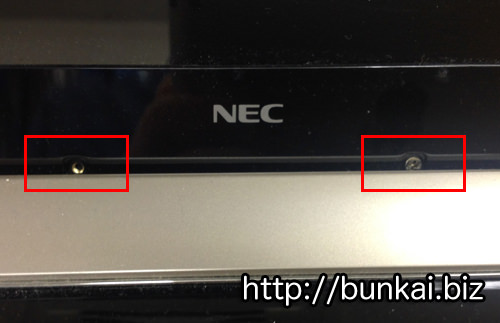
 If you remove the screw hidden, the screw will be visible inside, so try to remove the Phillips screwdriver.
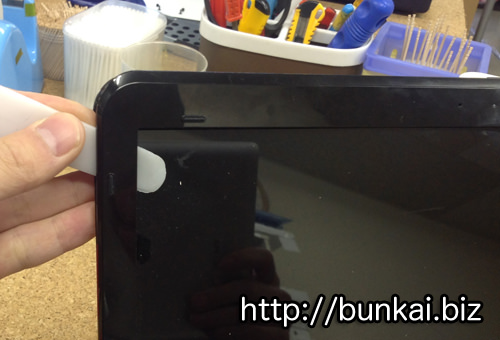
 Remove the LCD frame itself once all screws are removed.
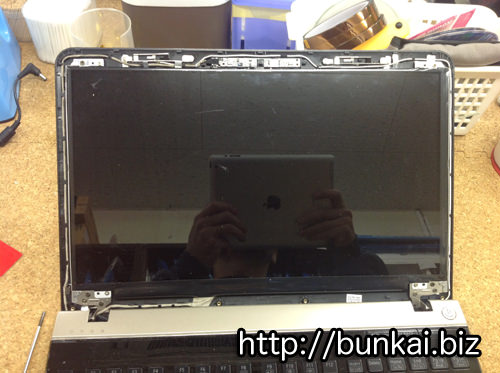
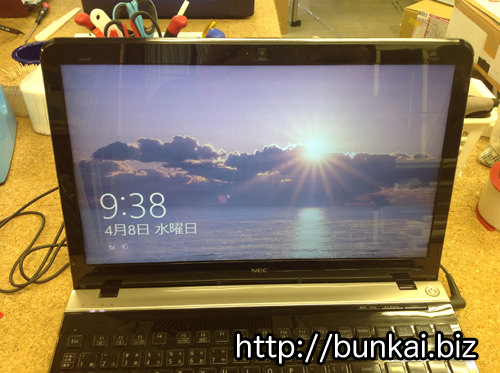
 You have verified that it is displayed correctly.

コメントを残す