Nintendo DS Repair and Disassembly Method
2017.12.01
yossys12345
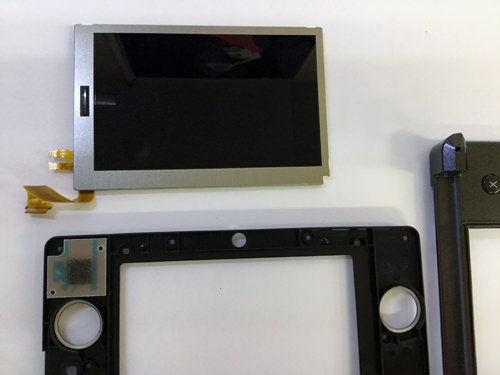
Lcd replacement of Nintendo 3DS (upper side) and decomposition method
Nintendo 3DS LCD cracking, how to repair screen replacement
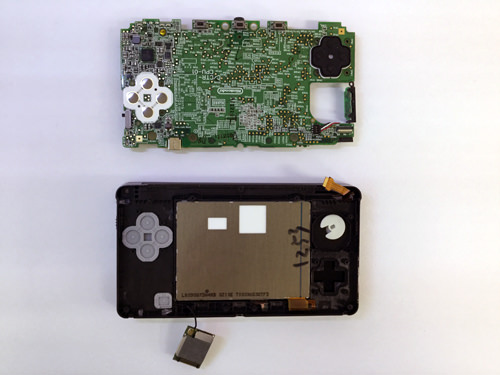
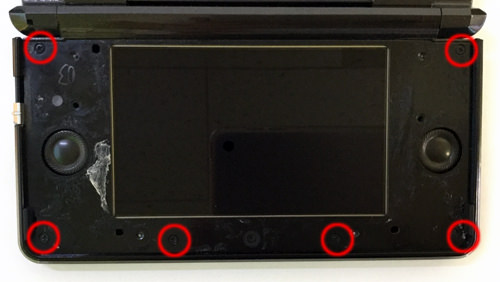
[Nintendo 3DS LCD replacement (upper side) and decomposition method STEP 1]
[Nintendo 3DS LCD replacement (upper side) and decomposition method STEP 2]
[Nintendo 3DS LCD replacement (upper side) and decomposition method STEP 3]
[Nintendo 3DS LCD replacement (upper side) and decomposition method STEP 4]
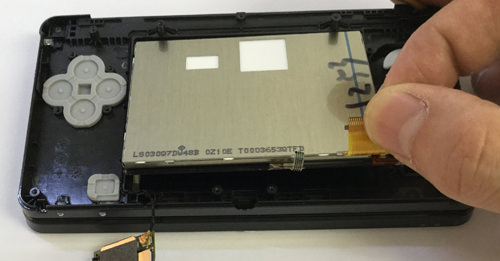
[Nintendo 3DS LCD replacement (upper side) and decomposition method STEP 5]
[Nintendo 3DS LCD replacement (upper side) and decomposition method STEP 6]
[Nintendo 3DS LCD replacement (upper side) and decomposition method STEP 7]
[Nintendo 3DS LCD replacement (upper side) and decomposition method STEP 8]
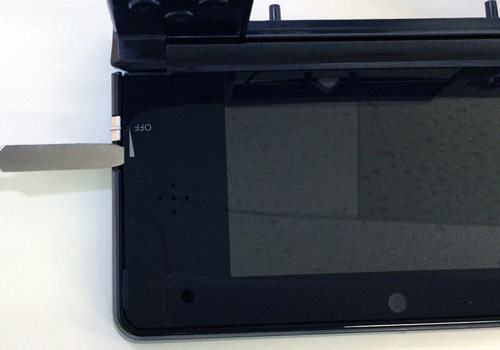
[Nintendo 3DS LCD replacement (upper side) and decomposition method STEP 9]
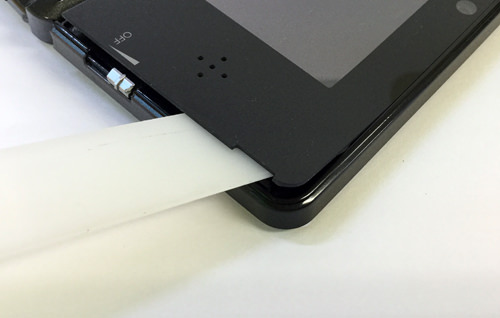
[Nintendo 3DS LCD replacement (upper side) and decomposition method STEP 10]
[Nintendo 3DS LCD replacement (upper side) and decomposition method STEP 11]
[Nintendo 3DS LCD replacement (upper side) and decomposition method STEP 12]
[Nintendo 3DS LCD replacement (upper side) and decomposition method STEP 13]
[Nintendo 3DS LCD replacement (upper side) and decomposition method STEP 14]
[Nintendo 3DS LCD replacement (upper side) and decomposition method STEP 15]
[Nintendo 3DS LCD replacement (upper side) and decomposition method STEP 16]
[Nintendo 3DS LCD replacement (upper side) and decomposition method STEP 17]
[Nintendo 3DS LCD replacement (upper side) and decomposition method STEP 18]
[Nintendo 3DS LCD replacement (upper side) and decomposition method STEP 19]
[Nintendo 3DS LCD replacement (upper side) and decomposition method STEP 20]
[Nintendo 3DS LCD replacement (upper side) and decomposition method STEP 21]
[Nintendo 3DS LCD replacement (upper side) and decomposition method STEP 22]
[Nintendo 3DS LCD replacement (upper side) and decomposition method STEP 23]
[Nintendo 3DS LCD replacement (upper side) and decomposition method STEP 24]
[Nintendo 3DS LCD replacement (upper side) and decomposition method STEP 25]
[Nintendo 3DS LCD replacement (upper side) and decomposition method STEP 26]
[Nintendo 3DS LCD replacement (upper side) and decomposition method STEP 27]
[Nintendo 3DS LCD replacement (upper side) and decomposition method STEP 28]
[Nintendo 3DS LCD replacement (upper side) and decomposition method STEP 29]
[Nintendo 3DS LCD replacement (upper side) and decomposition method STEP 30]
[Nintendo 3DS LCD replacement (upper side) and decomposition method STEP 31]
[Nintendo 3DS LCD replacement (upper side) and decomposition method STEP 32]
[Nintendo 3DS LCD replacement (upper side) and decomposition method STEP 33]
[Nintendo 3DS LCD replacement (upper side) and decomposition method STEP 34]
[Nintendo 3DS LCD replacement (upper side) and decomposition method STEP 35]
[Nintendo 3DS LCD replacement (upper side) and decomposition method STEP 36]
[Nintendo 3DS LCD replacement (upper side) and decomposition method STEP 37]
[Nintendo 3DS LCD replacement (upper side) and decomposition method STEP 38]
[Nintendo 3DS LCD replacement (upper side) and decomposition method STEP 39]
[Nintendo 3DS LCD replacement (upper side) and decomposition method STEP 40]
[Nintendo 3DS LCD replacement (upper side) and decomposition method STEP 41]
[Nintendo 3DS LCD replacement (upper side) and decomposition method STEP 42]
[Nintendo 3DS LCD replacement (upper side) and decomposition method STEP 43]
[Nintendo 3DS LCD replacement (upper side) and decomposition method STEP 44]
[Nintendo 3DS LCD replacement (upper side) and decomposition method STEP 45]
[Nintendo 3DS LCD replacement (upper side) and decomposition method STEP 46]
[Nintendo 3DS LCD replacement (upper side) and decomposition method STEP 47]
[Nintendo 3DS LCD replacement (upper side) and decomposition method STEP 48]
[Nintendo 3DS LCD replacement (upper side) and decomposition method STEP 49]
[Nintendo 3DS LCD replacement (upper side) and decomposition method STEP 50]
[Nintendo 3DS LCD replacement (upper side) and decomposition method STEP 51]
[Nintendo 3DS LCD replacement (upper side) and decomposition method STEP 52]
[Nintendo 3DS LCD replacement (upper side) and decomposition method STEP 53]
[Nintendo 3DS LCD replacement (upper side) and decomposition method STEP 54]

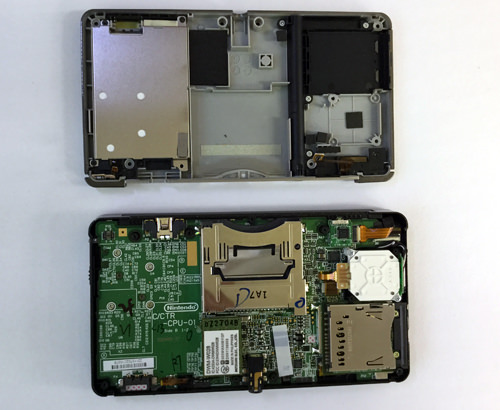
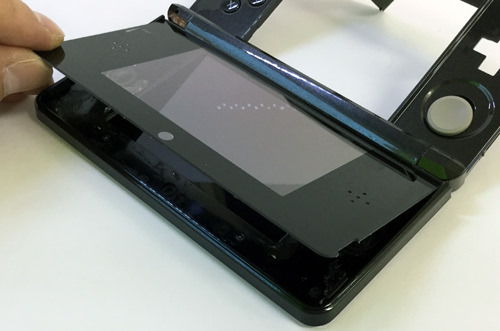
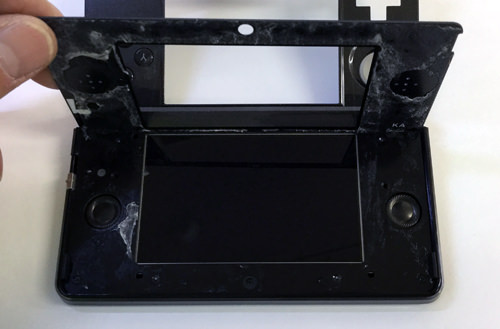
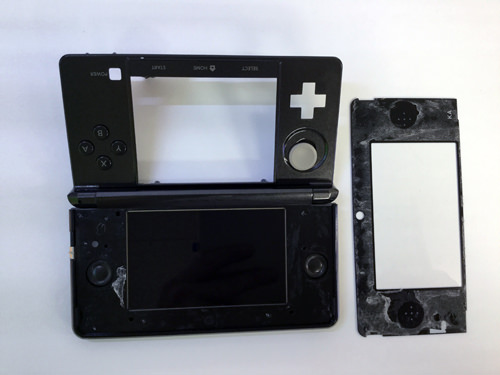
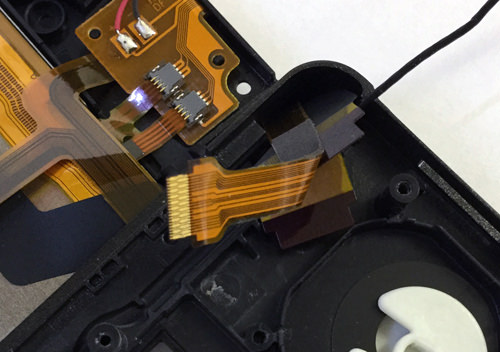
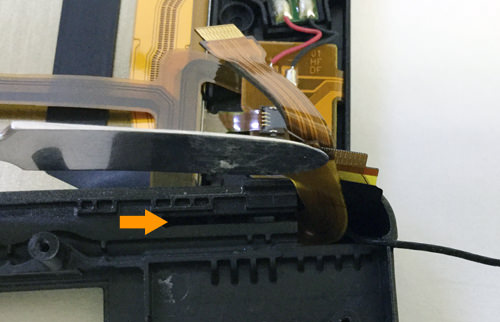
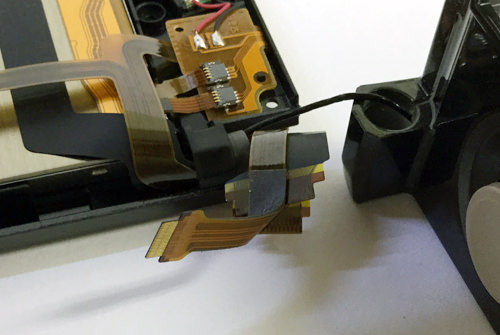
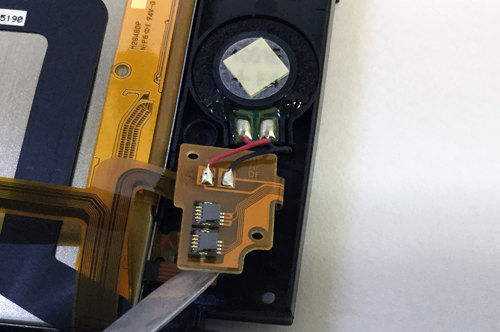
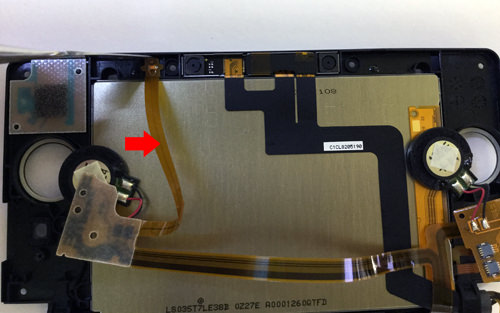
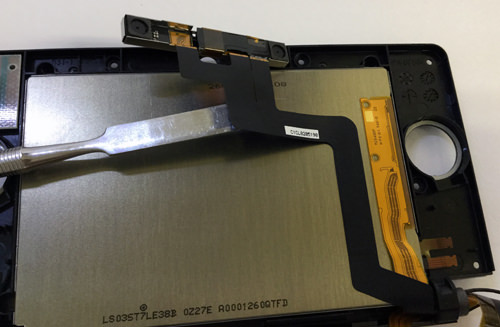
 Nintendo 3DS LCD replacement (upper) and decomposition procedure
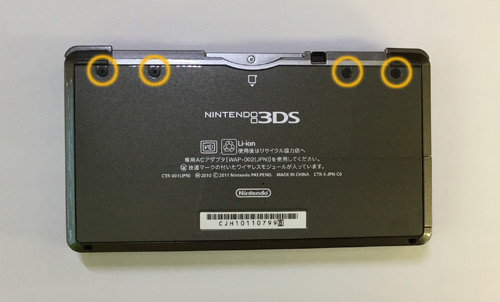
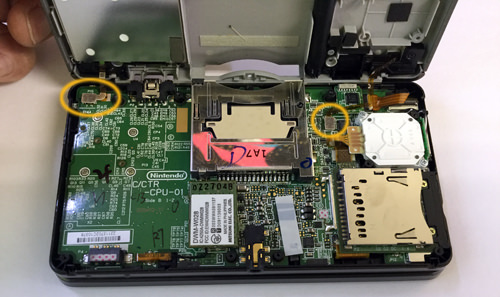
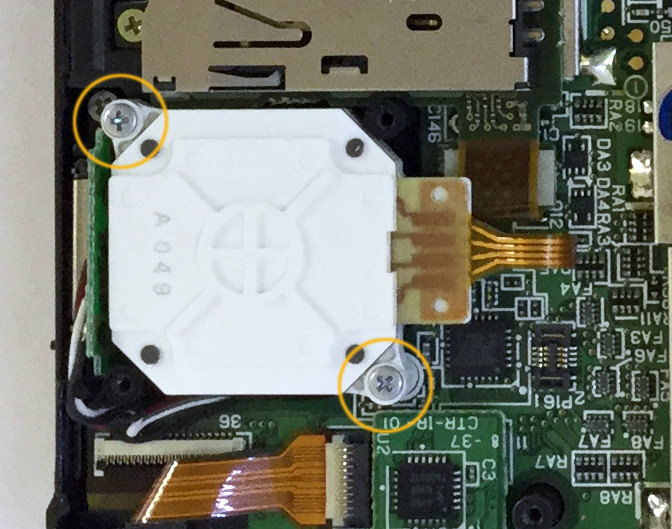
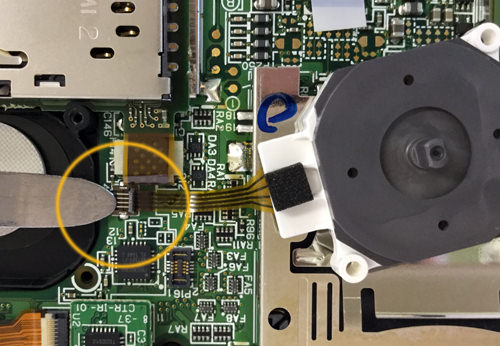
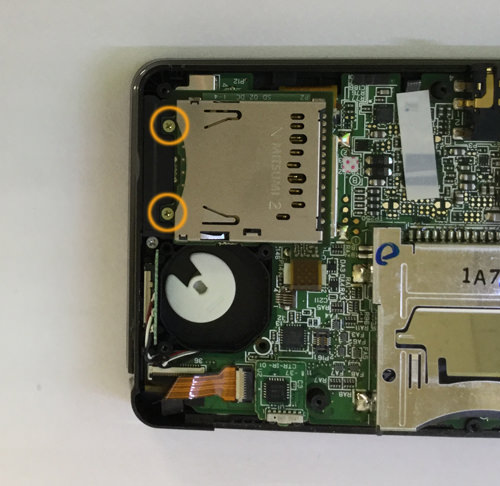
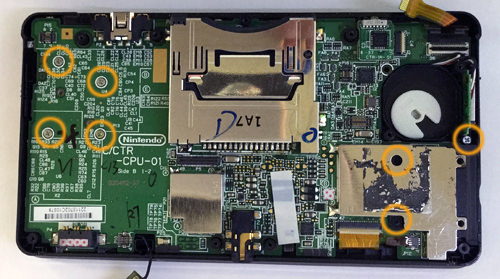
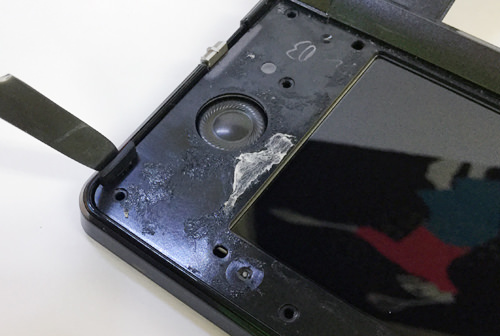
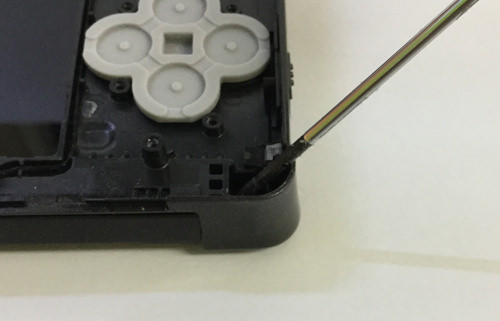
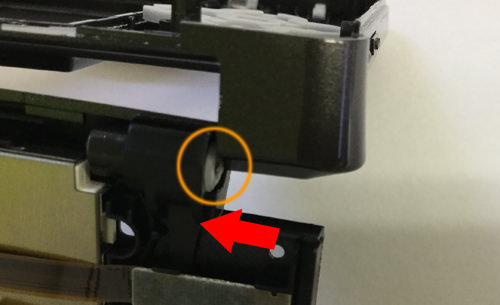
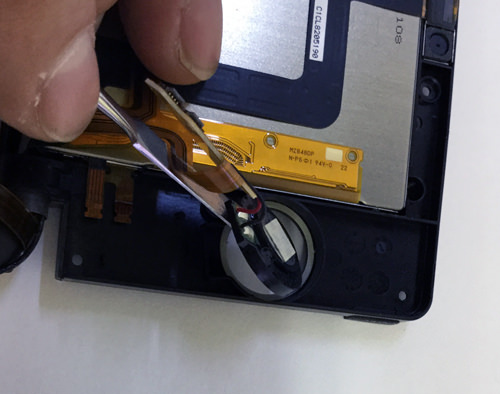
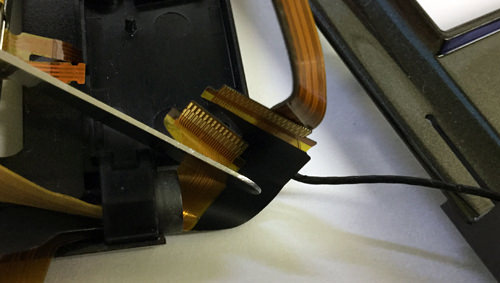
 The screw of the round part is removed by turning the inside out of the main body, but this screw does not completely go off.
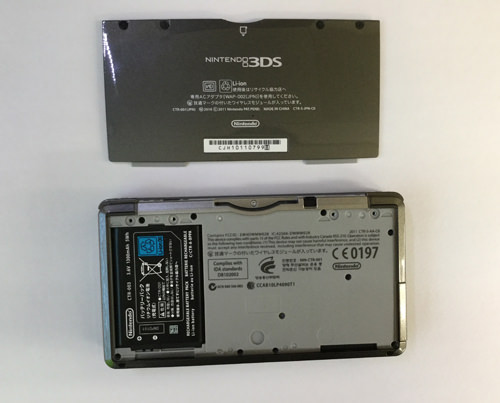
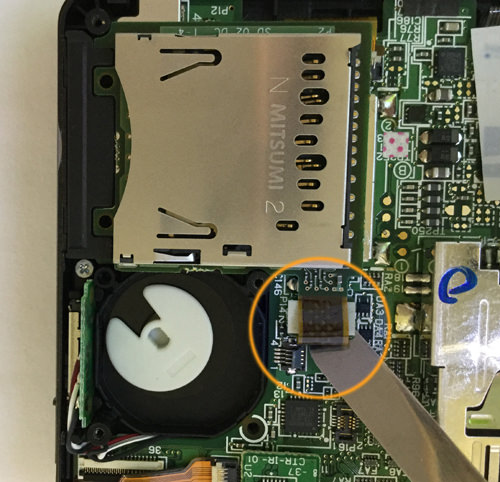
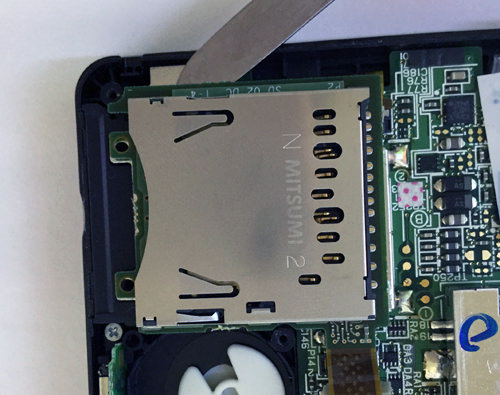
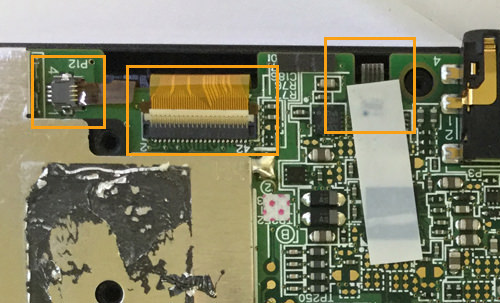
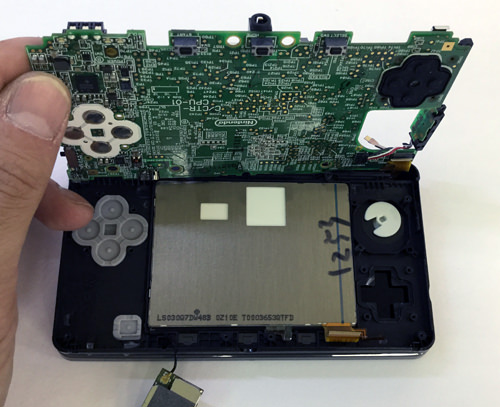
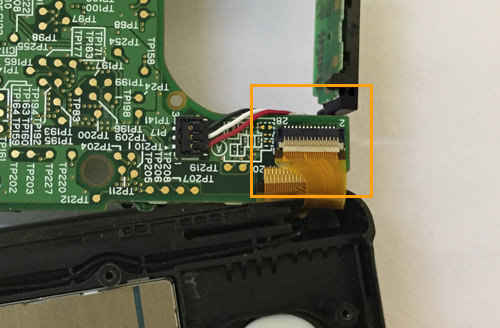
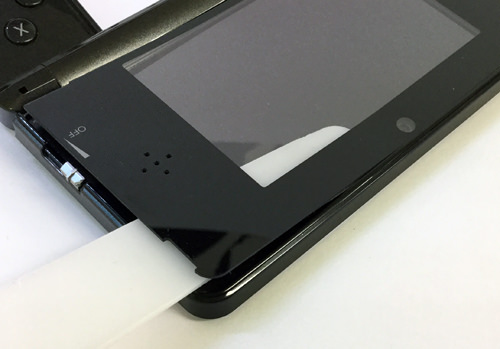
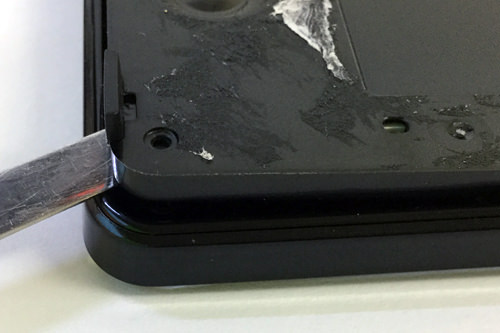
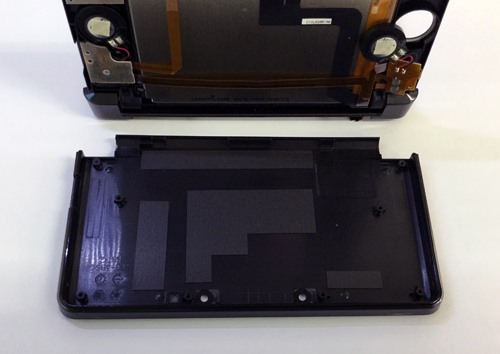
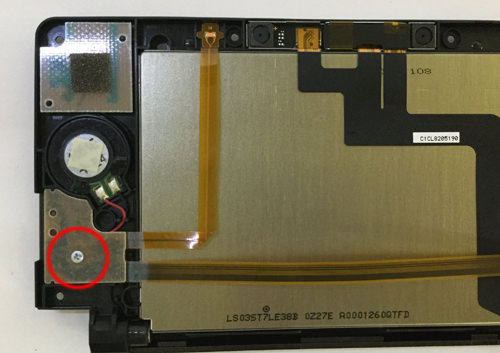
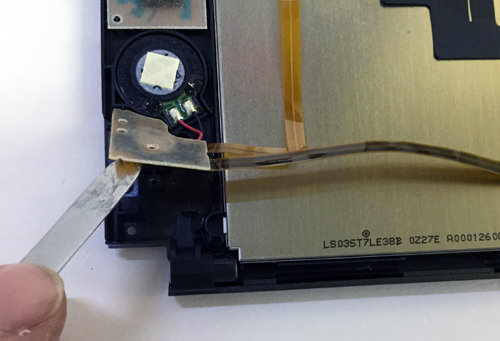
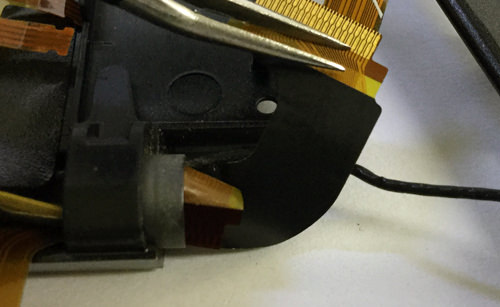
 After removing the screw, you can easily remove it by sliding the cover.


コメントを残す