iPad Pro 12.9" LCD cracking, cracks, cracks, how to repair if the screen is not visible, how to disassemble
The iPad Pro 12.9 inch is currently available in several models, but this decomposition method is an initial model.
Please note that the disassembly method is completely different from the iPad Pro 12.9", which was released at the same time as the iPad Pro 11 inch.
Parts themselves are also in circulation, but when it comes to iPad Pro, the parts themselves become expensive, so depending on the situation, it may be better to fix them at the repair shop.
If you repair it yourself and break it to another place, you will return it and the repair price will be expensive, so let's start the repair after considering the risk!
By the way, when I asked Apple to repair the screen crack, it was 68800 yen.
I think that I can fix it with a budget of about half price if I can repair it by myself, so if you have confidence in your skill, please try it!
[iPad Pro 12.9-inch LCD replacement and decomposition method STEP 1]
- It has been six months since the iPadPro's 12.9 inch was released, but since I purchased the iPad Pro as new, I decided to investigate the decomposition method earlier than initial setup.
Of course, vinyl is applied because I just purchased it!
Now, let's open it!
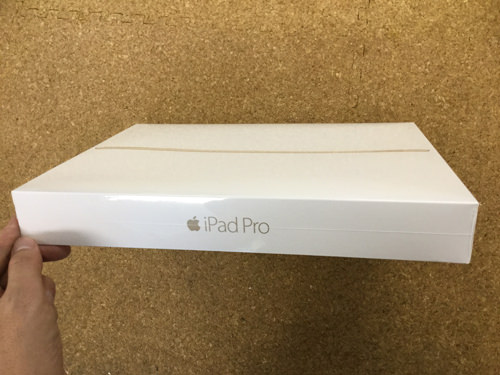
[iPad Pro 12.9-inch LCD replacement and decomposition method STEP 2]
- To be honest, when I saw the box for the first time, I saw a computer!?I was surprised to be big enough to think!
Well, even if you think about it normally, it's bigger than the MacBook Air 11 inches.
I think that it is the best when I watch a video such as youtube.
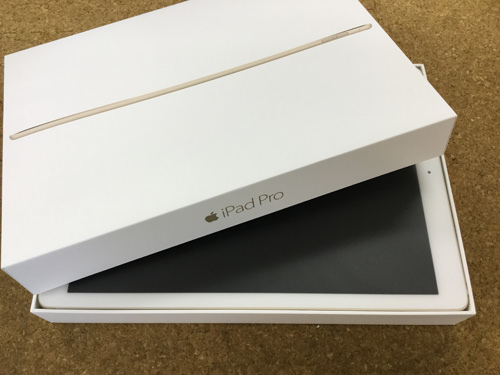
[iPad Pro 12.9-inch LCD replacement and decomposition method STEP 3]

- I tried to turn on!
As rumored, the rise is smooth and fast.
It is a factory state because it has not set the initial setting yet.
[iPad Pro 12.9-inch LCD replacement and decomposition method STEP 4]
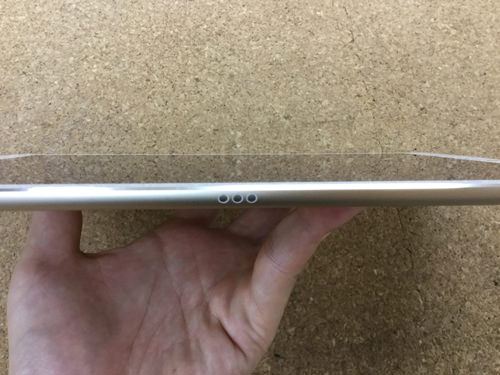
- A big addition to this iPadPro is that there is a connection part of the dedicated keyboard on the side of the main body!
If you attach a full-size dedicated keyboard, it will no longer be a Mac with touch panel function!
[iPad Pro 12.9-inch LCD replacement and decomposition method STEP 5]
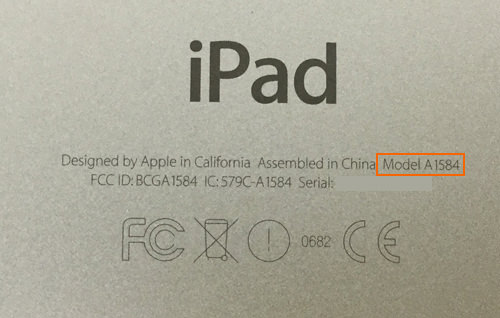
- Model No. and Serial No. are listed in very fine characters on the back side of the main body!
Apple products should remember because it is often to recognize and distinguish the model by basically model number!
When you send it to repair or make a purchase request, you will always be asked for the model number.
[iPad Pro 12.9-inch LCD replacement and decomposition method STEP 6]
- Thank you for waiting!
From here, I will introduce how to disassemble the iPadPro, so please refer to it by all means when you disassemble and repair yourself!
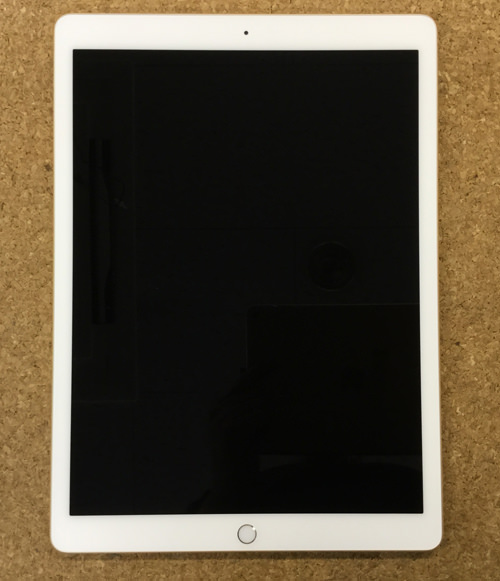
First, press and hold the sleep button to turn it off with a slide on the screen.
[iPad Pro 12.9-inch LCD replacement and decomposition method STEP 7]
The iPadPro has a structure similar to the iPadAir2, and the panels of the glass on the surface and the inner display part are not separate, so even if you want to fix the glass, it will be replaced by each liquid crystal.
As with the iPad so far, the LCD is attached to the main body with a powerful double-sided tape, so it will peel off.
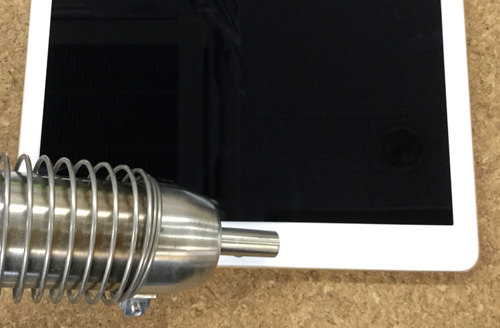
Because it becomes impossible to peel off as it is, I will work to peel off after softening the double-sided tape with a heat gun, etc., If you warm it too much at this time, the glass or panel may become discolored or deformed by heat, so please work carefully.
In the image, we use a heat gun as a tool to warm the screen, but it is possible to substitute even dryers in the home.
However, in the case of a dryer, the maximum temperature is several tens of degrees, so the internal double-sided tape may not peel off easily.
Heat gun is several thousand yen, so if you want to repair without spending a little money, it is also possible to try hard with a dryer for the time being.
[iPad Pro 12.9-inch LCD replacement and decomposition method STEP 8]
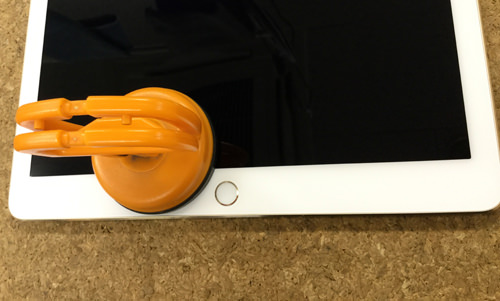
- Because of the new iPadPro this time, I would like to use a suction cup because the glass and panels are not broken.
This tool is very useful when disassembling the iPad because it can be easily carried and put power by adsorbing it to glass.
Suction cups are also sold on the Internet, but they are not always necessary.
In addition, if there is a crack in the screen, there is no way but to peel off the screen steadily because the suction cup sucker does not stick well.
I do the same work in the iPad repair shop and peel off the screen, but the time to peel off the display in one way of cracking the screen will change.
It is relatively easy to peel off if it is about a crack, but it is very difficult to peel off the screen that is shattered.
However, there is only this method of repair, so patience is necessary.
[iPad Pro 12.9-inch LCD replacement and decomposition method STEP 9]
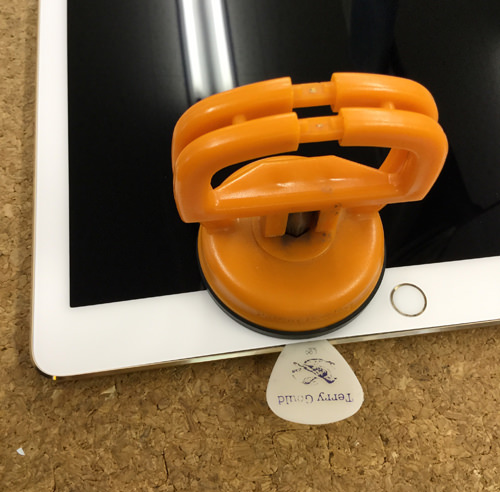
- When a little force is applied to lift the heated glass by adding heat using a suction cup, the adhesive tape becomes softer by heat and the glass floats slightly from the main body, so a pick or spatula for a thin and hard guitar is put into the gap.
Be careful not to damage internal parts or panels at this time.
This time, we started the work of peeling off from the vicinity of the home button, but basically you can float the glass relatively easily when you start working from both sides or the home button area with a narrow width of the adhesive tape.
[iPad Pro 12.9-inch LCD replacement and decomposition method STEP 10]
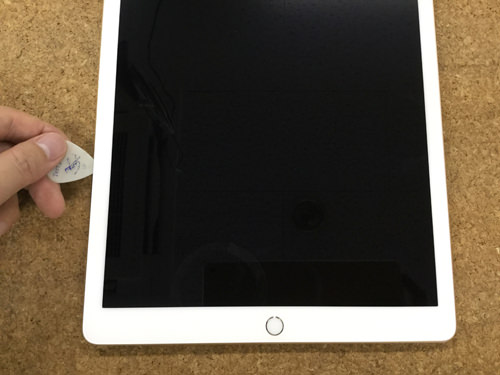
- Heat gun or doyer heat and insert the pick, but if the heat cools completely, the double-sided tape will stick together again, so let's disassemble it before the heat cools down.
[iPad Pro 12.9-inch LCD replacement and decomposition method STEP 11]
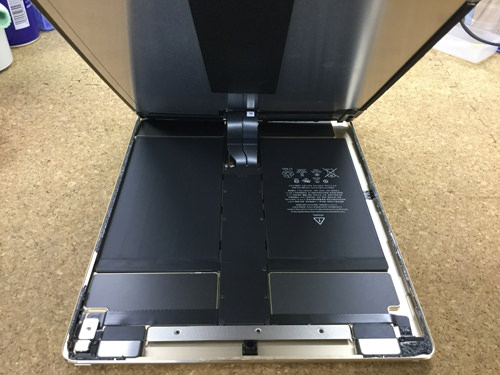
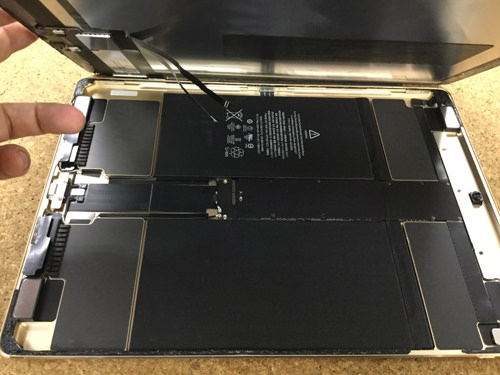
- I think that it is easy to disassemble it because of the relation of the cable when the camera part of the upper part of the main body is lifted in front as shown in the image when all adhesive tape has been peeled off.
Because the cable is connected to the logic board inside, it is necessary to pay attention to the disconnection etc.
[iPad Pro 12.9-inch LCD replacement and decomposition method STEP 12]
- Carefully wake up the front panel vertically.
The LCD cable is connected to the logic board of the main computer board, but it is protected by a metal plate so that the cable does not come off, and the screw is three places, so use the screwdriver to remove everything.
[iPad Pro 12.9-inch LCD replacement and decomposition method STEP 13]
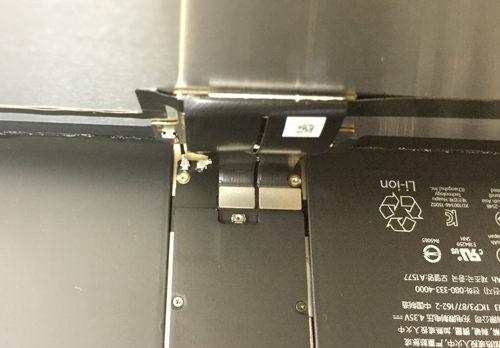
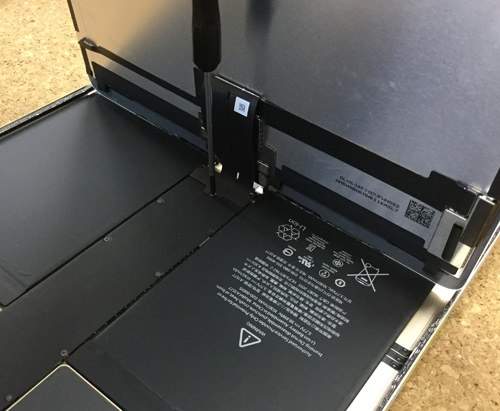
- When the metal plate is removed, the cable is connected to the logic board in two places with a connector as shown in the image, so remove it carefully.
It is possible to remove the connector if the way to remove the connector is to lift from the bottom to the top.
Never use metal when removing connectors with tools.
Please note that there is a possibility that it will shortify if it touches the base by any chance using a metal tool.
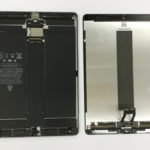
[iPad Pro 12.9-inch LCD replacement and decomposition method STEP 14]
- When the cable was removed, the LCD front panel could be removed.
[iPad Pro 12.9-inch LCD replacement and decomposition method STEP 15]
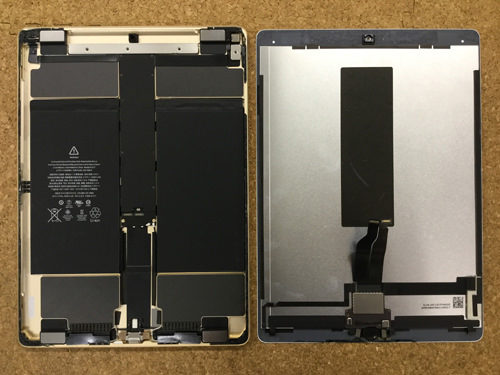
- I was finally able to remove the screen part of the iPadPro!
The size of 12.9 inches still requires twice the effort of the iPadMini.
If you can port the home button to the newly prepared display, all work will be finished.