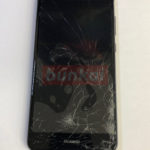
HUAWEI P9 Lite LCD repair and disassembly method will be released.
The title is liquid crystal repair, but since the removal of the battery is also a process in the middle, you can also refer to the decomposition method of battery replacement.
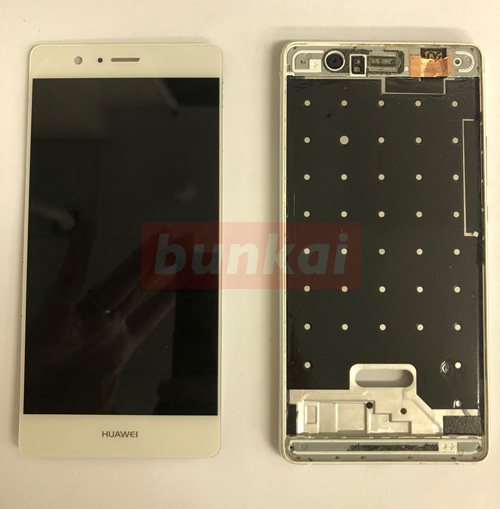
The relatively new HUAWEI models often disassemble the touch panel side and the rear panel side when replacing the LCD, but this HUAWEI P9 Lite also requires both disassembly.
Tools used for disassembly, tool list that is useful to have
[HUAWEI P9 Lite LCD repair and disassembly method 1]
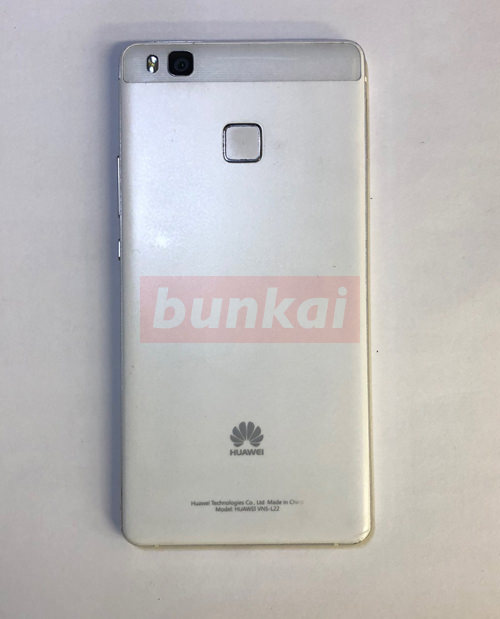
First, the back cover is disassembled.
The back cover is fixed with plastic claws and double-sided tape, so it is more efficient to lightly warm the back cover with a dryer or heat gun.
If it is too warm, it will lead to deformation or other breakdowns, so it is moderate.
[HUAWEI P9 Lite LCD repair and disassembly method 2]
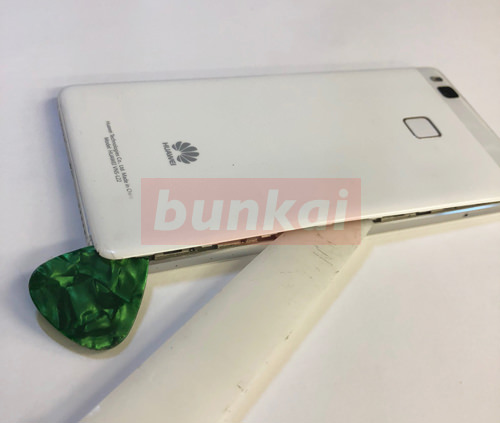
The tool is used as shown in the image, but the tool is inserted into the gap between the back cover and the body.
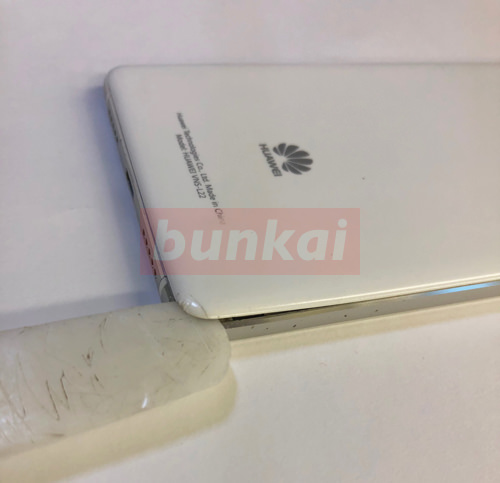
[HUAWEI P9 Lite LCD repair and disassembly method 3]
It is efficient to insert a pick etc. in the part where the nail comes off.
Let's remove the back cover by sliding the tool around the liquid crystal as it is.
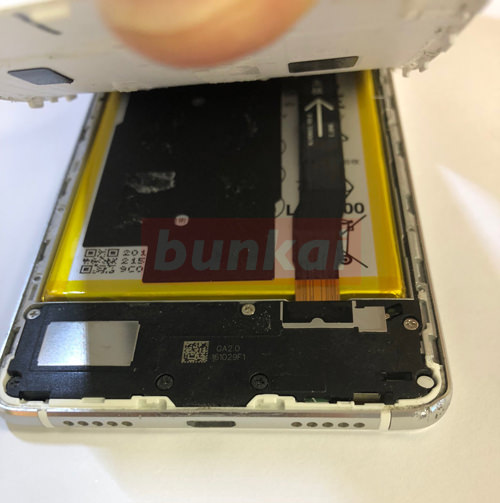
[HUAWEI P9 Lite LCD repair and disassembly method 4]
The inside is like this though the back cover is removed.
As you can see, please note that there is a cable if you insert too many tools.
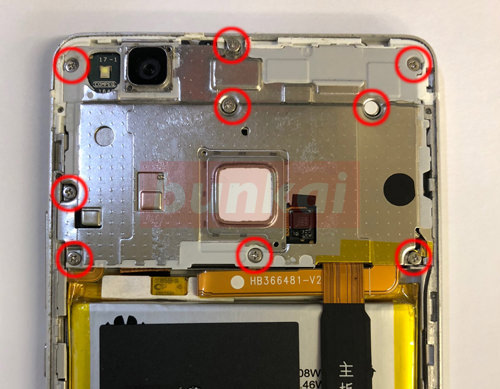
[HUAWEI P9 Lite LCD repair and disassembly method 5]
The image will be on the upper side, but let's remove all the screws of the red circle part.
Only Phillips screwdrivers are used.
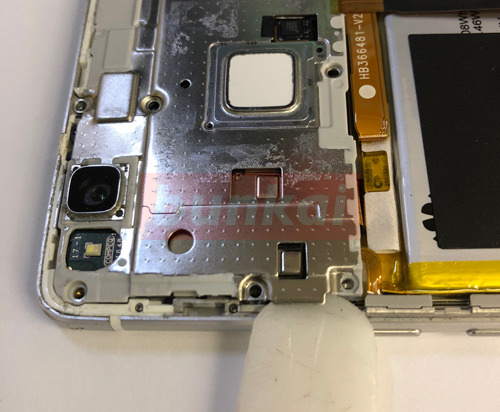
[HUAWEI P9 Lite LCD repair and disassembly method 6]
If all screws can be removed, it is possible to remove the silver plate.
Let's put the tool under the plate and lift it up like the image!
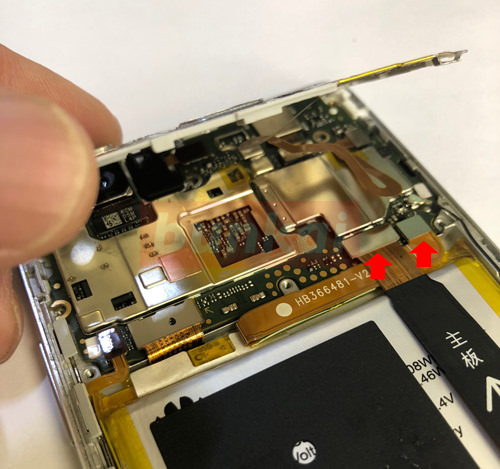
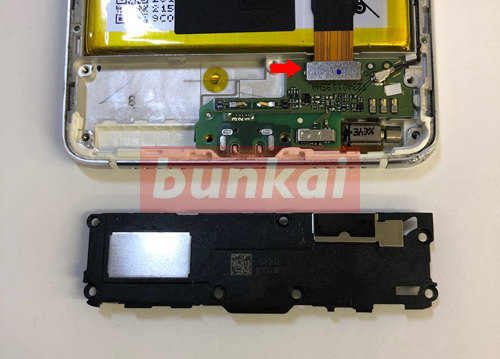
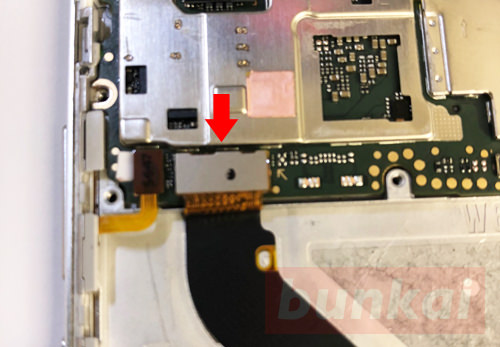
[HUAWEI P9 Lite LCD repair and disassembly method 7]
I was able to confirm that there is a connector in the arrow part when I lifted the plate.
This connector is a cable and battery connector that extends from the top base to the dock connector side.
It is a way to remove, but it is possible to remove it if you cause the connector from the bottom to the top.
[HUAWEI P9 Lite LCD repair and disassembly method 8]
I was able to remove the connector.
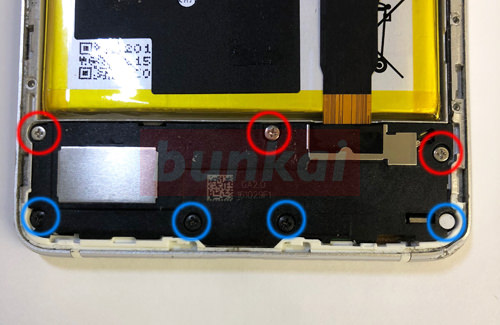
[HUAWEI P9 Lite LCD repair and disassembly method 9]
On the dock connector side, the red circle part uses a Phillips screwdriver and the blue circle part uses a Torx screwdriver.
Torx screws cannot be removed with a Phillips screwdriver, so be sure to use a special tool.
If you try to remove it with a Phillips screwdriver forcibly, the screw thread may collapse, so be careful.
[HUAWEI P9 Lite LCD repair and disassembly method 10]
When all screws are removed, the black plate (speaker) is removed, but it is possible to remove it if it wakes it up in front because it puts it like the image.
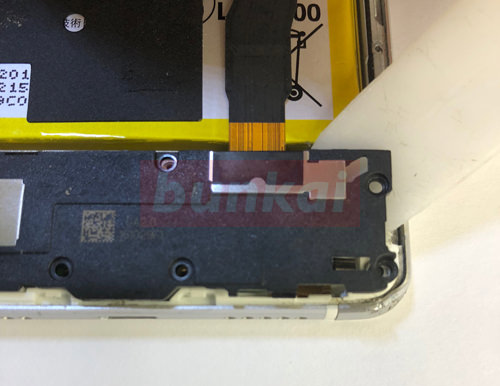
[HUAWEI P9 Lite LCD repair and disassembly method 11]
Remove the black plate (speaker) because there is a connector inside when the koo t is removed.
[HUAWEI P9 Lite LCD repair and disassembly method 12]
From here, remove the battery itself.
The reason for removing the battery is that the battery needs to be removed because the LCD cable is stuck under the battery.

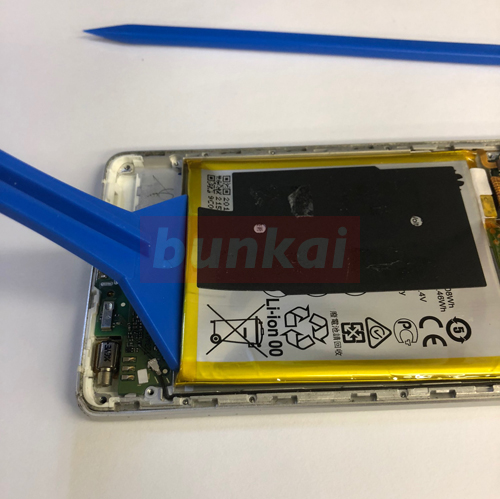
[HUAWEI P9 Lite LCD repair and disassembly method 13]
The battery itself is fixed with a powerful double-sided tape to the main body, but it is better to work efficiency when lightly warmed with a dryer and then disassembled.
After applying heat, insert the tool into the gap.
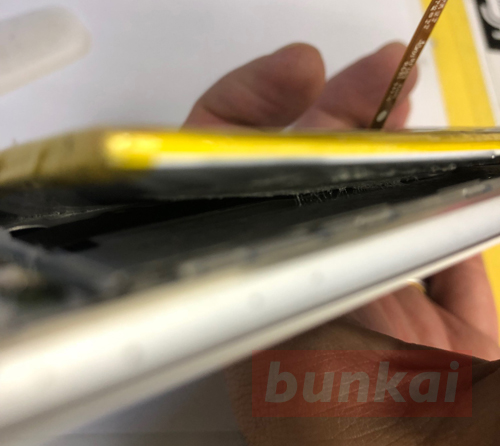
[HUAWEI P9 Lite LCD repair and disassembly method 14]
It is understood that there is double-sided tape though the battery is lifted half.
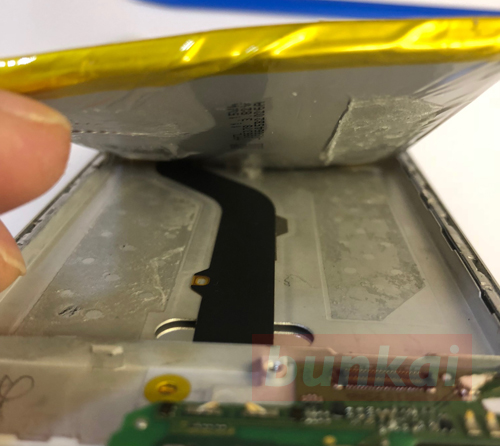
[HUAWEI P9 Lite LCD repair and disassembly method 15]
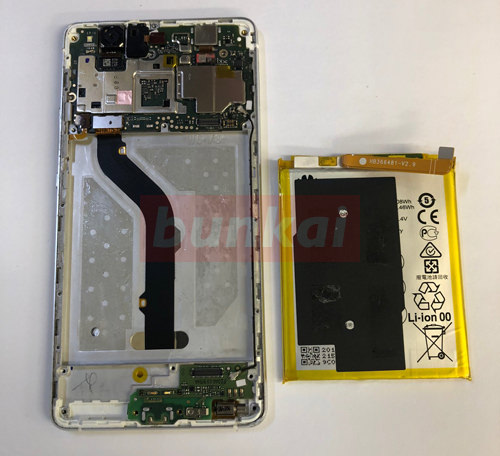
I peeled off the battery to some extent, but the inside is like this.
[HUAWEI P9 Lite LCD repair and disassembly method 16]
The battery was removed.
If you want to replace the battery instead of replacing the LCD, it is OK by the decomposition method so far.
Replace the newly prepared battery and return it with the steps below!
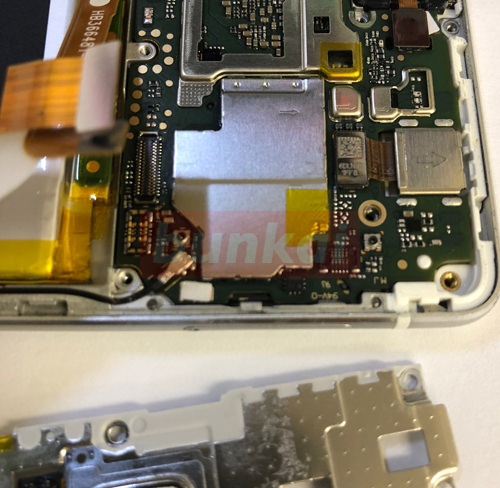
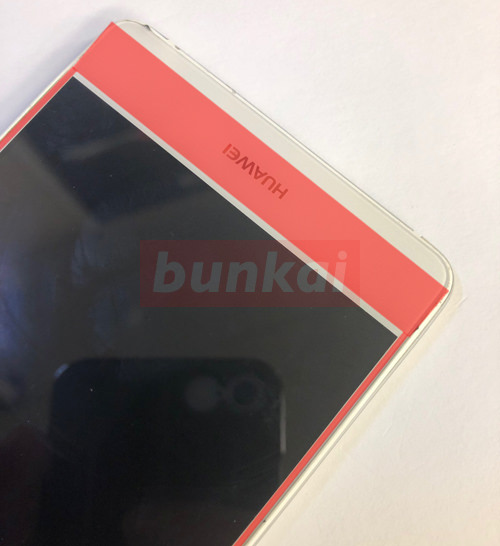
[HUAWEI P9 Lite LCD repair and disassembly method 17]
The glass part has not yet come off, but the glass is fixed with a strong tape to the body side.
Because there is a tape in the part that is painted in red, let's peel it off after applying heat with a heat gun or dryer!
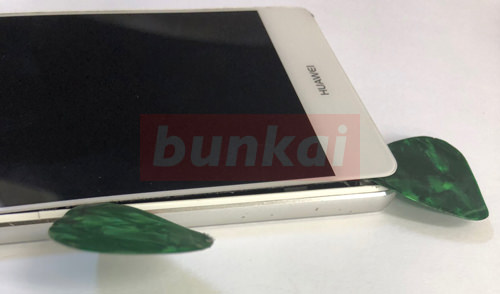
It is a way to peel off, but if the liquid crystal is broken, pick into the gap between the glass and the frame surrounding the glass, and let it float by inserting a thin tool of the tip such as a spatula.
If the liquid crystal is not cracked, the decomposition will be faster if there is a suction cup.
[HUAWEI P9 Lite LCD repair and disassembly method 18]
If the glass floats even a little, it is a good idea to insert a pick so that it does not close.
When the glass floats, slide the tool to tear the double-sided tape.
[HUAWEI P9 Lite LCD repair and disassembly method 19]
It is in the open ed state, but there is a part where the cable is circulated in the back.
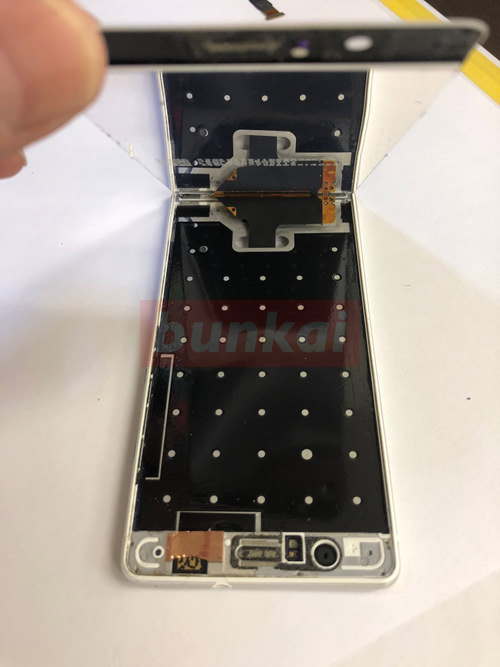
[HUAWEI P9 Lite LCD repair and disassembly method 20]
This is a liquid crystal cable that is cirdulating from under the battery, but it is possible to easily remove the connector if it wakes up from the bottom.
After removing the connector, wake it up with your finger and push it into the root hole.
[HUAWEI P9 Lite LCD repair and disassembly method 21]
The liquid crystal glass (touch panel) can be removed from the main body.
After that, if you can return the liquid crystal that has been prepared to the original state, the liquid crystal replacement of P9 Lite is complete.