I would like to disassemble the limited model unlike usual g-shock this time.
It becomes G-Shock of Fragment Design that Hiroshi Fujiwara handles, but I hesitated for a moment whether to disassemble it because it becomes a model that a fairly expensive transaction is done among mania.
However, let's disassemble because there is also that I own it with great pains!I came to the decision that.
The DW-6900 series has a structure in which the backlight glows when you press the button of G under the dial, but I thought that there is something gimmick in the thing called Fragment Design, and there has become a normal backlight, Personally, the familiar Thunder Mark comes out!I thought without permission.
The tools used can be substituted for the things in the home, but the drivers used are as follows.
[G-Shock DW-6900FS battery replacement STEP 1]
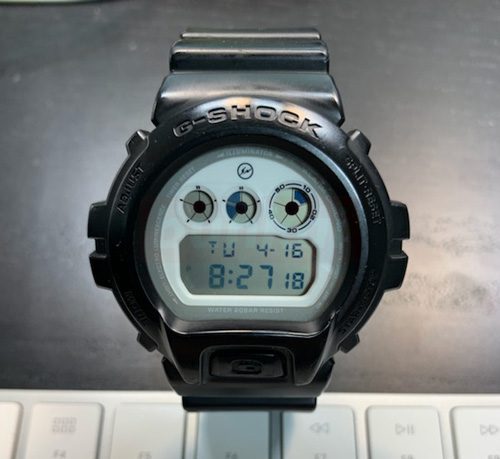
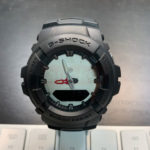
This is g-Shock DW-6900FS that The Fragment Design used for this disassembly is collaborating.
I think that it is considerably cool because it is black of the mat originally though the gloss comes out a little because of the reflection condition of the photograph and the clock which is considerably used frequently.
The Fragment Design logo is also small on top.
[G-Shock DW-6900FS battery replacement STEP 2]
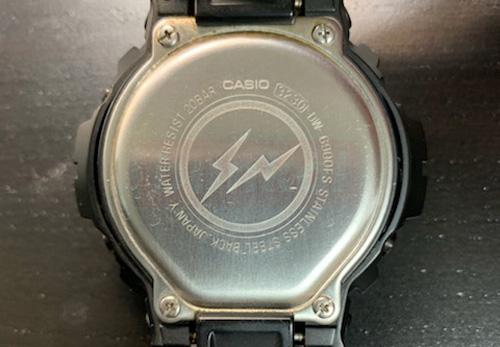
The battery replacement is done by opening the back cover and disassembling it, but there was a large Fragment Design logo on the back.
The structure of the back cover is the same as the DW6900 series.
[G-Shock DW-6900FS battery replacement STEP 3]
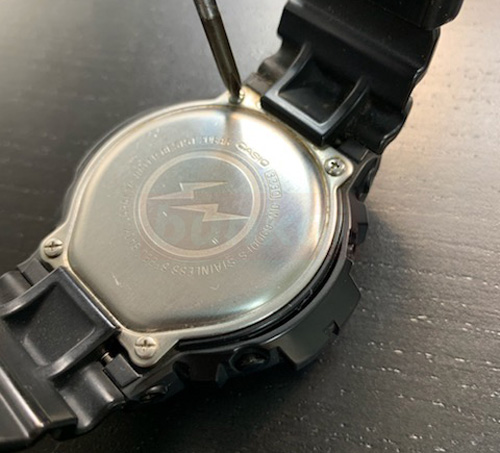
There are four screws on the back cover, so I will remove them all.
[G-Shock DW-6900FS battery replacement STEP 4]

When the screw can be removed, the back cover can be removed by hand.
The back cover is covered in the belt part, but if the belt part is opened to the outside, the back cover comes off easily.
[G-Shock DW-6900FS battery replacement STEP 5]
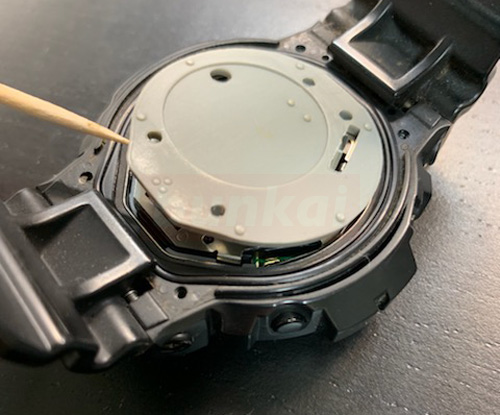
When the back cover was removed, there was a gray rubber made of silicon, but there was a nail in the right side one place.
It was possible to remove the rubber easily if it caused it to the right side from the direction of the toothpick (left side) though it was a way to remove it.
[G-Shock DW-6900FS battery replacement STEP 6]
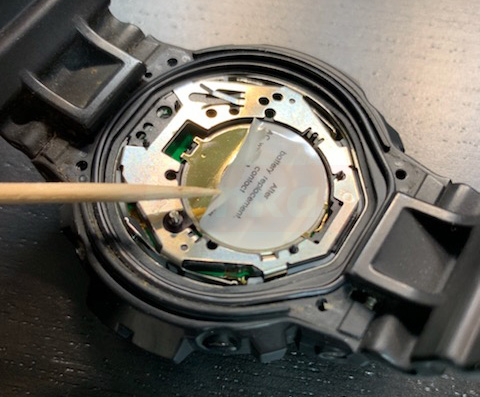
Because there is a seal on the metal fittings of gold which suppresses the battery, it is the place where it turns.
[G-Shock DW-6900FS battery replacement STEP 7]
When the seal is peeled off, the metal fittings to suppress gold come into view, but the tip is fixed with a nail.
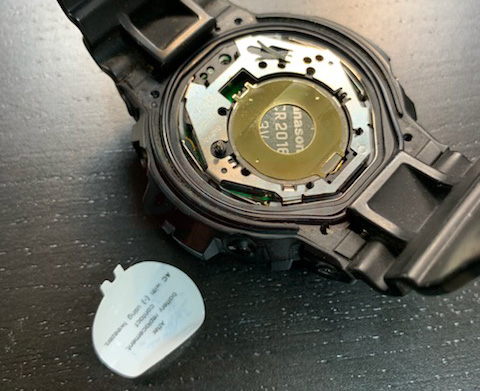
[G-Shock DW-6900FS battery replacement STEP 8]
The metal fittings are hook-shaped, but you can easily remove them if you check the structure.
This makes it possible to remove only the batteries.
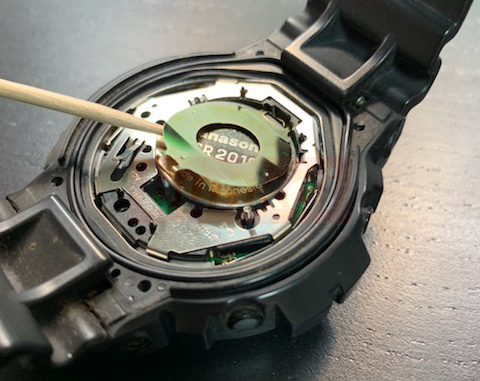
[G-Shock DW-6900FS battery replacement STEP 9]
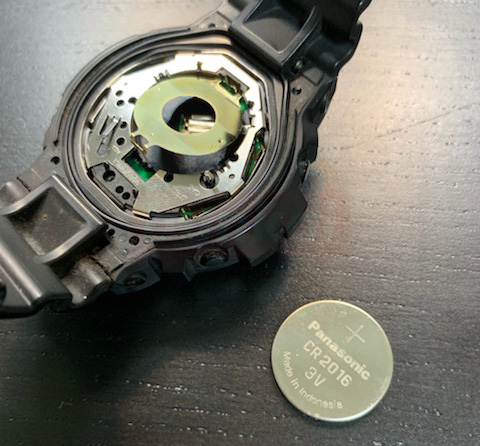
The battery was able to be removed.
After that, let's incorporate it in the original procedure, and put it to the battery cover once.
After the battery cover is settled, short for about 2 seconds as written on the seal, then put on the silicon rubber and back cover.
The battery used was not Fragment Design, Panasonic.