SONY SVF15317DJW Liquid Crystal Repair and Decomposition Method 8 Strokes
yossys12345
SONY SVF15317DJW LCD Cracking Screen Replacement Repair Method, Decomposition Procedure
SONY SVF15317DJW LCD screen cracking, LCD panel replacement (LCD replacement) is required if there is a display failure in the liquid crystal!
[SONY SVF15317DJW LIQUID Crystal Repair and Decomposition Method STEP 1]
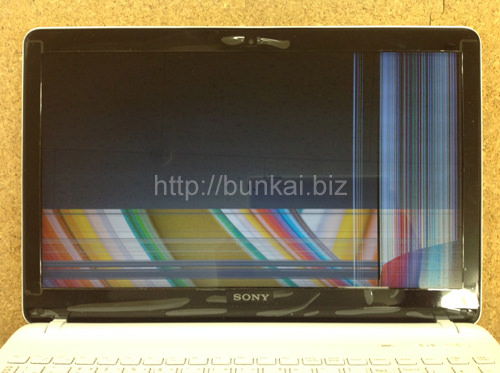
About half of the LCD screen is displayed poorly.
Such symptoms can be one of the PERSONAL computer troubles caused by external shocks, but by replacing the LCD panel, you will be able to use your laptop as before.
If you can't see the inside of your computer, you may be worried about your data, but you can check the data by using an external monitor.
Many laptops come standard with HDMI terminals and D-SUB15 pins, so you can check them by connecting them to an external monitor.
Since this laptop was displayed without problems to confirm the data, it will be possible to repair only by changing the LCD panel.
I want to go into disassembly repair immediately.
[SONY SVF15317DJW LIQUID Crystal Repair and Decomposition Method STEP 2]
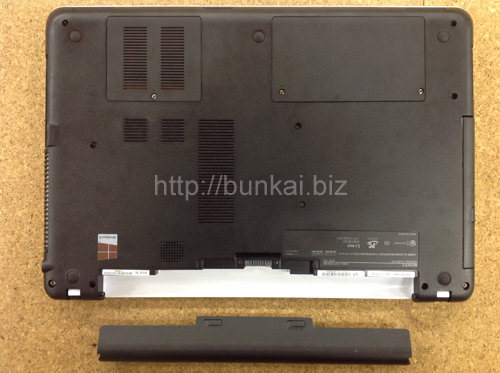
Be sure to remove the battery when disassembling your laptop.
If it is not removed, it may be short-circuited during disassembly.
The battery can be easily removed by turning the unit over.
[SONY SVF15317DJW LIQUID Crystal Repair and Decomposition Method STEP 3]
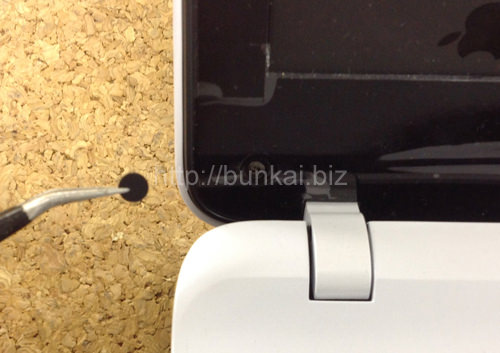
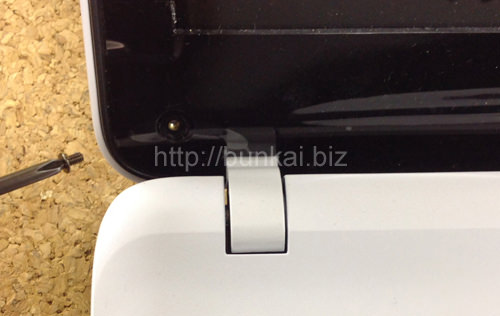
Next, it enters the decomposition of the liquid crystal, but the screw comes into view when it is possible to remove the screw concealation, so let's peel off all screw sclotations with tweezers first!
[SONY SVF15317DJW LIQUID Crystal Repair and Decomposition Method STEP 4]
Use a Phillips screwdriver to remove the screw scan scan scan scan scan scan scan scan scan scan scan scan scan scan scan scan scans the screws.
[SONY SVF15317DJW LIQUID Crystal Repair and Decomposition Method STEP 5]
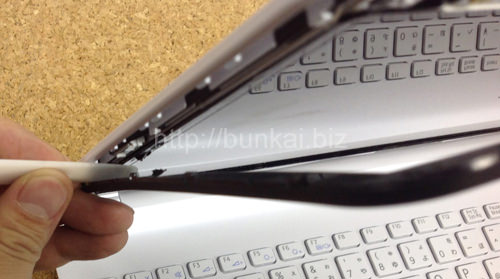
If all screws can be removed, the liquid crystal frame will be removed, but the liquid crystal frame is also fixed with plastic claws.
If you use a spatula like the image, you can remove it well.
Since the LCD frame is located all around the LCD, you can remove the frame by removing all the nails.
[SONY SVF15317DJW LIQUID Crystal Repair and Decomposition Method STEP 6]
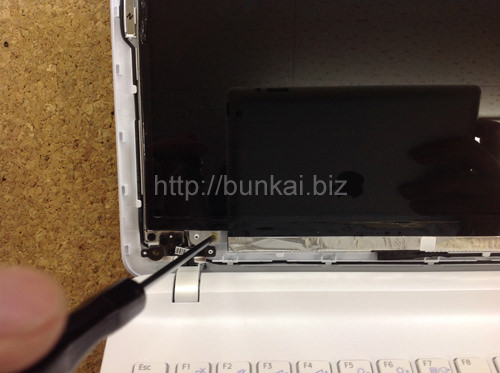
When the liquid crystal frame can be removed, the liquid crystal panel becomes exposed, but the liquid crystal panel itself is also fixed with screws, so it is not possible to remove the liquid crystal immediately.
Because there is a screw as shown in the image, I use the Phillips screwdriver.
If all screws can be removed, the LCD panel will be able to be knocked down to the keyboard side, so it will slowly knock it down.
Since the LCD cable is still connected to the back of the LCD panel, let's knock it down carefully so as not to break!
[SONY SVF15317DJW LIQUID Crystal Repair and Decomposition Method STEP 7]
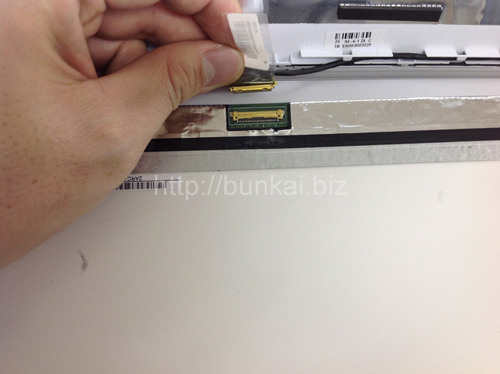
Remove the LCD cable from the LCD panel.
If the LCD cable is made to slide, it will be able to remove it.
If it is possible to disassemble up to this point, the liquid crystal panel will be removed from the laptop body, so if you replace it with a newly prepared liquid crystal panel, liquid crystal repair will be completed.
[SONY SVF15317DJW LIQUID Crystal Repair and Decomposition Method STEP 8]
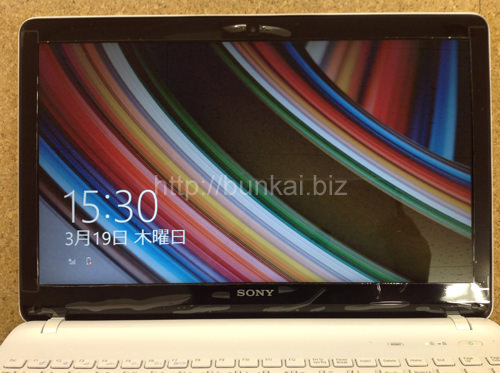
It is in the state when the power is turned on after the liquid crystal panel is changed.
I was able to confirm that it is displayed normally.