NEC PC-VK18TGZEG Liquid Crystal Repair and Decomposition Method 14 strokes
yossys12345
NEC PC-VK18TGZEG LCD Cracking Screen Replacement Repair Method, Decomposition Procedure
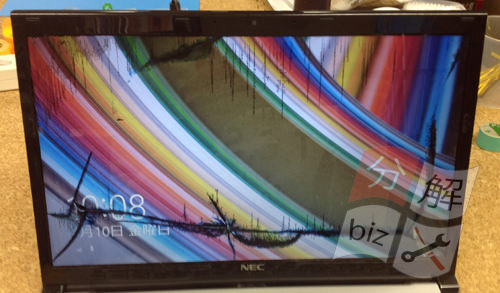
NEC VersaPro UltraLite PC-VK18TGZEG LCD screen cracking or display failure needs to be replaced!
[NEC VersaPro PC-VK18TGZEG LCD Repair and Decomposition Method STEP 1]
There is a crack in the liquid crystal screen and there is a place where it is messed up in black, but there seems to be no problem with the data because the screen of windows8 is visible inside.
PC-VK18TGZEG is the same liquid crystal repair method as NEC's Ultra Book Lavie Z, but please refer to it because details are also published here.
In addition, there are two repair methods for LCD replacement, which is divided into replacement of each lcd upper body and only liquid crystal panels.
In this decomposition method, we will publish the replacement method of only the liquid crystal panel which is difficult as repair!
[NEC VersaPro PC-VK18TGZEG LCD Repair and Decomposition Method STEP 2]
First of all, the battery is removed from the laptop body, but it is not possible to remove the battery easily because of the built-in.
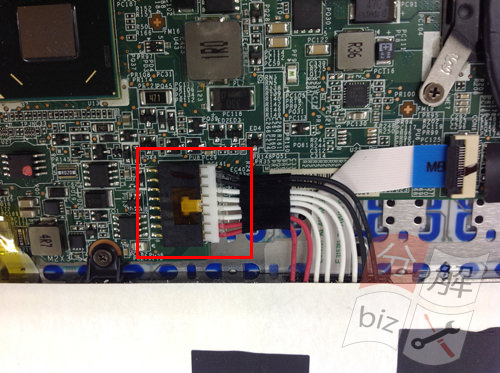
There is a connector part connecting the motherboard and the battery inside the bottom case, so I would like to remove it.
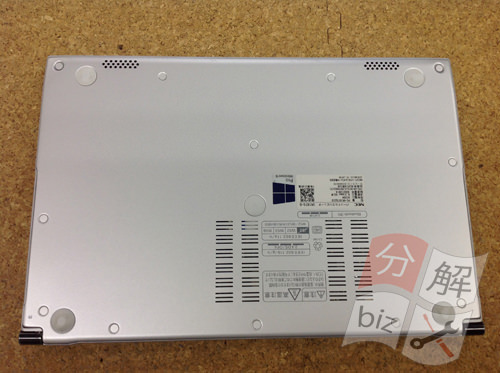
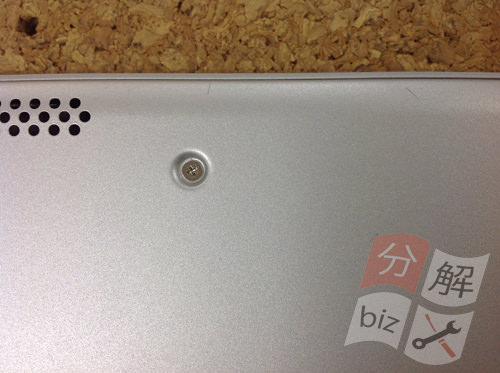
The image becomes the back side of the personal computer body, and I think that it can confirm that there is a round part, but because it becomes a seal called screw concealation, it will peel off using the tool with the tip such as tweezers.
[NEC VersaPro PC-VK18TGZEG LCD Repair and Decomposition Method STEP 3]
Then, I think that it is possible to confirm that there is a screw inside the screw hidden inside, so i use a Phillips screwdriver to remove all screws.
[NEC VersaPro PC-VK18TGZEG LCD Repair and Decomposition Method STEP 4]
When the bottom case can be removed, you can see that the battery and the motherboard are connected to the middle, but you can remove it by sliding the connector on the battery side.
Once you can remove the connector, the bottom case is recommended because it will be better work efficiency after you temporarily stop.
[NEC VersaPro PC-VK18TGZEG LCD Repair and Decomposition Method STEP 5]
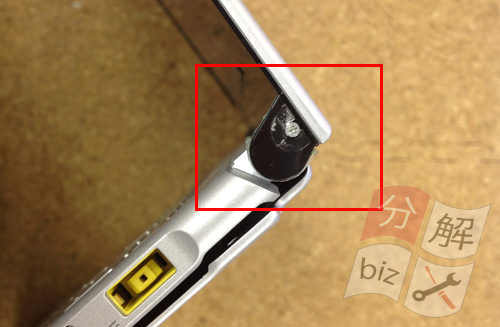
Next, the screw is hidden by the screw concealment though the hinge part enters the decomposition part.
Remove the screw hide just like the previous stroke.
[NEC VersaPro PC-VK18TGZEG LCD Repair and Decomposition Method STEP 6]
Because the screw comes into view inside, both sides are removed in the same way.
[NEC VersaPro PC-VK18TGZEG LCD Repair and Decomposition Method STEP 7]
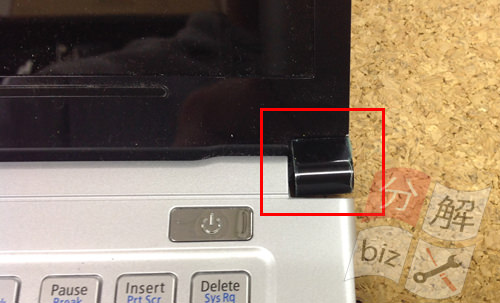
Remove the plastic part (black) when the screw is removed.
It is fixed with a small nail, but it can be easily removed if you slide it.
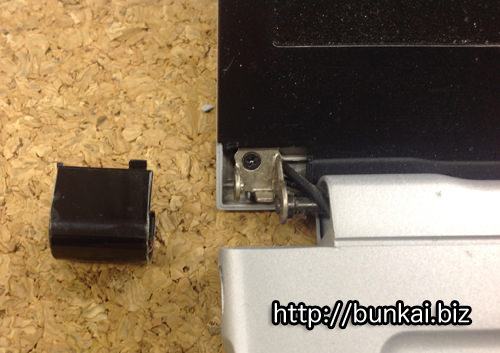
[NEC VersaPro PC-VK18TGZEG LCD Repair and Decomposition Method STEP 8]
I just removed it.
After this, the liquid crystal frame is removed, but I forgot to take the image, so please check the decomposition method below. PC-LZ550MSS Decomposition Method
[NEC VersaPro PC-VK18TGZEG LCD Repair and Decomposition Method STEP 9]
Once the LIQUID FRAME can be removed, the next task is to peel off the seal attached to the LCD panel, but the seal is on the right, left, and top, so all are peeled off.
[NEC VersaPro PC-VK18TGZEG LCD Repair and Decomposition Method STEP 10]
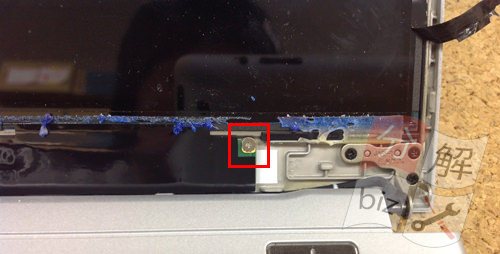
Next, remove the screws on the base of the LCD panel.
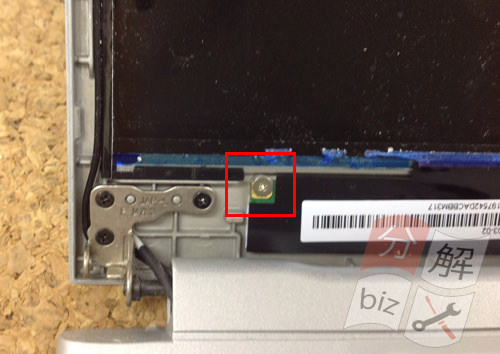
[NEC VersaPro PC-VK18TGZEG LCD Repair and Decomposition Method STEP 11]
It was on the right side earlier, but this time it becomes the left side.
If you can remove the screw, you will be able to knock the LCD panel down to the keyboard side, so let's slowly knock it down!
[NEC VersaPro PC-VK18TGZEG LCD Repair and Decomposition Method STEP 12]
Backlit cables and LCD cables are available on the back of the LCD.
The image part becomes a backlight cable, but lift the hook on the base side up and slide the backlight cable.
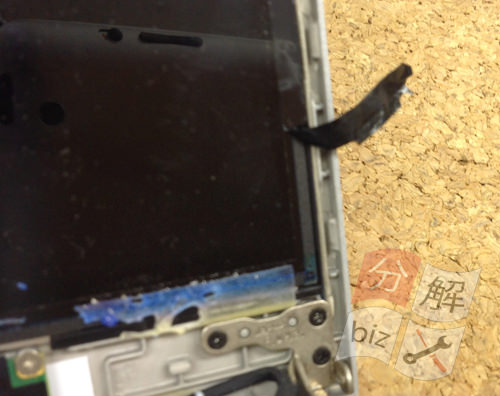
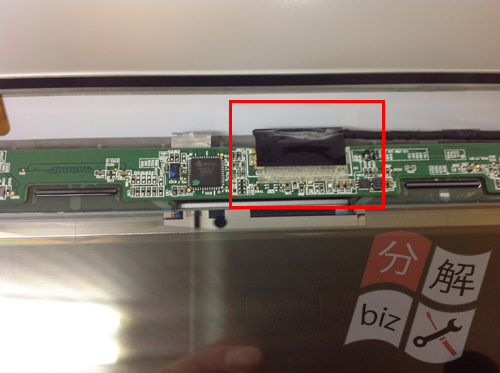
[NEC VersaPro PC-VK18TGZEG LCD Repair and Decomposition Method STEP 13]
This is the liquid crystal cable side, but lift the transparent tape up and then slide the connector of the LCD cable to pull it out.
I think that the liquid crystal panel was able to be removed from the personal computer if the decomposition up to this point was able to be done accurately.
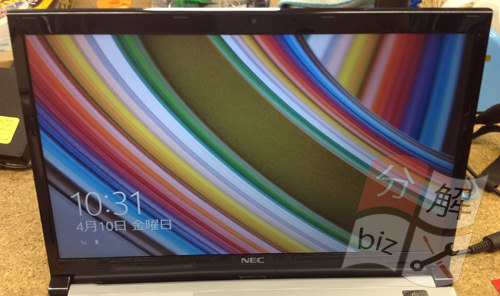
After that, if you replace the newly prepared liquid crystal panel, liquid crystal repair will be completed.
[NEC VersaPro PC-VK18TGZEG LCD Repair and Decomposition Method STEP 14]