Learn how to repair your Microsoft Surface Pro 3 LCD replacement.
Surface is portable, so there are a lot of failures due to falling, but if you look at this disassembly method, you can fix the Surface Pro 3 with cracks, cracks, cracks, and lines on your own.
Because the difficulty of disassembling the repair is high, it is recommended to consult the manufacturer and the repair shop if you feel that it is impossible for you to look through it.
In the case of manufacturer repair, data erasure is the basic, but if you can repair the Surface Pro 3 yourself, you can use the Surface Pro 3 with the same data as before.
Let's start disassembling.
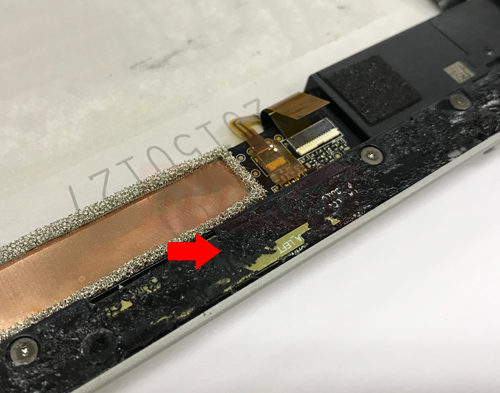
[Surface Pro 3 screen cracking LCD replacement repair 1]

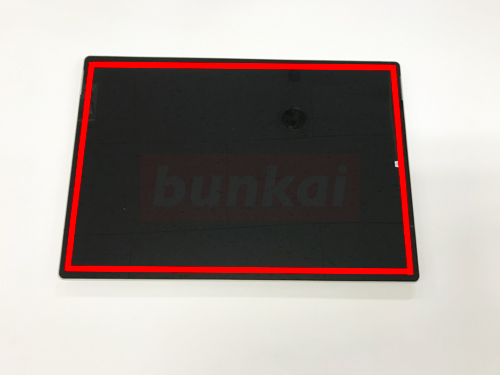
As with the Surface series so far, it is impossible to peel off the liquid crystal as it is because it is fixed with a strong double-sided tape to the main body side.
There is double-sided tape on the red line, but heat is applied with a heat gun or dryer to soften the tape before peeling off.
[Surface Pro 3 screen cracking LCD replacement repair 2]

The tool in the image is a heat gun and a suction cup.
Is it easy to understand the powerful thing of the dryer used at home of the heat gun?
However, since the temperature is completely different when compared with the dryer, it is smoother to use a heat gun when determining the work efficiency.
Since the liquid crystal is not broken by this decomposition, the suction cup can be used, but if there is a crack in the liquid crystal, the suction cup cannot be used, so there is no need to prepare it.
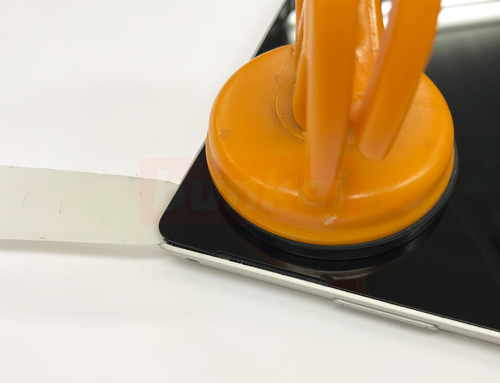
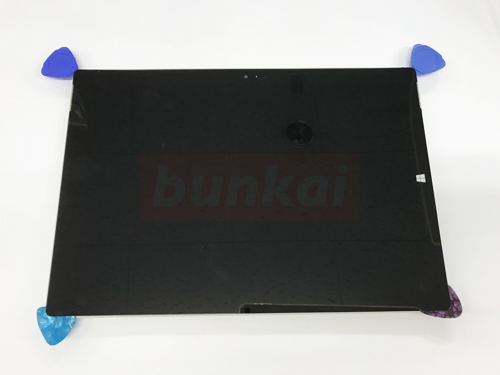
[Surface Pro 3 screen cracking LCD replacement repair 3]


It is a place where heat is applied to the red line part in Step 1 and the suction cup is set.
When the screen is broken, the only way is to float the touch panel with a tool because the suction cup cannot be used.
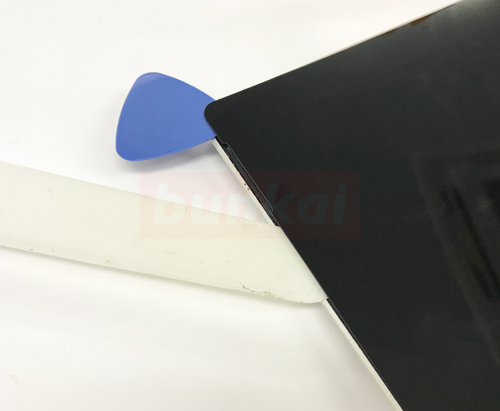
[Surface Pro 3 screen cracking LCD replacement repair 4]

It is a place where the spatula is inserted into the part where the touch panel floated even a little.
This work is carried out on one lap of the liquid crystal, but the liquid crystal of the Surface Pro 3 is considerably easy to crack because the strength is weaker than the iPad.
If the screen is broken and you are referring to this decomposition, you can proceed without having to worry even if the screen is broken.
However, it does not take long if the decomposition proceeds without breaking the liquid crystal.
[Surface Pro 3 screen cracking LCD replacement repair 5]

Plug a pick, a card, etc. into the part where the display floats.
[Surface Pro 3 screen cracking LCD replacement repair 6]
The vertical column is floated.
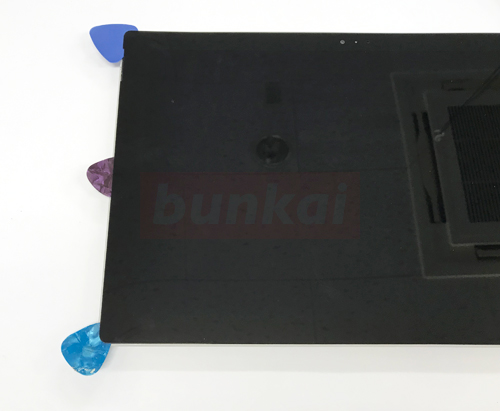
[Surface Pro 3 screen cracking LCD replacement repair 7]
It is a state in which the left and right, the bottom are floated.
I dared to leave only the upper side, but be careful because there is a cable of Wifi on the upper side.
Check Step 9 and 10 first before proceeding with the decomposition.
[Surface Pro 3 screen cracking LCD replacement repair 8]
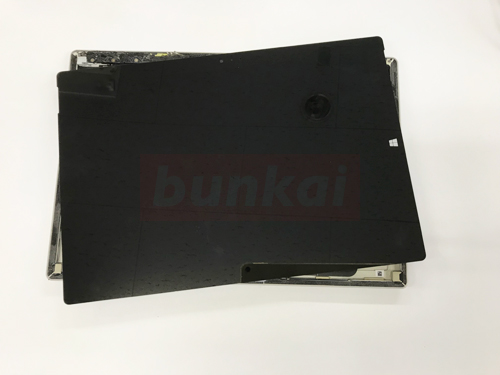
The liquid crystal is out, but it is still connected to the cable inside, so please do not move it forcibly.
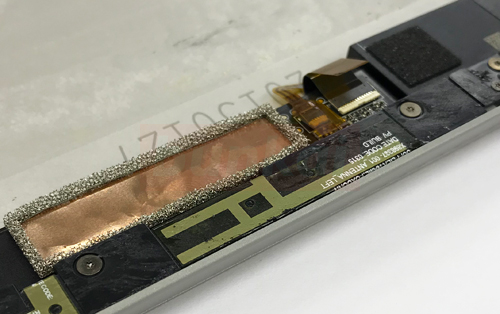
[Surface Pro 3 screen crackING LCD replacement repair 9]

There is a Wifi cable on the top of the LCD.
I think that it is hard to understand because it is hidden by black double-sided tape, but I can see it a little.
I think that heat is applied when peeling off the liquid crystal, but if the heat is weak, it may cut the cable.
When inserting a tool such as a spatula, let's proceed with the decomposition while checking whether the cable is not involved.
[Surface Pro 3 screen cracking LCD replacement repair 10]

It becomes like this when the double-sided tape is peeled off neatly.
[Surface Pro 3 screen cracking LCD replacement repair 11]

It is possible to cause the liquid crystal as in the image when it is possible to peel off in four directions while paying attention to the upper side, but it is easy to work if you put the pattern and the liquid crystal to sleep as it is while careful not to break the cable.
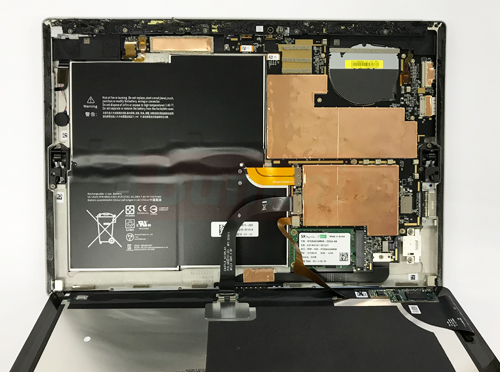
[Surface Pro 3 screen cracking LCD replacement repair 12]

I think that it is possible to confirm that three connectors are connected in all to the base side, but the top becomes the connector of the battery, and the middle and the lower side are connected to the liquid crystal.
[Surface Pro 3 screen cracking LCD replacement repair 13]

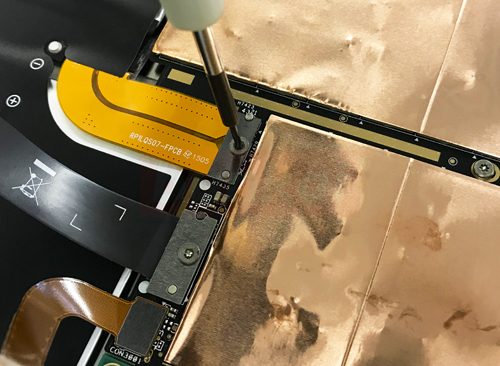
Since the main unit is still energized, let's remove the cable of the battery first.
Because it is not possible to remove it with a Phillips screwdriver, use the Torx screwdriver per T4 and T5 to remove it.
Please note that if you try to remove it forcibly with a Phillips screwdriver, the screw thread will collapse.
[Surface Pro 3 screen cracking LCD replacement repair 14]

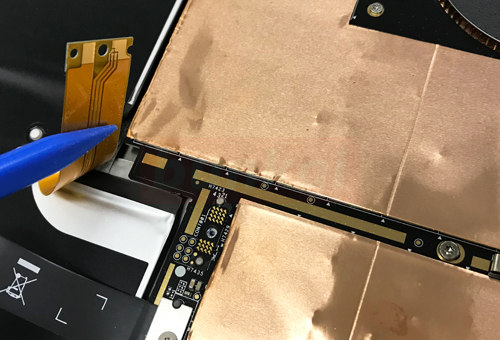
If you can remove the screw of the previous, you can remove the cable just by lifting it.
[Surface Pro 3 screen cracking LCD replacement repair 15]


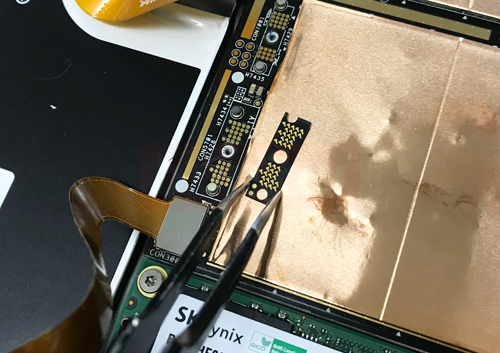
There is a small part on the base side and it is a place that I removed with tweezers.
If this part is lost, it will not turn on, so please keep it so as not to lose it.
[Surface Pro 3 screen cracking LCD replacement repair 16]

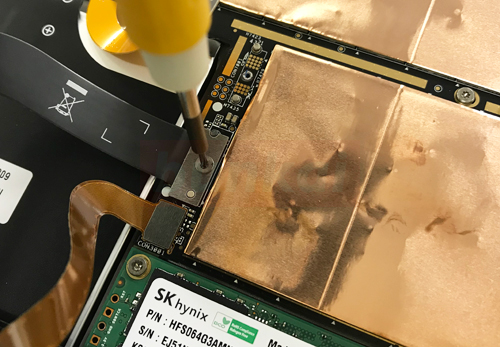
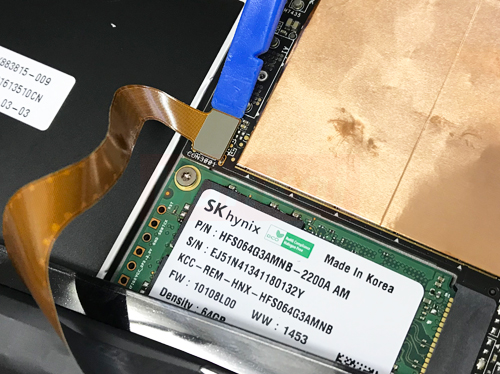
Remove the middle cable in the same way as before.
[Surface Pro 3 screen cracking LCD replacement repair 17]

Because there is a small part as well as the battery side, please keep it so as not to lose it.
If it disappears, the screen will not be reflected.
[Surface Pro 3 screen cracking LCD replacement repair 18]

Finally, remove the cable at the bottom, but you can easily remove it by placing the tool down and lifting it up.
[Surface Pro 3 screen cracking LCD replacement repair 19]
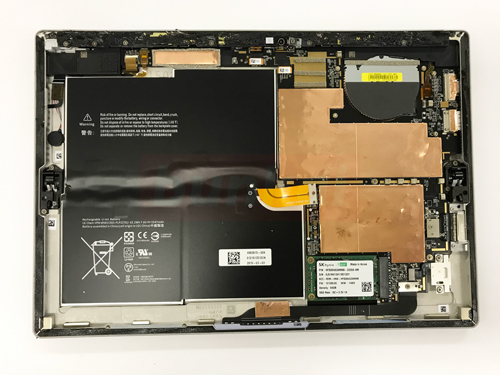
We were able to separate the Surface Pro 3's LCD from the console.
If you re-assemble the liquid crystal to the original state, the work will be completed, but if the double-sided tape that was pasted the liquid crystal is weakened, let's peel it cleanly once and then put the double-sided tape.
In addition, if there is a piece of glass in the wall due to a liquid crystal crack, please remove it cleanly and then put the liquid crystal.
Please note that if you try to install the liquid crystal while the glass remains, only that part will float or the worst glass will break.
In addition, even if you feel that the original double-sided tape is sticky, the screen will easily peel off when the Surface becomes hot.
It is recommended because it becomes perfect strength when i attach double-sided tape and stick it lightly with adhesive material, but it does not try to use the Surface immediately even if it is possible to do so, and it is fixed for one day across the liquid crystal with a washing scissors.