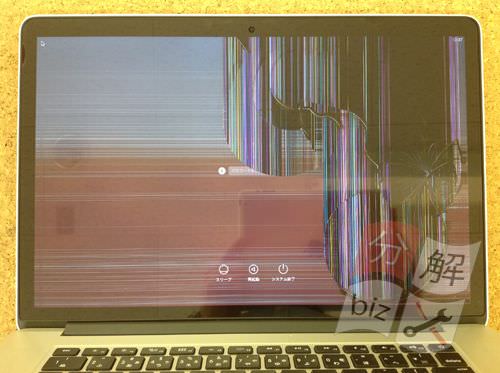
In the case of lcd cracking and poor display of Macbook Pro Retina A1398, a liquid crystal replacement is required!
[Macbook Pro Retina A1398 LCD Replacement STEP 1]
Because the liquid crystal panel is broken, about half is invisible.Usually, LCD panels are replaced, but there are two ways to repair Retina LCD replacements.
It is divided into the method of replacing only the liquid crystal panel and the method of replacing all the upper body of the liquid crystal, but I would like to replace only the former liquid crystal panel.
The LCD panel replacement is more difficult to repair, but it can be repaired overwhelmingly cheaply compared to replacing all lcd upper body.
Because the repair difficulty is very high, it is not recommended if you are disassembling your PC for the first time.
We recommend that you check the following repair process and feel that it is difficult to be put out to the repair shop without hesitation.
If you work with the wrong repair method or disassembly method, it will lead to other failures, so if you are repairing, please take your time and take your time to do it slowly.
I would like to repair the liquid crystal of Retina immediately.
[Macbook Pro Retina A1398 LCD Replacement STEP 2]
First, remove the battery and then work.
The macbook Pro Retina has a built-in battery and cannot be removed unless the bottom case is opened.
Because there are 10 screws in all on the back of the main body, all will be removed.
Because of the special shape called Torx screw, it is not possible to remove it with a Phillips screwdriver, but please prepare a screwdriver called a Torx screwdriver sold at the home center.
[Macbook Pro Retina A1398 LCD Replacement STEP 3]
If all screws can be removed, the bottom case can be removed.
[Macbook Pro Retina A1398 LCD Replacement STEP 4]
If you can open the bottom case, you can check the connection point of the battery and logic board immediately, but you can remove it if you wake it up from the bottom.
[Macbook Pro Retina A1398 LCD Replacement STEP 5]
In order to replace the LCD panel, it is necessary to first remove only the upper body of the liquid crystal from the laptop body, so as for the flow of decomposition, it becomes a form that the liquid crystal is inserted into the removal.
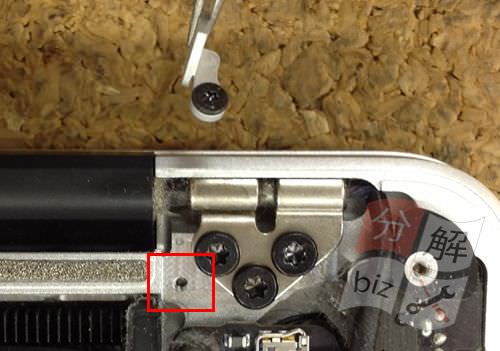
First of all, let's remove the black rubber on both sides of the hinge with tweezers!
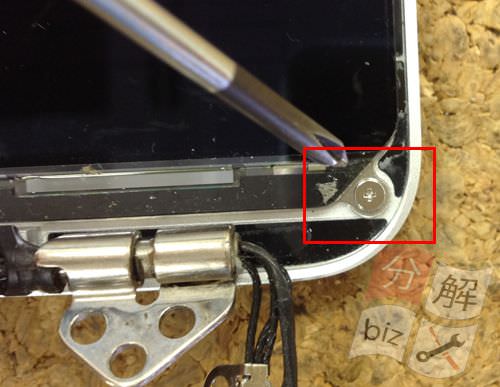
[Macbook Pro Retina A1398 LCD Replacement STEP 6]
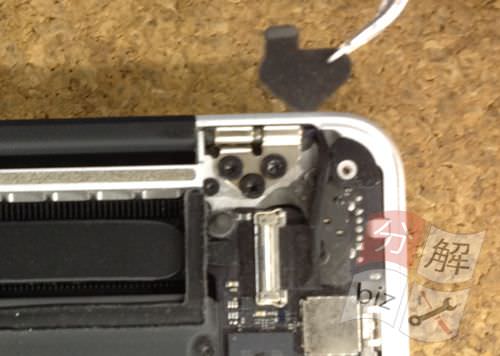
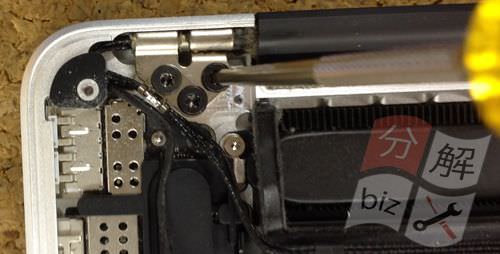
There is a small screw next to the large screw, so remove it.
[Macbook Pro Retina A1398 LCD Replacement STEP 7]
If the previous screw can be removed, the gray plastic will come off, so keep it so that it does not disappear.
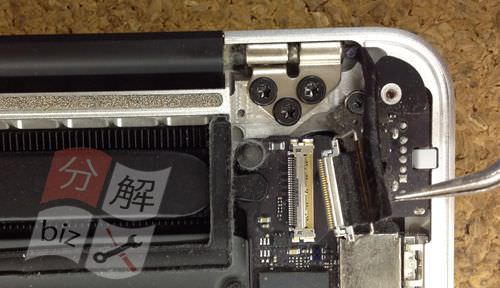
[Macbook Pro Retina A1398 LCD Replacement STEP 8]
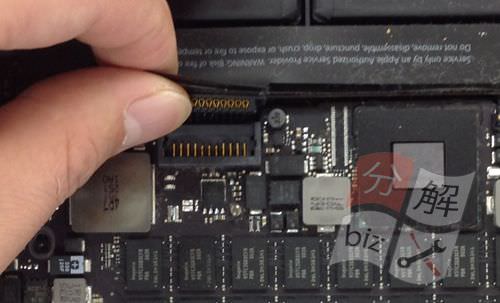
The image is where the LCD cable is removed from the logic board.
You can remove it by causing a "co-shaped" hook and then sliding it sideways.
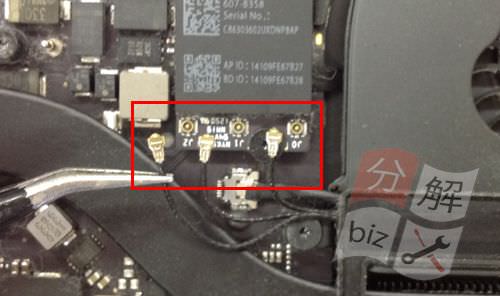
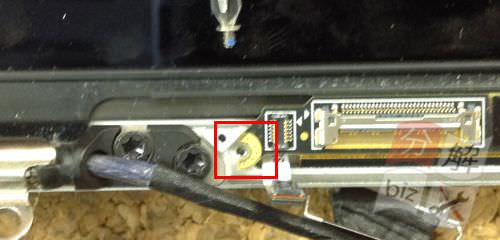
[Macbook Pro Retina A1398 LCD Replacement STEP 9]
The next thing to do is to remove wifi.
Because it is connected to the red frame part three, it can be removed if it wakes up from the bottom.
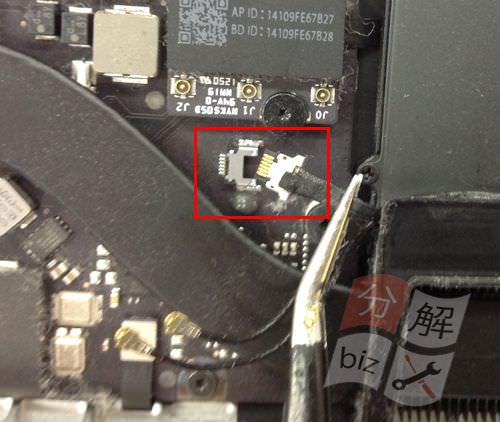
[Macbook Pro Retina A1398 LCD Replacement STEP 10]
There is a camera cable right next to the wifi terminal.
You can remove it by sliding it sideways.
[Macbook Pro Retina A1398 LCD Replacement STEP 11]
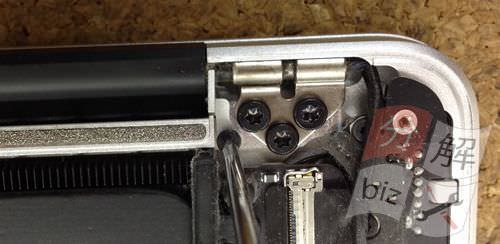
The next thing to do is to remove the hinge.
There are three screws (six in total) on the left and right, so i will remove them.
Now that all the screws and wiring that secure the upper body of the liquid crystal can be removed, the upper body of the liquid crystal can be removed.
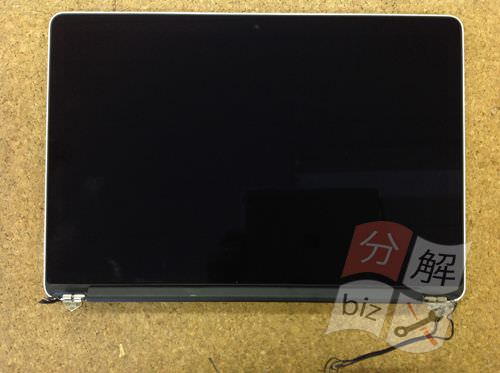
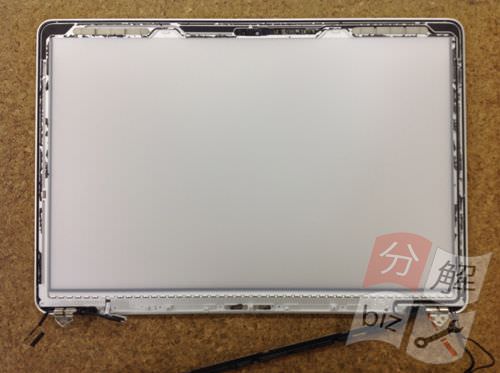
[Macbook Pro Retina A1398 LCD Replacement STEP 12]
I was able to state only the upper body of the liquid crystal!
In the case of replacing the upper body instead of replacing the LCD panel, it will be completed as a decomposition procedure, so if you replace it with a new liquid crystal, it is finished.
We recommend that you work carefully because the difficulty of this decomposition process increases from here at once.
It is also important to check what kind of structure it is in order to disassemble.
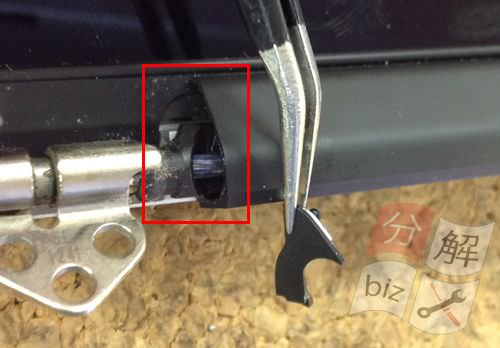
[Macbook Pro Retina A1398 LCD Replacement STEP 13]
First, remove the small plastic on the side of the hinge.
I use tweezers and remove them, but it is quite difficult to remove them and i get a sense of feeling.
If you try to remove it forcibly, it will cause damage, so don't rush and try to remove it slowly!
[Macbook Pro Retina A1398 LCD Replacement STEP 14]
If you can remove the black plastic in the middle, you can remove the black plastic in the middle.
[Macbook Pro Retina A1398 LCD Replacement STEP 15]
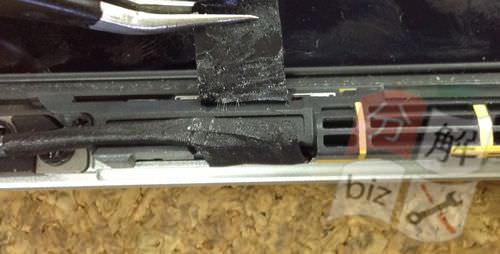
The image part becomes a liquid crystal cable, but it peels off because the seal is attached.
[Macbook Pro Retina A1398 LCD Replacement STEP 16]
There are a lot of small screws around the cable, but first remove the screw next to the LCD cable.
If you look at the side in the same way, there are a lot of screws, so try to remove all.
[Macbook Pro Retina A1398 LCD Replacement STEP 17]
If the screw can be removed in the previous process, the plastic part to which the cable is connected can be removed.
If you pull it upward, it can be removed, but it cannot be completely removed, so let's leave it as it is when one side is removed.
[Macbook Pro Retina A1398 LCD Replacement STEP 18]
One side remains fixed as shown in the image.
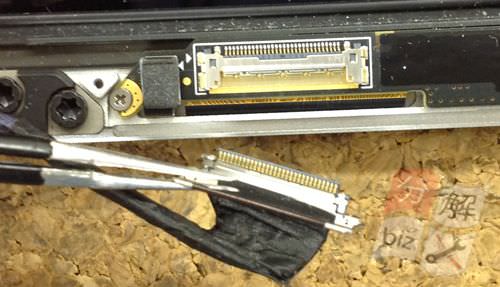
[Macbook Pro Retina A1398 LCD Replacement STEP 19]
The next thing is to remove the LCD cable.
You can remove the "co-shaped" hook by lifting it up and then sliding it.
[Macbook Pro Retina A1398 LCD Replacement STEP 20]
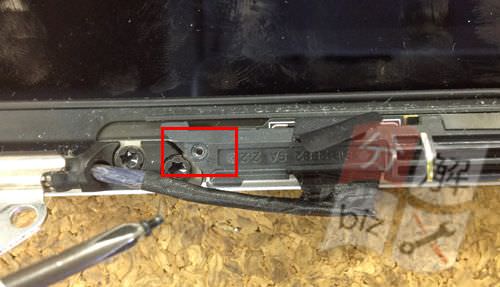
There is also a connector next to the LCD cable, so remove it.
[Macbook Pro Retina A1398 LCD Replacement STEP 21]
Do not forget to remove the screw next to the connector above.
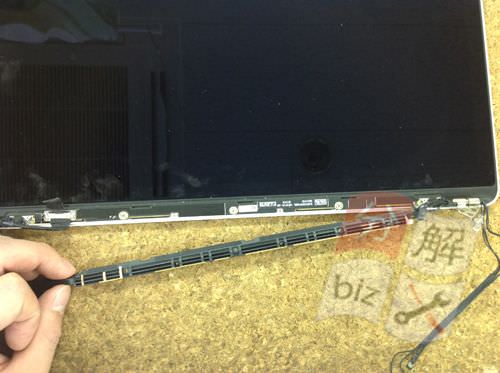
[Macbook Pro Retina A1398 LCD Replacement STEP 22]
You can remove the screws on both sides and turn it over like an image.
In addition, there is a screw on the lower side, but this is a screw that stops the iron stay of the liquid crystal panel, so don't forget to remove everything.
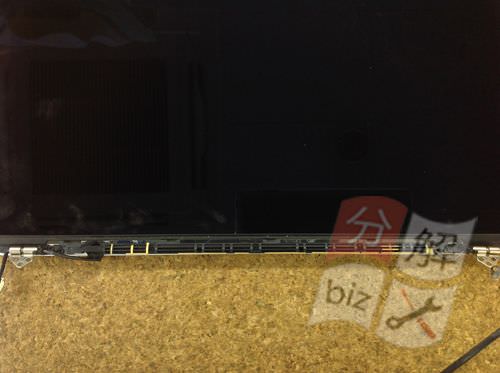
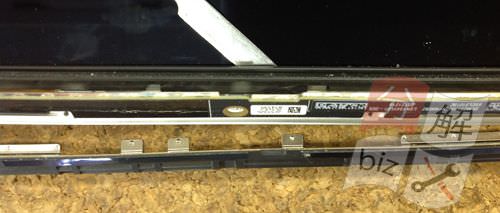
[Macbook Pro Retina A1398 LCD Replacement STEP 23]
It is an up image of [STEP22].
Let's remove the screw in the side row!
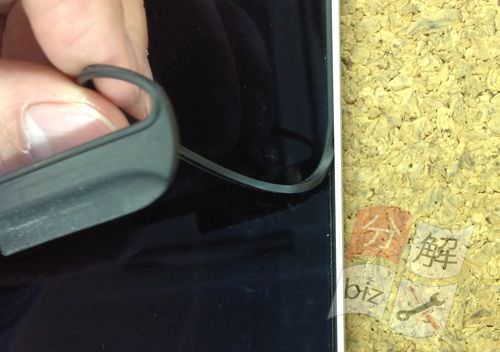
[Macbook Pro Retina A1398 LCD Replacement STEP 24]
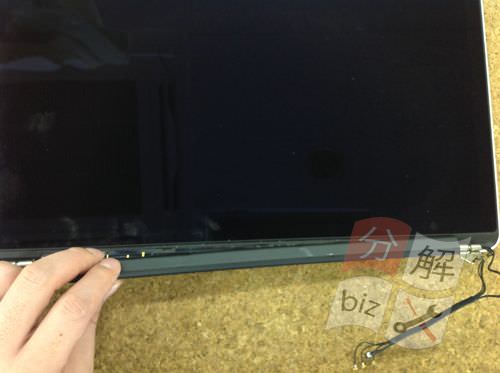
Next, remove the rubber around the LCD panel.
You can easily remove the spatula by inserting it into the gap as shown in the image.
[Macbook Pro Retina A1398 LCD Replacement STEP 25]
Only the lower side is fixed with light double-sided tape, but it is possible to remove the left and right and upper side by hand.
[Macbook Pro Retina A1398 LCD Replacement STEP 26]
After removing the rubber, the screw will come into view below, so don't forget to remove it.
[Macbook Pro Retina A1398 LCD Replacement STEP 27]
Remove the LCD panel.
I put a tool such as a spatula on the underside of the liquid crystal panel and remove it, but I think that it is not possible to peel it cleanly probably.
It is often peeled off to the bakibaki, but in that case, let's remove it steadily so that it does not remain because the remaining thing of the glass adheres around the liquid crystal!
[Macbook Pro Retina A1398 LCD Replacement STEP 28]
It is a state in which the remaining liquid crystal glass was cleaned.
Let's check carefully whether there is a thing that the rubber does not fit well later when the liquid crystal glass remains, so forget to peel off!
There are also several transparent films under the liquid crystal glass, but please do not touch or scratch them with your hands.
If the lcd is damaged, light leakage may occur.
We were able to remove only the liquid crystal panel in the process so far.
After that, it is completed if you incorporate it according to the following procedure, but the liquid crystal panel of Retina is made very delicate, so please do it carefully when inserting the liquid crystal panel.
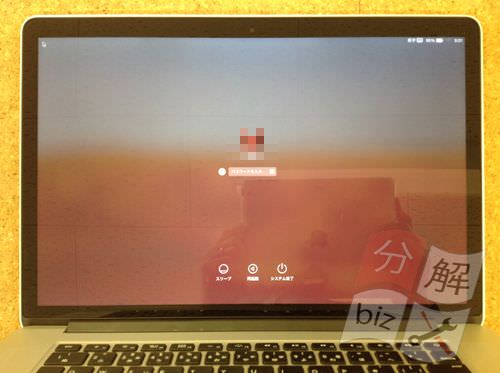
[Macbook Pro Retina A1398 LCD Replacement STEP 29]
It is a state assembled to the lower state.
It is now displayed without any problems at all!