If you have been using Switch for many years, you may have more heat in the main body than before, but if dust has accumulated in the vent, it is recommended to remove it with an air dustster.
If you have heat even if dust is removed, it may be improved by grease exchange, but the method is exposed.
[Switch grease replacement 1]

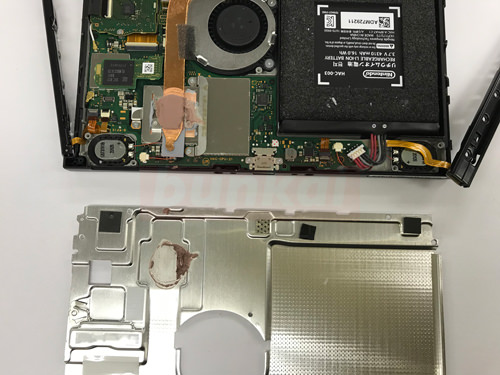
It has become a decomposition start from the middle, but please refer to the battery replacement for the decomposition method up to here.
[Switch grease replacement 2]

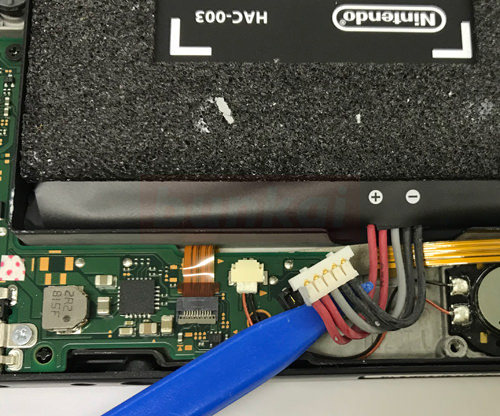
Remove the battery connector first.
The connector will come off if you try to lift it from the bottom to the top.
[Switch grease replacement 3]

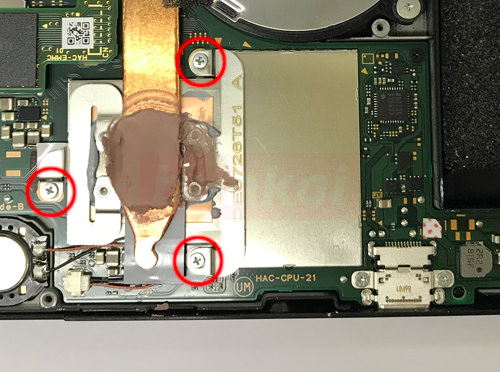
Because there is a screw in the red circle part, I use the Phillips screwdriver.
[Switch grease replacement 4]

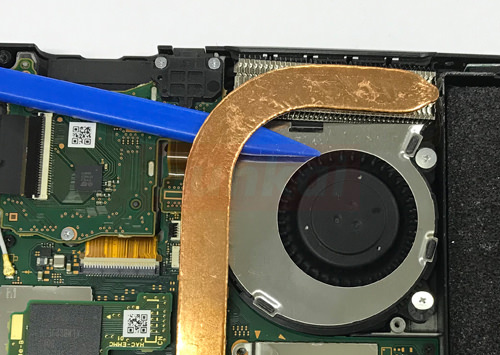
The heatsink is as if the image were able to lift the tool down.
[Switch grease exchange 5]
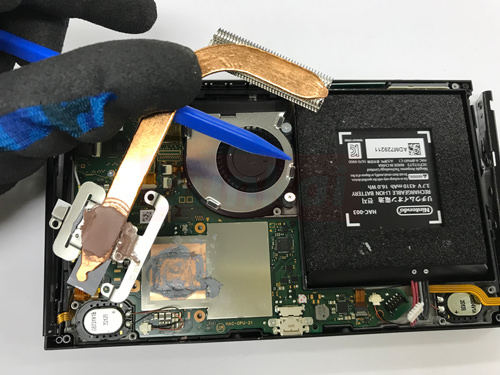
The heat sink was able to be removed.
[Switch grease exchange 6]

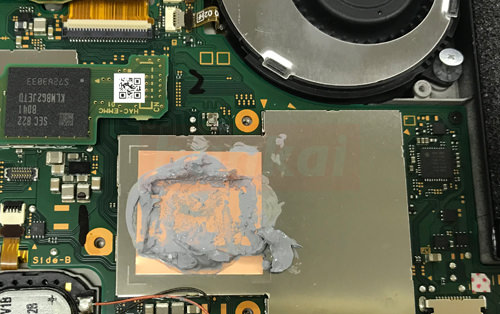
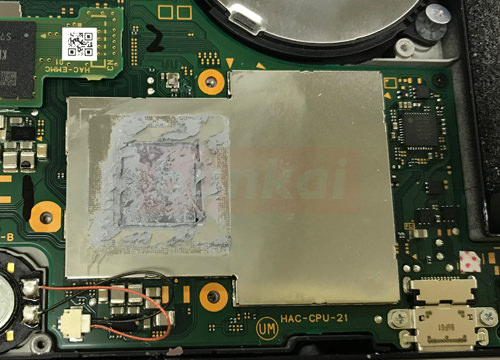
The original grease is painted, so please remove it with a cloth.
[Switch grease exchange 7]

It is a state in which grease was taken.
[Switch grease exchange 8]

When I turned over the copper tape, grease was painted on the bottom.
[Switch grease exchange 9]

I use cloth etc. to clean it in the same manner as before.
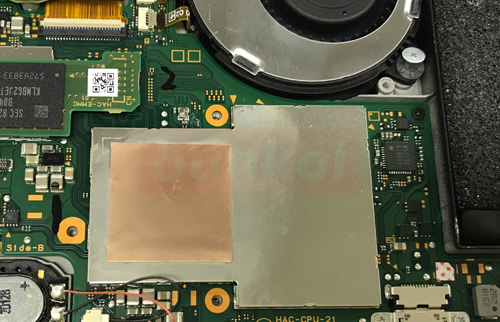
[Switch grease exchange 10]
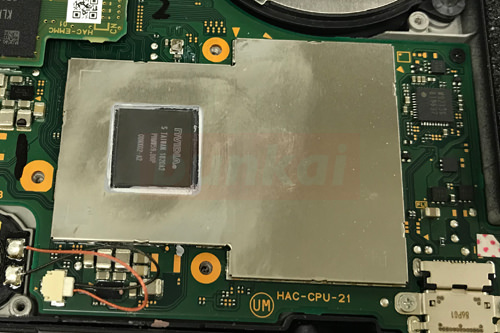
The nvidia chip came into view.
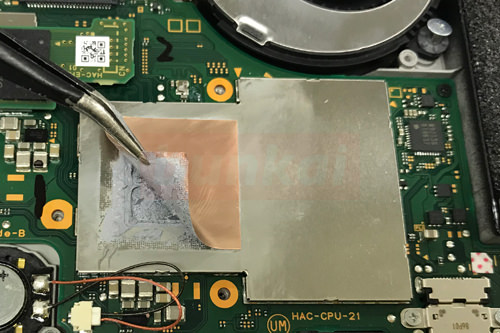
[Switch grease exchange 11]


Prepare the grease and apply the grease in the original procedure.
[Switch grease exchange 12]

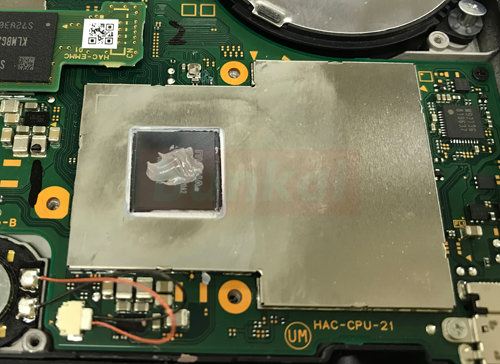
It is a state with a little in the middle.
[Switch grease exchange 13]

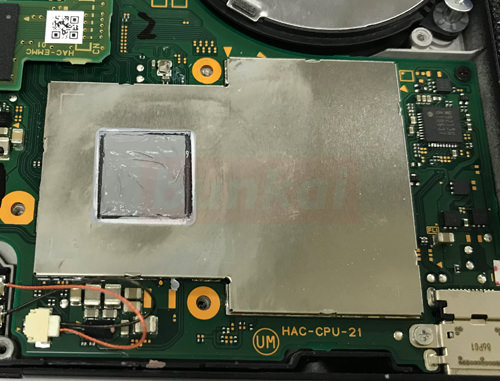
Stretched throughout with plastic spatula and toothpicks.
[Switch grease exchange 14]


Place the original sheet.
[Switch grease exchange 15]

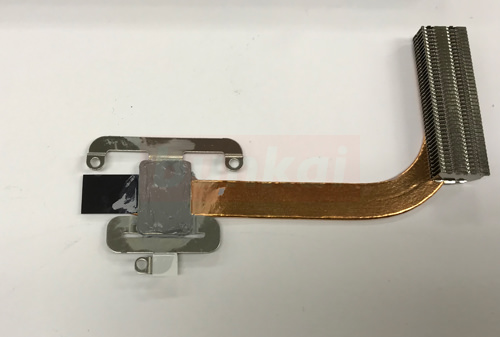
There was grease on the back of the heat sink, so I wiped the old grease and applied a new grease.
After that, if you incorporate it in the original procedure, the grease exchange will be completed.