I did all the barassi of Amazon's tablet Fire 7, so I hope you can refer to it when you disassemble it.
Even if there is no tool to disassemble, I think that it can be completed with only the following tools.
[Amazon Fire 7 Disassembly Repair Method 1]

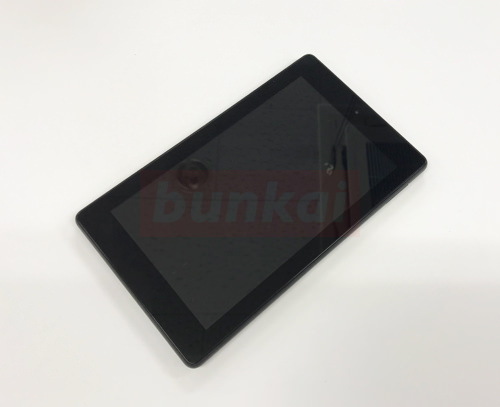
We will start disassembling Fire 7, but please try to disassemble without fear even for beginners because the price at the time of the new purchase is cheap even if the repair difficulty is low and it breaks down by any chance.
If you can get a backup before disassembling, we recommend that you take a backup before proceeding.
[Amazon Fire 7 Disassembly Repair Method 2]


Because the screw is not used on the appearance, the spatula is inserted into the gap between the liquid crystal and the main body.
[Amazon Fire 7 Disassembly Repair Method 3]

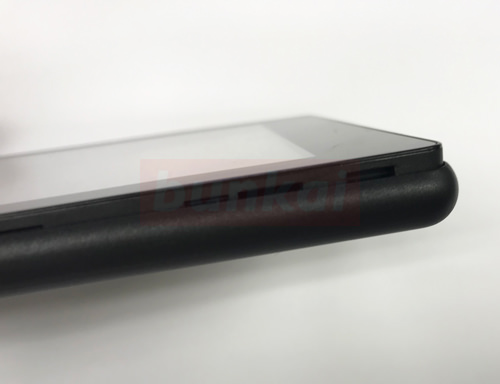
It is possible to float like an image if you make it a little bit stiff when you plug the spatula, but the liquid crystal side is only fixed to the body side with a plastic claw, If you can remove even one place, let's put the spatula in one lap and float it little by little.
[Amazon Fire 7 Disassembly Repair Method 4]


I was able to remove the back cover, but i can remove it cleanly if I remove the power button side at the end.
[Amazon Fire 7 Disassembly Repair Method 5]
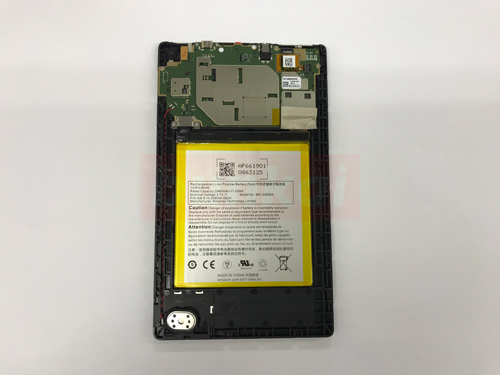
It looks like this when you remove the back cover, but the fire 7 is very simple.
The green part above is the motherboard, and the larger one below is the battery.
[Amazon Fire 7 Disassembly Repair Method 6]

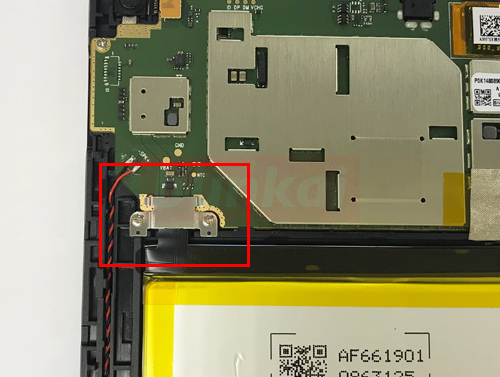
The first thing to do is to remove the battery in order to disassemble it.
The red frame is the part where the battery connector and the motherboard are connected, but the plate is fixed with screws, so i will remove it.
There is one plus screw on both sides of the plate, so let's remove it.
[Amazon Fire 7 Disassembly Repair Method 7]

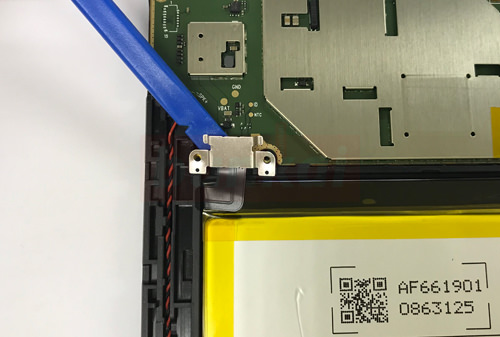
Once the screw is removed, the connector can be removed from the motherboard by inserting the tool down and lifting it as shown in the image.
In the image, blue plastic tools are used, but disposable chopsticks in the home can also be substituted.
When you substitute a tool, use something that is not made of metal and that is not energized.
[Amazon Fire 7 Disassembly Repair Method 8]
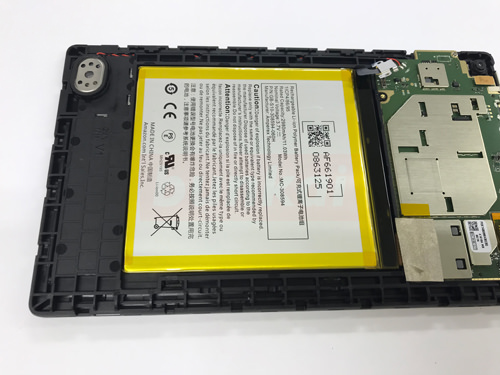
It is a battery that occupies the majority of the main body.
[Amazon Fire 7 Disassembly Repair Method 9]
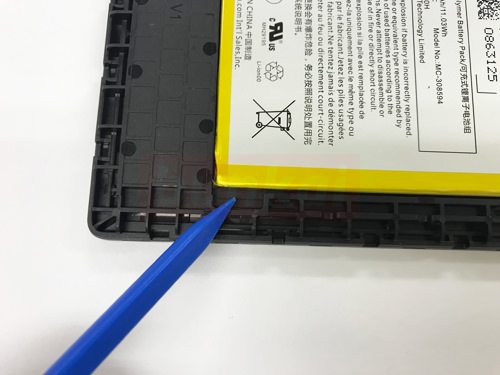
The battery is attached directly to the main body with double-sided tape, but it is peeled off as if it were twisted from the bottom.
It is easy to peel off if you insert it from the position of the blue tool.
[Amazon Fire 7 Disassembly Repair Method 10]
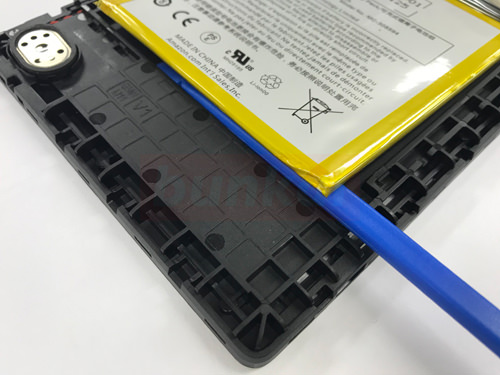
Slide the tool into the gap and peel it off.
[Amazon Fire 7 Disassembly Repair Method 11]

I was able to remove the battery fairly easily.
If the battery decreases quickly, there is a possibility that it will be improved by replacing the battery, but if it is k disassembly of only the battery replacement, it is completed by returning it to its original state.
[Amazon Fire 7 Disassembly Repair Method 12]

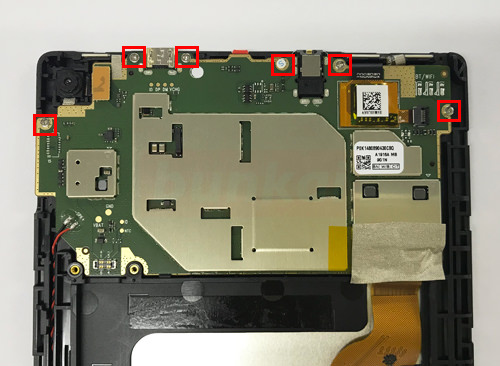
This is the motherboard.
Because it becomes the most important part, it becomes a serious injury such as the power does not turn on if it breaks down by any chance, so please be careful with the handling.
Let's remove all screws in the part surrounded by a red frame.
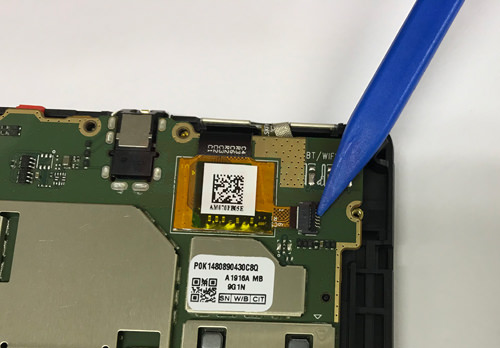
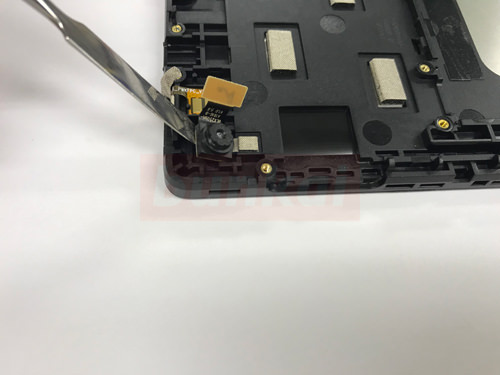
[Amazon Fire 7 Disassembly Repair Method 13]

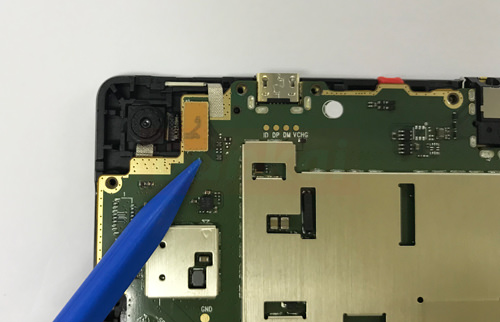
The part connecting the camera connector to the motherboard is connected, but remove the connector by lifting it from the bottom to the top.
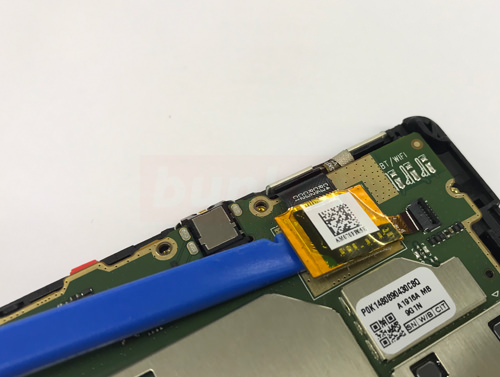
[Amazon Fire 7 Disassembly Repair Method 14]

You can remove the connector like this.
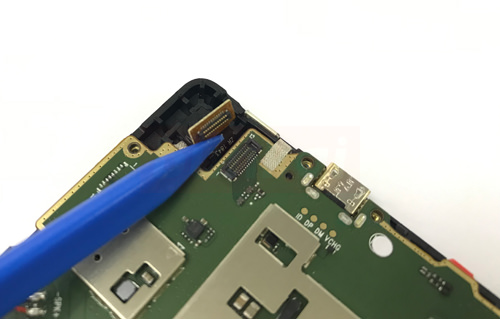
[Amazon Fire 7 Disassembly Repair Method 15]

Pull out and disconnect the cable in this part.
[Amazon Fire 7 Disassembly Repair Method 16]

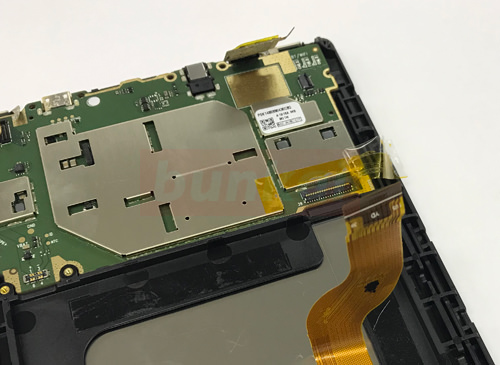
First, wake up the motherboard nails up to 90 degrees.
[Amazon Fire 7 Disassembly Repair Method 17]
Peel off the motherboard because it is stuck on tape.
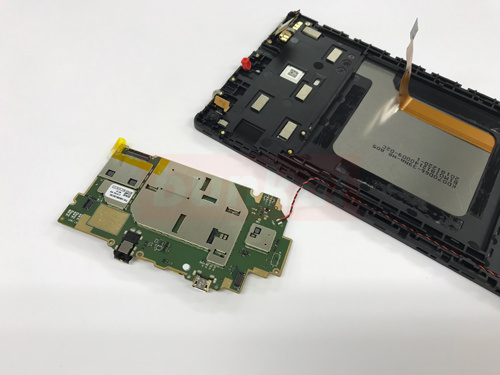
[Amazon Fire 7 Disassembly Repair Method 18]
It can be removed like this.
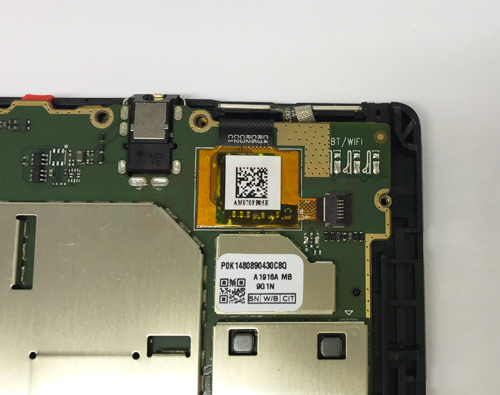
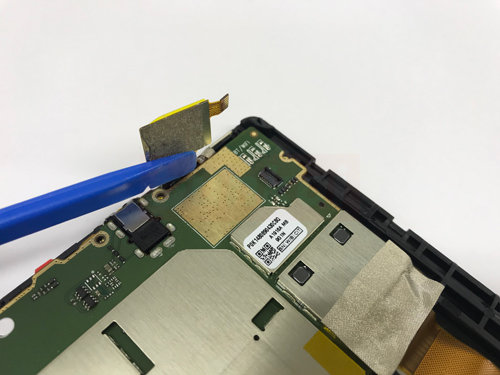
[Amazon Fire 7 Disassembly Repair Method 19]
This is where step 14 camera lies, but the gray tape is attached to the motherboard, so I'll peel it off.
[Amazon Fire 7 Disassembly Repair Method 20]
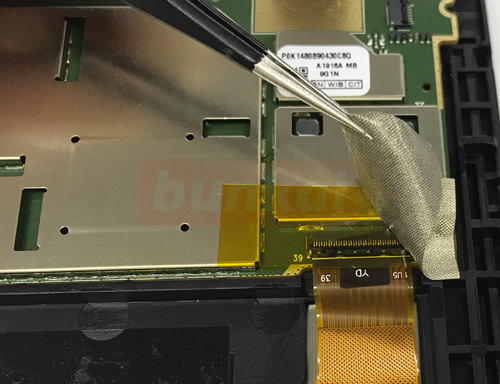
It becomes the connection point of the lcd cable and the motherboard, but it is hidden by the tape.
[Amazon Fire 7 Disassembly Repair Method 21]

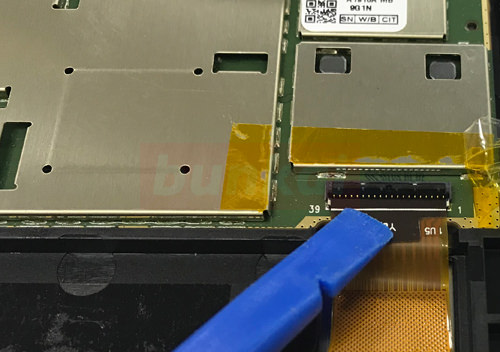
Again, like STEP 16, lift the connector up to 90 degrees before pulling out the cable.
[Amazon Fire 7 Disassembly Repair Method 22]

The LCD cable could be removed.
[Amazon Fire 7 Disassembly Repair Method 23]
The speakers are soldered to the motherboard, so take them to the other side so that they don't cut them.
[Amazon Fire 7 Disassembly Repair Method 24]
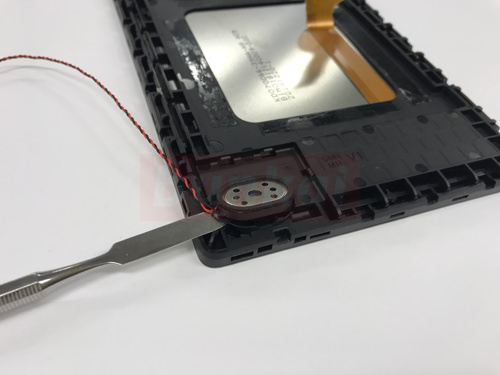
The speaker is attached to the main unit with light double-sided tape, but let's insert the tool down and peel it off.
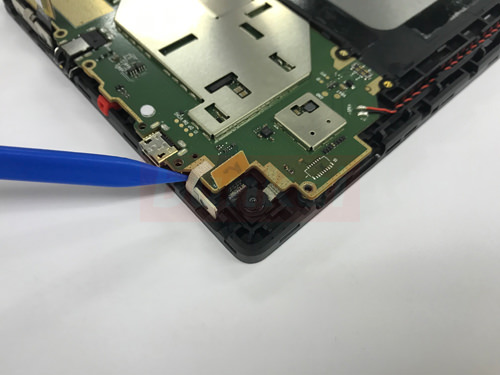
[Amazon Fire 7 Disassembly Repair Method 25]
The camera can also be easily removed by rubbing lightly.
[Amazon Fire 7 Disassembly Repair Method 26]

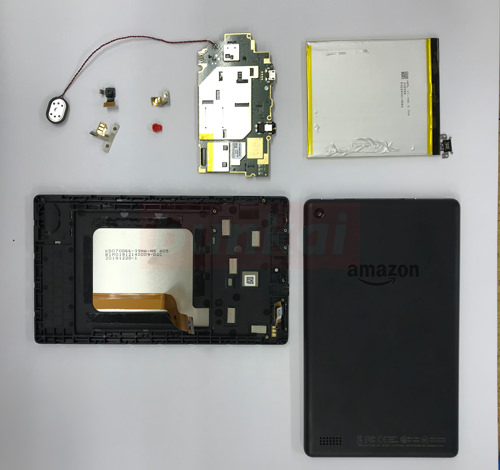
Most parts could be removed.
Fire 7 may not be a good idea to repair and fix it because the price at the time of purchase is low.
However, if you do not have a backup, you may need to repair it, so please always take a backup.